
The Overlander’s Guide to 12V Portable Well Pumps
As overlanding and off-grid RVing continue to evolve in 2026, self-reliance has become the ultimate metric for a successful expedition. While many boondockers rely on gravity filters or manual hand pumps to source water from shallow community wells, creeks, or remote spigots, the modern expedition vehicle demands a more robust solution. Enter the 12V DC portable submersible well pump. By dropping a specialized 12V pump into a shallow well casing and wiring it directly to your rig's auxiliary house battery, you can fill a 40-gallon fresh tank in under ten minutes without firing up a noisy generator.
However, routing high-amperage DC power from your vehicle's exterior connection down a 50-to-100-foot well casing introduces severe voltage drop risks and waterproofing challenges. This comprehensive guide and wiring diagram for a well pump focuses specifically on vehicle-based 12V DC setups, ensuring your water system is safe, efficient, and protected against the harsh realities of off-road travel.
Core Components for the Vehicle-Specific Setup
To build a reliable 12V portable well pump system for an RV, camper van, or expedition truck, you must select marine-grade and automotive-rated components that can withstand vibration, moisture, and high DC currents. Here is the exact bill of materials we recommend for a high-performance rig:
- The Pump: Aquatec SWP-4000 12V Submersible Pump. Rated for 3-inch well casings, it delivers up to 4.5 GPM at shallow depths (under 100 feet) and draws roughly 8 to 11 amps under load. (Approx. $260)
- Drop Cable: Ancor 8 AWG Tinned Marine-Grade Duplex Wire. Tinned copper is mandatory to prevent black-wire corrosion inside the damp well casing. (Approx. $1.60/ft)
- Exterior Vehicle Connector: Anderson Powerpole SB50 (50A) with a weatherproof marine housing. This allows you to disconnect the pump drop-cable from the vehicle's exterior panel when driving. (Approx. $18)
- Circuit Protection: Blue Sea Systems ATC Fuse Block with a 15A waterproof blade fuse. (Approx. $25)
- Motor Controller: 12V Linear Current Booster (LCB). This critical device lowers the startup voltage surge, protecting your RV's LiFePO4 Battery Management System (BMS) from tripping during the pump's locked-rotor startup phase. (Approx. $85)
Step-by-Step: Wiring Diagram for a Well Pump (12V DC RV/Overland)
Follow this sequential wiring flow to connect your portable well pump to your vehicle's 12V house bank. Always adhere to the ABYC E-11 DC Wiring Standards, which the best overland builders use as the gold standard for 12V vehicle electrical safety.
Phase 1: Vehicle-Side Power Preparation
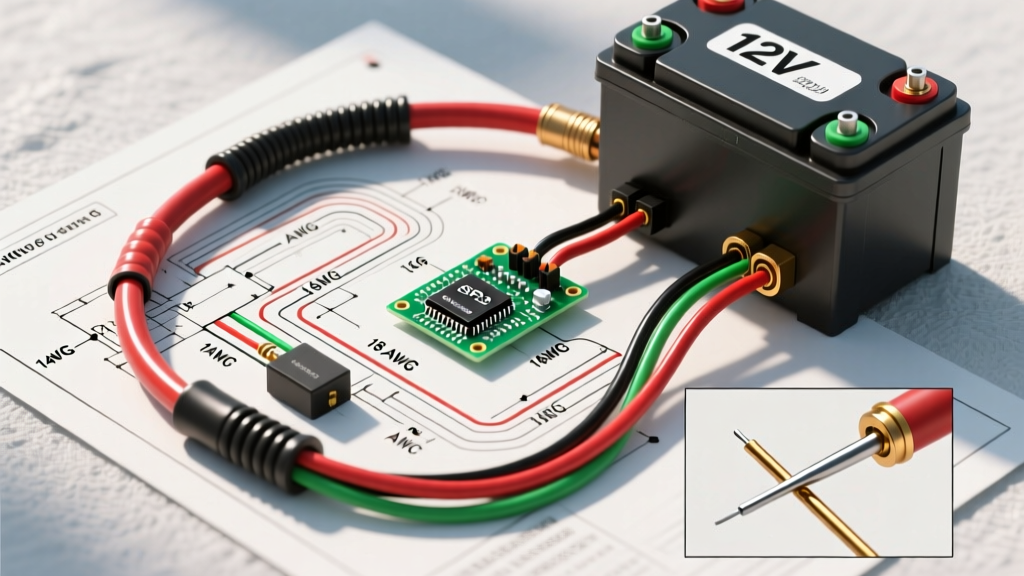
- Busbar Connection: Run a short, heavy-gauge jumper (4 AWG) from your main 12V LiFePO4 house battery positive busbar to the input side of the Blue Sea Systems ATC fuse block.
- Fuse Installation: Insert a 15A ATC blade fuse. The Aquatec SWP-4000 draws a maximum of 11A; a 15A fuse provides the perfect buffer for startup spikes while protecting the wire from dead shorts.
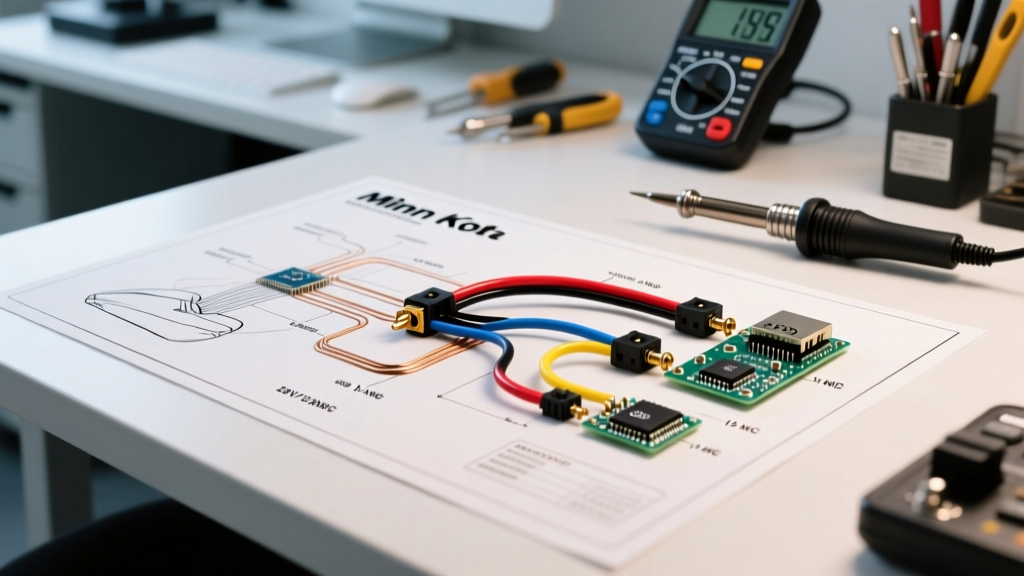
- LCB Integration: Wire the output of the fuse block to the input terminals of the Linear Current Booster (LCB). Mount the LCB inside the vehicle's dry electrical bay to protect its circuitry from condensation.
- Exterior Routing: Run 8 AWG duplex wire from the LCB output to the exterior Anderson SB50 connector mounted on your RV's utility bay or rear bumper.
Phase 2: The Pump Drop-Cable Assembly
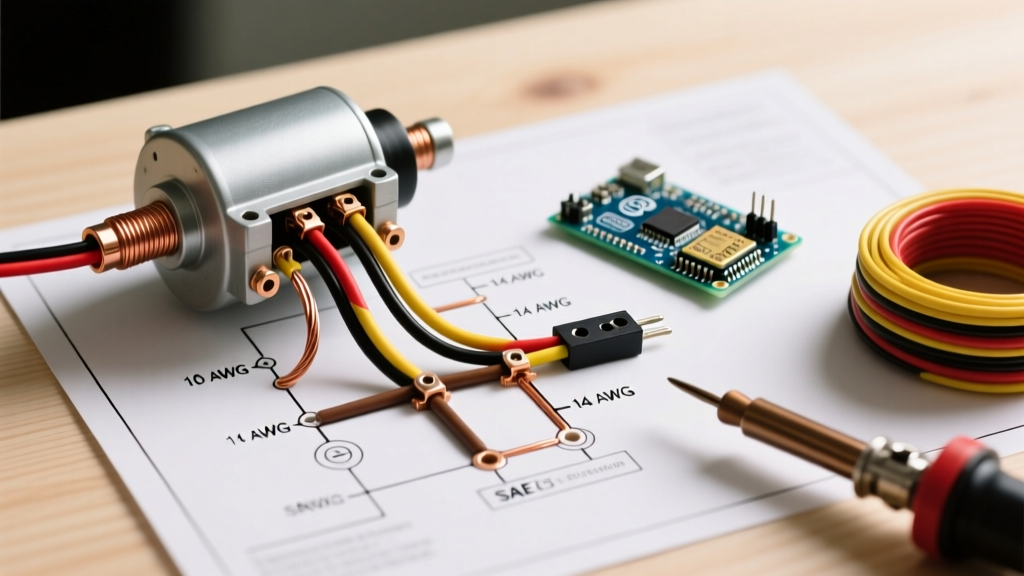
- Splicing: Connect the pump's factory pigtail to your 50-100ft run of 8 AWG Ancor duplex wire using marine-grade heat shrink butt connectors.
- Waterproofing: This is where most DIYers fail. After crimping and heating the adhesive heat shrink, wrap the entire splice joint in 3M 2131 Rubber Splicing Tape, followed by a layer of 3M 33+ Super Vinyl Electrical Tape. This creates a vulcanized, 100% waterproof seal capable of surviving total submersion.
- Strain Relief: Zip-tie the drop cable to the pump's stainless steel discharge pipe or a dedicated nylon safety rope. Never let the electrical wire bear the physical weight of the pump.
- Connector Termination: Crimp the opposite end of the drop cable to the matching Anderson SB50 plug.
Wire Gauge vs. Cable Run Length (Voltage Drop Matrix)
Because 12V DC systems suffer from severe voltage drop over distance, selecting the wrong wire gauge will result in a pump that hums but fails to push water, or an LCB that constantly resets. The matrix below assumes an 11A draw and a maximum acceptable voltage drop of 3% (0.36V), which is critical for DC motor longevity.
| Total Cable Run (Out & Back) | 12 AWG Wire | 10 AWG Wire | 8 AWG Wire (Recommended) | 6 AWG Wire |
|---|---|---|---|---|
| 50 Feet | 3.5% Drop (Fail) | 2.2% Drop (Marginal) | 1.4% Drop (Pass) | 0.9% Drop (Pass) |
| 100 Feet | 7.0% Drop (Fail) | 4.4% Drop (Fail) | 2.8% Drop (Pass) | 1.8% Drop (Pass) |
| 150 Feet | 10.5% Drop (Fail) | 6.6% Drop (Fail) | 4.2% Drop (Fail) | 2.7% Drop (Pass) |
Note: Total cable run includes both the positive and negative wires. If your well is 50 feet deep, your total circuit length is 100 feet. Always use 8 AWG or 6 AWG for vehicle-based well pump deployments.
Integrating with the Vehicle’s House Battery & Solar System
In 2026, most overland vehicles run 12V Lithium Iron Phosphate (LiFePO4) batteries managed by a smart BMS. A common mistake is wiring high-draw DC motors directly to a solar charge controller's 'Load' terminals. Most standard PWM or MPPT load terminals are capped at 10A or 20A and lack the thermal mass to handle the inductive kickback of a submersible well pump motor.
Instead, wire the pump's fuse block directly to the main DC busbars, bypassing the solar controller's load terminals entirely. If you want automatic shutoff when the RV's fresh tank is full, integrate a 12V DC float switch in the fresh tank, wired to a heavy-duty 30A automotive relay that interrupts the positive feed to the LCB.
Expert Warning on Winter Boondocking: Modern LiFePO4 batteries feature Low-Temperature Charging Cutoffs. If you are pumping well water in freezing weather, the high amp draw of the pump combined with a cold battery can cause voltage sag, tricking the BMS into shutting down the system. Always ensure your battery bay is heated or insulated when deploying a 12V well pump in sub-zero environments.
Troubleshooting Matrix: Common 12V DC Well Pump Failures
When your portable well pump fails in the backcountry, you need a rapid diagnostic approach. Use this matrix to identify the root cause based on the symptoms at the vehicle's utility bay.
| Symptom | Probable Cause | Field Fix / Diagnostic Step |
|---|---|---|
| Pump hums, LCB clicks repeatedly, no water flows. | Severe voltage drop or locked rotor. | Check wire gauge. Measure voltage at the Anderson plug under load. If below 10.5V, upgrade to 6 AWG wire. |
| 15A Fuse blows instantly upon connection. | Dead short in the drop cable or water ingress in splice. | Pull the pump. Inspect the 3M tape splice. Use a multimeter to check continuity between positive and negative wires. |
| Pump runs, but water flow is weak and sputtering. | Intake screen clogged with well silt or airlock in the line. | Pull pump 10 feet higher off the well bottom. Bleed the air valve at the RV's fresh tank inlet. |
| Vehicle BMS trips, cutting all 12V power. | Startup surge exceeds BMS continuous discharge limit. | Verify LCB is wired correctly. Ensure no other heavy loads (e.g., 12V compressor fridge, induction cooktop) are running simultaneously. |
Frequently Asked Questions
Can I wire a standard 120V AC residential well pump to my RV's inverter?
While technically possible if you have a massive 3000W+ inverter and a 400Ah+ battery bank, it is highly inefficient. The conversion from 12V DC to 120V AC and back to the motor's operational voltage wastes up to 15% of your stored energy as heat. For vehicle-specific applications, a native 12V DC submersible pump like the Aquatec SWP series is vastly superior for preserving your off-grid battery reserves.
How do I protect the Anderson connector from mud and water?
Standard Anderson SB50 connectors are not IP67 rated. You must purchase a marine-grade rubber boot housing (often sold by companies like Blue Sea or Pacer Group) that seals the connection point. Additionally, applying a dab of dielectric grease to the pins before mating them will prevent corrosion from alkaline well water exposure.
Do I need a check valve on a portable drop-pump setup?
Yes. Install a brass 1/2-inch inline check valve about 5 feet above the pump discharge. This prevents the water column in your drop-hose from draining back into the well and spinning the pump impeller backward when you disconnect power, which can damage the motor bearings over time. For more on DC circuit protection and component isolation, refer to the Blue Sea Systems Circuit Protection Guide.