
The Anatomy of a Code-Compliant One-Way Switch
While a one-way switch (commonly known in North America as a single-pole switch) is the most fundamental device in residential and commercial wiring, improper installation remains a leading cause of electrical arc faults and thermal failures. As of 2026, with the increased density of smart home devices and stricter enforcement of the National Electrical Code (NEC), understanding the exact wiring diagram for one way switch configurations from a safety and code compliance perspective is non-negotiable for professionals and serious DIYers.
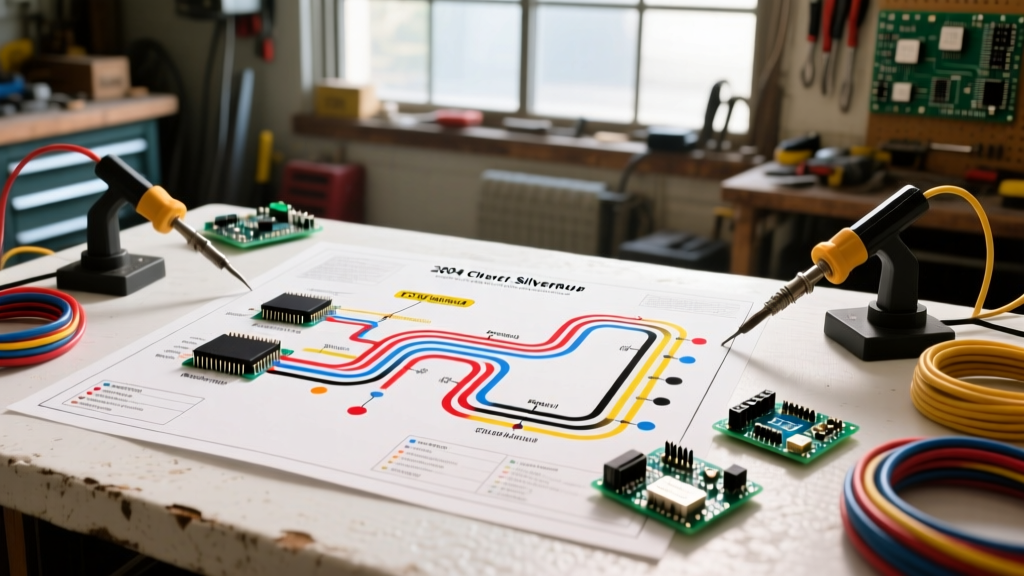
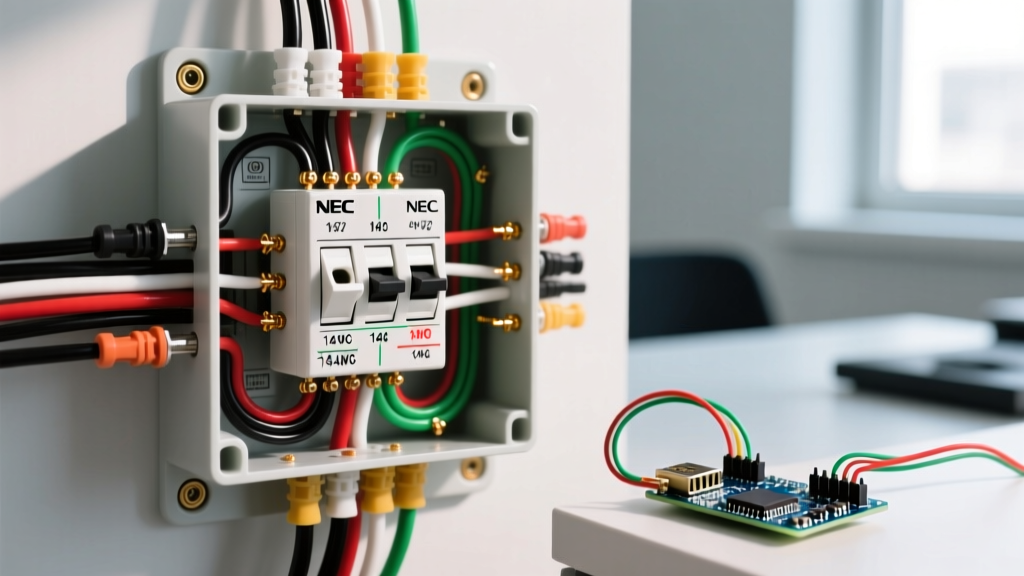
A standard one-way switch interrupts the ungrounded (hot) conductor to control a lighting load from a single location. The physical wiring diagram requires a continuous grounded (neutral) path to the load, a switched hot path, and an equipment grounding conductor (EGC) bonded to the switch yoke and metal box (if applicable).
Conductor Routing and Termination Matrix
| Conductor Type | Insulation Color | Termination Point | NEC Code Reference |
|---|---|---|---|
| Line (Hot) | Black / Red | Brass Terminal Screw 1 | NEC 404.2(B) |
| Load (Switched Hot) | Black / Red | Brass Terminal Screw 2 | NEC 404.2(B) |
| Neutral | White / Gray | Wire Nut (Bypass Switch) | NEC 200.14 |
| Ground (EGC) | Bare / Green | Green Terminal Screw & Box | NEC 250.148 |
Critical NEC Mandates Governing One-Way Switches
When executing a wiring diagram for one way switch circuits, several NEC articles dictate safe installation practices. Ignoring these can result in failed inspections, shock hazards, or catastrophic fires.
1. Prohibition of Switched Neutrals (NEC 404.2(B))
The NEC strictly mandates that switches must break the ungrounded (hot) conductor. You must never wire a switch to interrupt the neutral wire while leaving the hot wire continuously connected to the light fixture. If a neutral is switched, the light bulb socket remains energized at 120V even when the light is 'off,' presenting a lethal shock hazard during bulb replacement. According to the National Fire Protection Association (NFPA), switched neutrals are a primary target for electrical inspectors.
2. Equipment Grounding (NEC 404.9)
All snap switches must be effectively grounded. If you are installing a switch in a metal box, the switch yoke must be bonded to the box via the metal mounting screws or a dedicated grounding pigtail. For non-metallic (plastic) boxes, the equipment grounding conductor must be directly terminated to the green grounding screw on the switch. The Occupational Safety and Health Administration (OSHA) emphasizes that proper grounding provides the necessary low-impedance fault current path to trip the breaker instantly in the event of an internal short circuit.
Box Fill Calculations: The Hidden Code Trap
One of the most frequent code violations in switch wiring is overcrowding the electrical box. NEC Article 314.16 outlines strict box fill calculations. A standard single-pole switch counts as two conductor volumes based on the largest wire connected to it.
Box Volume Requirements by Wire Gauge
| Wire Gauge (AWG) | Volume Allowance per Conductor | Switch Volume Allowance (x2) | Minimum Single-Gang Box Size |
|---|---|---|---|
| 14 AWG | 2.0 cu in. | 4.0 cu in. | 18.0 cu in. (Standard) |
| 12 AWG | 2.25 cu in. | 4.5 cu in. | 20.25 cu in. (Deep) |
| 10 AWG | 2.5 cu in. | 5.0 cu in. | 22.5 cu in. (Extra Deep) |
Note: Internal cable clamps count as one conductor volume. All equipment grounding conductors combined count as one single conductor volume based on the largest EGC present.
Step-by-Step Installation & Torque Specifications
To ensure long-term reliability and prevent thermal arcing, follow this precise installation sequence:
- De-energize and Verify: Turn off the breaker and verify zero voltage using a CAT III or CAT IV non-contact voltage tester and a multimeter.
- Strip to Exact Length: Strip exactly 5/8 inch of insulation from the solid copper conductors. Exposed copper beyond the terminal washer creates a shock hazard; too little insulation under the washer causes high-resistance connections.
- Form the J-Hook: Use needle-nose pliers to form a clockwise 'J-hook' loop on the wire. The clockwise orientation ensures that tightening the terminal screw pulls the loop tighter around the screw shaft rather than pushing it outward.
- Apply Calibrated Torque: NEC 110.14(D) requires terminations to be tightened to the manufacturer's specified torque. For standard 15A residential switches (e.g., Leviton 1451 or Lutron Claro), the specified torque is typically 14 in-lbs. Use a calibrated torque screwdriver, such as the Klein Tools 32500, to achieve this exact specification.
- Secure the Ground: Terminate the bare/green EGC to the switch's green screw. If using a metal box, use a grounding clip or pigtail to bond the box to the EGC network.
Common Failure Modes and Prohibited Practices
Even with the correct wiring diagram for one way switch layouts, poor termination techniques lead to failure. Industry data highlighted by Electrical Contractor Magazine (ECM) points to several banned or highly discouraged practices:
- Backstabbing (Push-In Terminals): While UL-listed for 14 AWG solid copper wire, push-in terminals rely on a small internal spring clip. Over time, thermal expansion and contraction cause the spring to relax, leading to high resistance, voltage drop, and eventually, an arc fault. Always use the side-wire screw terminals.
- Over-tightening: Applying excessive force to brass terminal screws can strip the threads or sheer the screw head, compromising the clamping force on the conductor.
- Shared Neutrals (Multi-wire Branch Circuits): If your switch box contains a multi-wire branch circuit (MWBC), the two hot wires must be on a double-pole breaker or have approved handle ties (NEC 210.4). Failing to do so means the shared neutral can carry the sum of both legs, causing a fire.
The Smart Switch Neutral Requirement (NEC 404.2(C))
As smart home technology matures in 2026, the traditional one-way switch diagram is evolving. Modern smart switches (Wi-Fi, Zigbee, Z-Wave) require a continuous standby current to power their internal radios. Historically, installers used the EGC as a return path, which is a severe code violation and safety hazard.
To resolve this, the NEC introduced and expanded Article 404.2(C), which now mandates that a grounded neutral conductor be provided at nearly all switch locations in new construction and major renovations. When planning your wiring diagram, always pull a 14/3 or 12/3 NM-B cable (or include a dedicated neutral in your conduit) to the switch box, even if you are currently installing a standard mechanical snap switch. This future-proofs the installation for inevitable smart upgrades.
Frequently Asked Questions
Can I use a 20A switch on a 15A circuit?
Yes. NEC 404.14 allows switches to be rated higher than the circuit breaker. A 20A switch on a 15A breaker is perfectly legal and often provides a more robust internal contact mechanism.
Does the ground wire need to be pigtailed if I have a plastic box?
If you have multiple cables entering a non-metallic box, all bare/green ground wires must be twisted together and pigtailed to the switch's green grounding screw. They cannot rely on the switch yoke for continuity in a plastic box.
What if my existing wiring has no ground wire?
In older homes (pre-1960s) with ungrounded Knob & Tube or early NM cable, NEC 404.9(B) allows the installation of a snap switch without an EGC, provided you use a non-metallic faceplate. However, upgrading the circuit to include a ground is highly recommended for modern safety standards.