
Decoding the 48 Volt Electric Scooter Wiring Diagram
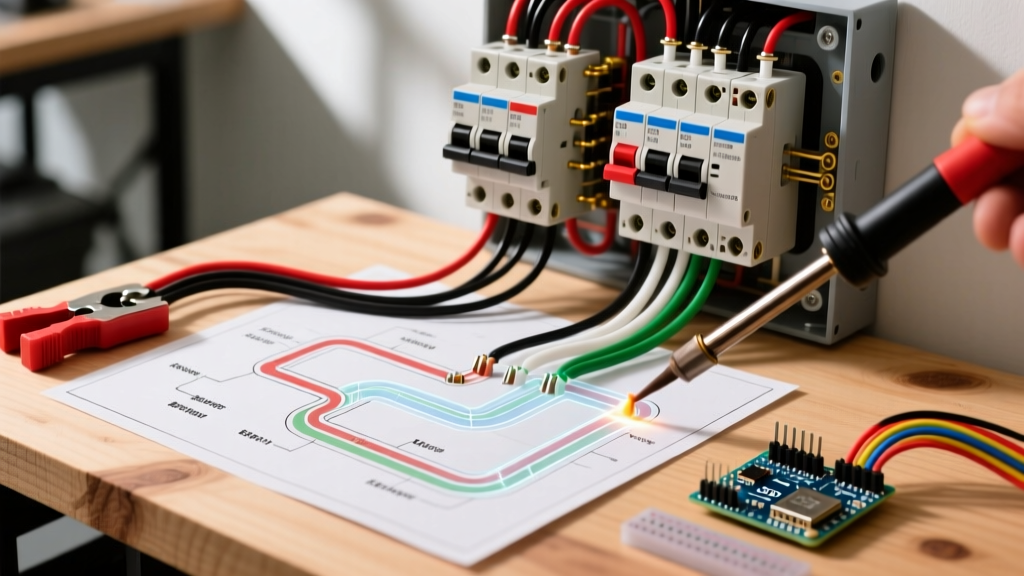
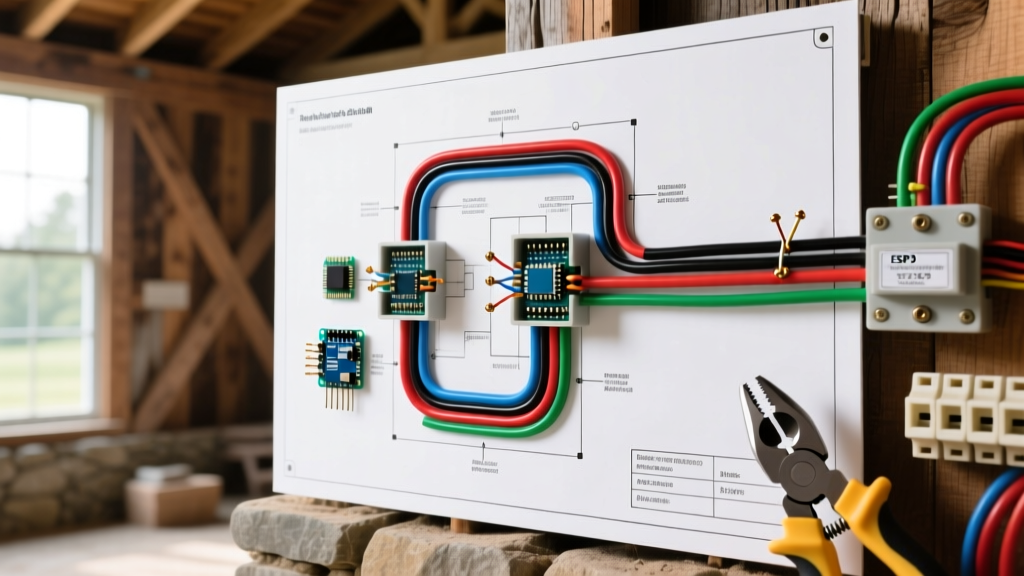
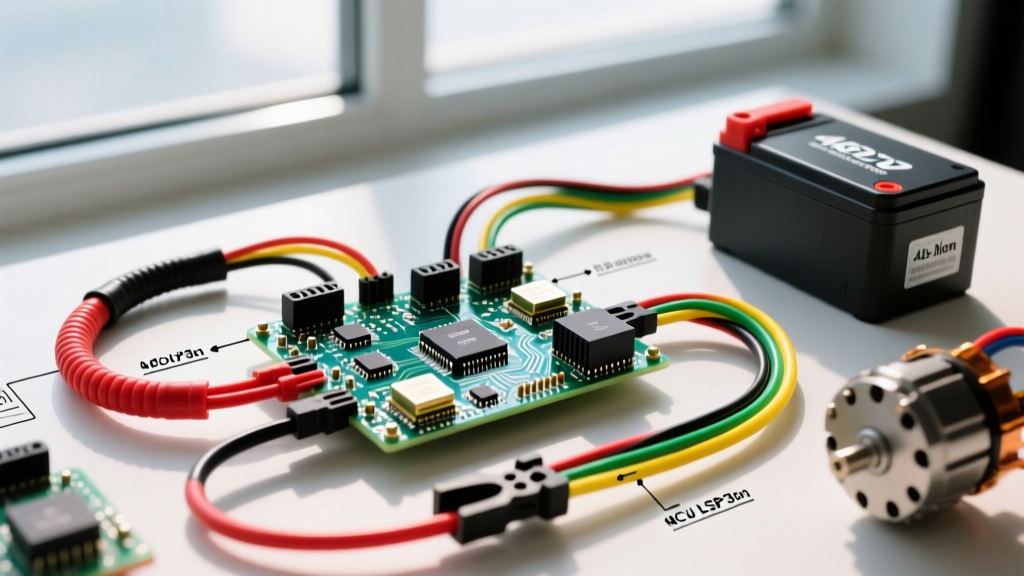
Building, repairing, or upgrading a personal electric vehicle (PEV) requires a meticulous approach to electrical routing. Understanding a complete controller wiring 48 volt electric scooter wiring diagram is the difference between a reliable daily commuter and a stranded rider with a fried logic board. In 2026, the standard for high-performance DIY and commercial e-scooters relies heavily on 13S lithium-ion configurations (nominally 48V, but operating between 42V and 54.6V). The controller acts as the central nervous system, translating low-voltage throttle signals into high-current phase pulses that drive the brushless DC (BLDC) hub motor.
This reference guide breaks down the exact pinouts, wire color matrices, and step-by-step routing sequences for standard 48V 30A to 40A brushless controllers (such as the widely used KT-series and generic Jialiti models). Whether you are replacing a blown MOSFET or wiring a custom Dualtron-style clone from scratch, these specifications will ensure a safe and functional build.
Standard 48V Controller Pinout and Wire Color Matrix
While manufacturers occasionally deviate, the global PEV supply chain has largely standardized around a specific color-code matrix for BLDC controllers. Below is the definitive reference table for a standard 48V 1000W-1500W controller harness.
| Function | Standard Wire Color(s) | Connector Type | Gauge / Spec |
|---|---|---|---|
| Main Battery Positive (B+) | Thick Red | XT90-S / Anderson SB50 | 10 AWG Silicone |
| Main Battery Negative (B-) | Thick Black | XT90-S / Anderson SB50 | 10 AWG Silicone |
| Motor Phase A | Thick Yellow | 4mm Bullet Connectors | 12 AWG Silicone |
| Motor Phase B | Thick Green | 4mm Bullet Connectors | 12 AWG Silicone |
| Motor Phase C | Thick Blue | 4mm Bullet Connectors | 12 AWG Silicone |
| Hall Sensor VCC (5V) | Thin Red | JST-SM 2.54mm (5-pin) | 22 AWG |
| Hall Sensor GND | Thin Black | JST-SM 2.54mm (5-pin) | 22 AWG |
| Hall Signals (A, B, C) | Yellow, Green, Blue | JST-SM 2.54mm (5-pin) | 22 AWG |
| Throttle Signal | Green (Signal), Red (5V), Black (GND) | JST-SM 2.54mm (3-pin) | 22 AWG |
| Brake Cut-off (Low Level) | White/Black pair | JST-SM 2.54mm (2-pin) | 22 AWG |
| Self-Learn / Auto-Phase | Two White wires with matching plugs | SM 2.54mm (1-pin) | 22 AWG |
Step-by-Step Controller Wiring Sequence
Improper sequencing is the leading cause of catastrophic controller failure. Connecting the low-voltage logic wires before the high-current phase wires can result in voltage backfeed, frying the microcontroller. Follow this exact sequence for all 48V builds.
Phase 1: High-Current Motor and Power Routing
- Motor Phases First: Connect the thick Yellow, Green, and Blue phase wires from the controller to the corresponding motor stator wires. Use heat-shrink tubing over 4mm bullet connectors to prevent shorting against the scooter frame. Do not solder directly to the motor axle if it passes through a sealed bearing housing; the heat will destroy the bearing grease.
- Hall Sensor Connection: Plug in the 5-pin JST-SM hall sensor connector. Ensure the latch clicks. A loose hall connection will cause the motor to 'cog' or stutter violently under load, potentially stripping the planetary gears in geared hub motors.
- Battery Negative (B-): Connect the thick black wire to the battery pack's negative terminal.
- Battery Positive (B+) with Anti-Spark: In 2026, using an XT90-S (anti-spark) connector is mandatory for 48V systems. The internal resistor pre-charges the controller's large electrolytic capacitors. Connecting a raw 54.6V source without pre-charging will cause a massive inrush current, welding your connectors and destroying the front-end MOSFETs.
Phase 2: Low-Voltage Logic and Peripherals
- Throttle Assembly: Connect the 3-pin throttle harness. Verify the pinout with a multimeter before applying power. Standard Hall-effect throttles require exactly 5V on the red wire. Supplying 12V (from a DC-DC converter by mistake) will instantly destroy the throttle's internal chip.
- Brake Cut-offs: Wire the electronic brake levers. Most generic 48V controllers use 'Low-Level' braking, meaning the brake wire must be pulled to ground (0V) to trigger the cut-off. If your scooter uses hydraulic brakes with 12V active-high sensors, you must install an optocoupler relay to step the signal down to the controller's logic level.
- Self-Learn Wire (Phase Matching): If the motor spins backward or vibrates without turning, connect the two white 'Self-Learn' wires together while the motor is elevated off the ground. The controller will automatically cycle through the 36 possible hall/phase combinations. Once the motor spins smoothly in the correct direction, disconnect the white wires to lock in the timing.
Wire Gauge Sizing and 2026 Component Realities
When referencing a controller wiring 48 volt electric scooter wiring diagram, the diagram rarely specifies wire gauge, leaving it to the builder's discretion. According to the PowerStream Wire Gauge Chart, a 30A continuous draw requires a minimum of 10 AWG copper wire to prevent voltage sag and insulation melting. However, PEV manufacturers frequently cut costs by using 12 AWG or even 14 AWG for main battery leads, which becomes a severe fire hazard during hill climbs where peak current can spike to 45A for several seconds.
Safety Warning: Never use standard PVC-jacketed automotive wire for high-current 48V scooter builds. PVC melts at relatively low temperatures and will short against the aluminum deck. Always specify stranded silicone-insulated wire, which is rated for 200°C and remains highly flexible in freezing weather.
Regarding component costs in the current market, a reliable 48V 30A brushless controller (such as a KT36/48SVPR or equivalent) typically retails between $45 and $85. Upgrading to a waterproof, potted controller with an aluminum finned heatsink (like the VESC-based options or high-end Sabvoton clones) will push the budget to $150–$250, but provides vastly superior thermal management for sustained 48V operation.
Diagnostic Troubleshooting: Identifying Failure Modes
Even with a perfect wiring diagram, environmental factors and component fatigue lead to failures. Here is how to diagnose the three most common 48V controller issues using a standard digital multimeter (DMM).
1. Blown Phase MOSFETs (Motor Locks Up When Pushed)
If your scooter's rear wheel feels like it has a physical brake applied when the scooter is powered off, you have a shorted MOSFET bank.
The Test: Set your DMM to Diode Test mode. Place the black probe on the thick Black battery wire (B-). Touch the red probe to each of the thick phase wires (Yellow, Green, Blue) in succession. You should read a voltage drop between 0.400V and 0.600V. If any phase reads 0.000V (a dead short), the corresponding low-side MOSFET has failed and the controller must be replaced or rebuilt.
2. Hall Sensor Misalignment or Burnout (Motor Stutters and Clicks)
If the motor spins smoothly off the ground but violently shakes and clicks when you sit on the scooter, a hall sensor has failed or the wiring is compromised.
The Test: Back-probe the 5-pin hall connector while the controller is powered on. The Red wire must read exactly 5.0V. The Yellow, Green, and Blue signal wires should read either 0V or 5V. Slowly rotate the wheel by hand. If one of the signal wires stays stuck at 0V or 5V and never toggles, that specific hall sensor inside the motor stator is dead. According to technical resources from Grin Technologies (ebikes.ca), replacing internal hall sensors requires opening the motor side cover, desoldering the old SS41F sensors, and potting the new ones with high-temp epoxy.
3. Throttle Ground Fault (Scooter Accelerates on Power-Up)
This is a highly dangerous failure mode where the scooter takes off the moment you turn the key. It is almost always caused by a broken Black (Ground) wire in the throttle harness. When the ground reference is lost, the controller's microcontroller reads the floating signal wire as a maximum 5V throttle command.
The Fix: Inspect the throttle harness near the folding stem hinge. This area experiences thousands of micro-bends. Splice in a new 22 AWG ground wire and wrap the harness in split-loom tubing to prevent future fatigue.
Final System Validation
Before sealing the scooter's deck or battery bag, perform a 'bench test' with the drive wheel elevated. Verify that the electronic brake cut-offs instantly kill the motor signal. Check that the battery voltage display on your LCD (if equipped) matches a multimeter reading at the XT90 connector within 0.2V. For comprehensive schematics on specific commercial scooter models, the archives at Electric Scooter Parts remain an invaluable cross-reference for matching proprietary harnesses to generic 48V controllers. By strictly adhering to proper wire gauging, anti-spark protocols, and logical sequencing, your 48V system will deliver thousands of miles of reliable, high-torque performance.