
The Evolution of Motorcycle Lighting in 2026
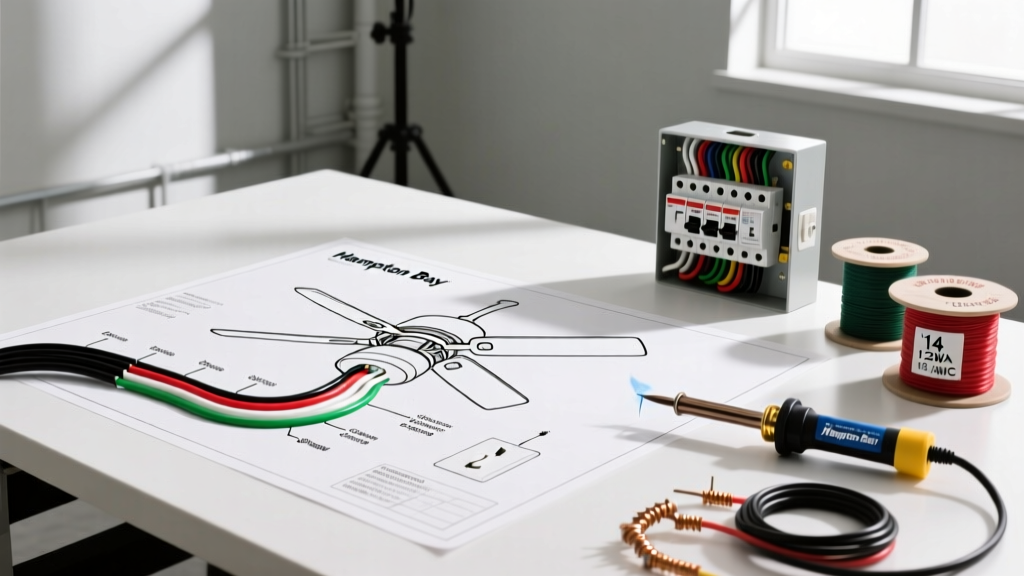
Upgrading to auxiliary or replacement LED lighting is one of the most impactful modifications a rider can make. However, as motorcycles become increasingly reliant on complex CAN-bus networks and high-frequency Pulse Width Modulation (PWM), a standard wiring diagram for motorcycle LED light installations is no longer just about connecting positive to positive. It requires a strict adherence to wire gauge calculations and standardized color codes to prevent voltage drop, CAN-bus fault codes, and potential electrical fires.
This comprehensive guide bridges the gap between basic wiring schematics and professional-grade electrical engineering, focusing specifically on wire gauge selection, DIN and ISO color standards, and relay integration for modern 12V DC motorcycle systems.
Standard Motorcycle Wire Color Codes: DIN vs. JIS
Before cutting a single wire, you must understand the color coding language of your specific motorcycle. Mixing up a switched ignition wire with a constant 12V battery wire is a common failure point that leads to dead batteries. Globally, two primary standards dictate road vehicle low-tension cable standards and color coding.
| Function | DIN 76731 (European/BMW/KTM) | JIS / Japanese OEM (Honda/Yamaha) | Aftermarket Accessory Standard |
|---|---|---|---|
| Constant 12V (Battery Direct) | Red (RD) | Red (R) or Red/White | Red |
| Ground / Earth | Black (BK) or Brown (BN) | Green (G) or Black/White | Black |
| Switched 12V (Ignition ON) | Yellow (YE) or Black/Yellow | Black (B) or Blue (L) | Yellow or Red (with inline fuse) |
| High Beam / Signal Trigger | White (WH) | Blue (L) or Yellow (Y) | White or Blue |
| CAN-Bus / Data Signal | Blue (BU) or White/Blue | Varies by ECU | N/A (Use dedicated decoder) |
Calculating Wire Gauge (AWG) for LED Auxiliary Lights
LEDs are highly efficient, but undersizing your wire gauge remains a critical error. Voltage drop in a 12V DC system is exponential over distance. If your LED light requires 11.5V to operate at full lumens, and your wire run drops the voltage to 10.8V, the light will flicker or the internal driver will shut down to protect itself.
The Voltage Drop Formula
To calculate the exact American Wire Gauge (AWG) needed, use the standard DC voltage drop formula:
VD = (2 × K × I × L) / CM
- VD: Voltage Drop (Target < 0.5V for lighting circuits)
- K: Specific resistance of copper (10.4 ohms per mil-foot at 20°C)
- I: Current in Amps
- L: One-way length of the wire in feet (multiply by 2 for the full circuit loop)
- CM: Circular mils of the wire gauge
2026 LED Light Wire Gauge Reference Chart
Based on modern high-output LED pods (like the Baja Designs Squadron Pro or DENALI D7), here is the recommended gauge for standard ADV and cruiser motorcycle runs. We recommend cross-linked polyethylene (XLPE) insulated wire for its superior resistance to engine bay heat and vibration.
| LED Light Wattage | Current Draw (@ 13.8V) | Recommended AWG (Up to 5 ft run) | Recommended AWG (Up to 12 ft run) | Inline Fuse Size |
|---|---|---|---|---|
| 10W - 20W (Small Spot) | 0.7A - 1.4A | 18 AWG | 16 AWG | 3A (Mini Blade) |
| 30W - 40W (Standard Pod) | 2.1A - 2.9A | 16 AWG | 14 AWG | 5A (Mini Blade) |
| 50W - 70W (High-Output) | 3.6A - 5.1A | 14 AWG | 12 AWG | 7.5A (ATO/ATC) |
| 100W+ (Lightbars/Multiple) | 7.2A+ | 12 AWG | 10 AWG | 15A (ATO/ATC) |
Step-by-Step Wiring Diagram for Motorcycle LED Light (Relay Integration)
Never wire high-draw LED lights directly through a handlebar switch. The thin 20 AWG or 22 AWG wires used in OEM handlebar switches will melt under sustained loads. You must use a standard ISO mini relay (Bosch-style 4-pin or 5-pin). Below is the definitive wiring sequence for a safe, switched auxiliary light setup.
Required Components & 2026 Pricing
- ISO Mini Relay (30A, 4-Pin): ~$8.00 (e.g., Painless Performance or Littelfuse)
- Waterproof Relay Socket with Pigtails: ~$12.00
- Handlebar Toggle Switch (Waterproof IP67): ~$15.00
- Adhesive-Lined Marine Heat Shrink (3:1 ratio): ~$10.00
- 16 AWG Primary Wire (Red, Black, Yellow): ~$15.00 per spool
The Wiring Sequence
- Pin 30 (Power In): Run 12 AWG or 14 AWG red wire directly from the positive battery terminal. Install an inline fuse holder within 3 inches of the battery post. Connect this to Relay Pin 30.
- Pin 87 (Power Out): Run 14 AWG or 16 AWG red wire from Relay Pin 87 directly to the positive terminal of your LED light.
- Pin 85 (Ground): Run 16 AWG black wire from Relay Pin 85 to a clean, unpainted chassis ground or directly to the negative battery terminal.
- Pin 86 (Trigger/Switch): Run 18 AWG yellow wire from Relay Pin 86 to one terminal of your handlebar switch. Run another wire from the second switch terminal to a switched 12V ignition source (e.g., the tail light wire or license plate light wire). This ensures the lights turn off when you remove the key.
- Light Ground: Run 16 AWG black wire from the LED light negative terminal to a solid chassis ground.
Vibration is the enemy of motorcycle wiring. Never use standard electrical tape or non-adhesive heat shrink. Always use 3:1 marine-grade adhesive-lined heat shrink. When heated, the inner glue melts and seals the connection against moisture and vibration, matching the durability of OEM federally compliant lighting harnesses.
Modern CAN-Bus Integration & PWM Troubleshooting
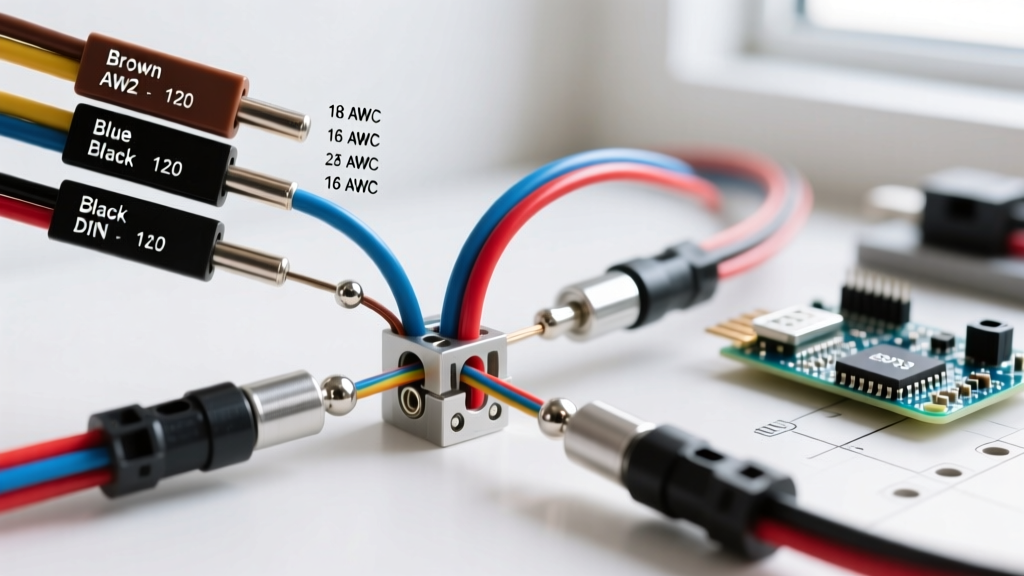
If you are installing a wiring diagram for motorcycle LED light setups on a post-2020 BMW (R1250GS/R1300GS), KTM, or Ducati, you will likely encounter CAN-bus and PWM issues. These bikes do not use simple 12V switched lines; they use Pulse Width Modulation to check bulb health.
The PWM Failure Mode
OEM halogen bulbs draw 55W. The ECU expects this specific resistance. When you wire a 20W LED light, the ECU detects a "bulb out" condition due to the low current draw and cuts power entirely. Furthermore, the PWM signal rapidly cycles the voltage on and off, causing the LED light to strobe violently.
Solutions for CAN-Bus Bikes
- Method 1: Load Resistors (The Cheap Fix). Wire a 12V 10W ceramic load resistor in parallel with the LED trigger wire. This tricks the ECU into seeing the correct current draw. Warning: Resistors get extremely hot and must be mounted to a metal heat sink, away from plastics.
- Method 2: CAN-Bus Decoder Module (The 2026 Standard). Use a dedicated plug-and-play module like the DENALI CANsmart or Hex ezCAN. These devices read the digital CAN-bus data directly and provide clean, unmodulated 12V power to your relays, while allowing you to control the lights via the bike's OEM handlebar switches.
Frequently Asked Questions (FAQ)
Can I use 18 AWG wire for the entire LED light circuit?
While 18 AWG can handle the amperage of most single LED pods (under 5A), it lacks the mechanical tensile strength to withstand long-term motorcycle vibration, especially near the steering head where wires flex during turning. Use 18 AWG only for low-current trigger wires inside the relay circuit. Use 14 AWG or 16 AWG for the main power and ground runs.
Do I need a diode across the relay coil?
Yes. When a relay coil is de-energized, it creates a reverse voltage spike (inductive kickback) that can damage sensitive motorcycle ECU components or CAN-bus modules. Soldering a standard 1N4007 rectifier diode across pins 85 and 86 (stripe facing pin 30/87) safely dissipates this spike.
Why does my LED light stay on for 30 seconds after turning off the bike?
Many modern motorcycles feature a "delayed accessory" circuit that keeps certain lines powered for 30 to 60 seconds after the ignition is turned off to allow for GPS or heated gear shutdown. If you tapped into a delayed circuit (often found on the tail light or accessory plug), your light will exhibit this behavior. Tap into the license plate light or headlight high-beam wire for immediate shut-off.