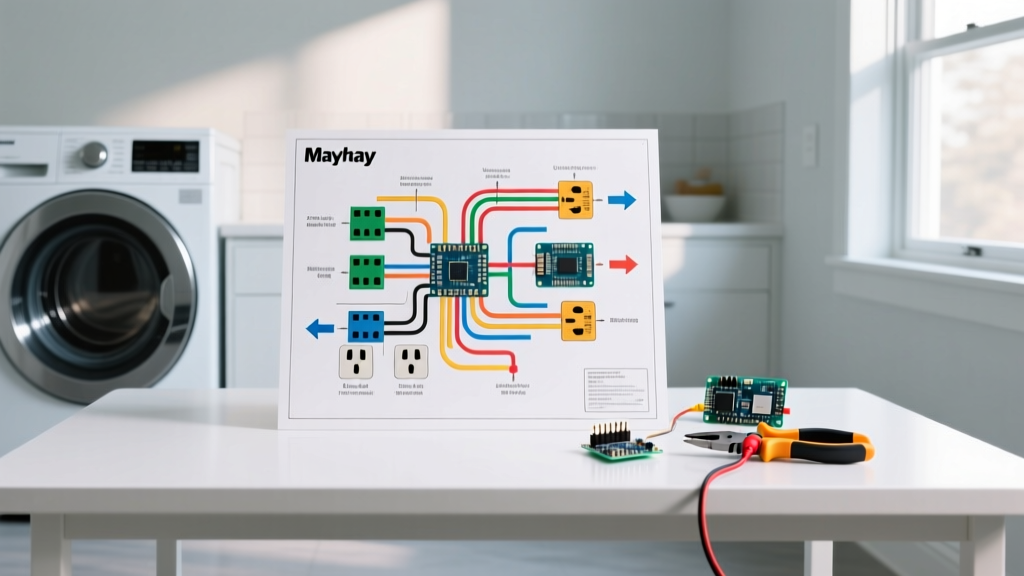

Planning Your Maytag Dryer Installation: Beyond the Box
Whether you are upgrading to a high-capacity Maytag Pet Pro (MED6500MW) or installing a reliable Maytag Centennial (MEDC215EW) in a newly renovated laundry room, proper electrical planning is non-negotiable. A standard residential electric dryer draws between 5,200 and 5,400 watts, demanding a dedicated 240-volt circuit. Misinterpreting the wiring diagram for a Maytag dryer can lead to tripped breakers, damaged control boards, or severe fire hazards.
This installation planning guide decodes the manufacturer schematics, outlines National Electrical Code (NEC) requirements for 2026, and provides actionable steps for terminating your power cord safely. Before you unbox the appliance, you must understand the electrical infrastructure required to support it.
Decoding the Maytag Dryer Wiring Diagram
The wiring diagram for a Maytag dryer—typically located on the inside of the rear access panel or the back of the console—maps the flow of 240V and 120V current through the machine's components. Unlike generic appliance schematics, Maytag (manufactured by Whirlpool) utilizes specific symbols for its proprietary components.
Key Schematic Components to Identify
- Terminal Block: The entry point for external power. Diagrams will show either a 3-terminal or 4-terminal configuration.
- Centrifugal Motor Switch: Crucial for safety. This switch prevents the heating element from energizing until the motor reaches operating RPM, ensuring airflow is established before heat is generated.
- Electronic Control Board / Timer: On newer models like the Bravos XL, the diagram will route power through a main control board relay rather than a mechanical timer.
- Thermal Fuse & High-Limit Thermostat: Wired in series with the heating element. If the exhaust vent is restricted, these open the circuit to prevent fires.
Expert Insight: When tracing a fault on your Maytag schematic, always remember that the heating element requires 240V (both L1 and L2 legs), while the motor, timer, and interior light only require 120V (one hot leg and the neutral). If your dryer tumbles but produces no heat, you have likely lost one of the 120V hot legs at the breaker or terminal block.
3-Prong vs. 4-Prong: The NEC Compliance Matrix
The most critical decision during installation planning is matching your power cord to your home's receptacle. Since the 1996 NEC update, and strictly enforced in all 2023/2026 local adoptions, new construction requires a 4-prong setup. However, older homes may still have 3-prong outlets.
| Feature | 3-Prong (NEMA 10-30) | 4-Prong (NEMA 14-30) |
|---|---|---|
| Wire Count | 3 (Two Hots, One Combined Neutral/Ground) | 4 (Two Hots, One Neutral, One Dedicated Ground) |
| Grounding Method | Neutral terminal bonded to dryer chassis via ground strap | Chassis grounded independently via green wire; neutral isolated |
| NEC Status (2026) | Grandfathered for existing installations only | Mandatory for all new construction and remodels |
| Safety Risk | Higher (chassis can become energized if neutral fails) | Lowest (separate ground path ensures safe fault clearing) |
| Cord Cost (Approx.) | $20 - $28 | $25 - $35 |
Warning: Never plug a 3-prong cord into a 4-prong receptacle using an adapter, and never remove the ground pin from a cord. If your home has a 3-prong outlet, the Electrical Safety Foundation International (ESFI) highly recommends hiring a licensed electrician to upgrade the circuit to a 4-wire NEMA 14-30R setup.
Pre-Installation Circuit & Wire Gauge Requirements
Before terminating the wiring diagram for a Maytag dryer at the terminal block, verify your branch circuit. Electric dryers require a dedicated 30-amp, double-pole breaker.
Wire Sizing and Voltage Drop
For runs up to 100 feet from the main service panel, 10 AWG copper wire (typically 10/3 NM-B with ground for 4-prong) is the standard. As of early 2026, 10/3 NM-B copper wire averages $1.60 to $1.90 per linear foot. If your laundry room is located more than 100 feet from the panel, you must upsize to 8 AWG copper to mitigate voltage drop, which can cause the dryer's heating element to underperform and the control board to throw error codes (like F-01 or F-22 on Maytag digital displays).
Step-by-Step Terminal Block Wiring (4-Prong Configuration)
When executing the physical connection based on the wiring diagram, precision and torque matter. Loose connections at the terminal block are a leading cause of laundry room fires due to arcing.
- Install the Strain Relief Bracket: Before connecting any wires, install the metal strain relief clamp through the knockout hole at the bottom rear of the dryer. This prevents the heavy power cord from pulling out of the terminal block if the dryer is moved. Tighten the clamp screws securely.
- Remove the Ground Strap (Crucial): If your Maytag dryer shipped from the factory with a 3-prong configuration, a copper ground strap will connect the center (neutral) terminal to the metal chassis. You must remove or fold back this strap when using a 4-prong cord. Leaving it in place bonds the neutral to the ground, which violates NEC Article 250.140 and can cause GFCI breakers to trip immediately.
- Connect the Ground (Green): Attach the green wire from the 4-prong cord to the external ground screw on the dryer cabinet, usually located near the terminal block. Torque to 25-35 in-lbs.
- Connect the Neutral (White): Attach the white wire to the center silver terminal on the block. This terminal is isolated from the chassis in a 4-prong setup.
- Connect the Hot Legs (Red and Black): Attach the red and black wires to the outer brass terminals. Polarity between the two hot legs does not matter for a standard Maytag dryer; either hot can go to either outer terminal.
- Secure the Block Cover: Replace the cardboard or plastic terminal block cover to prevent accidental contact with live 240V terminals.
Pre-Flight Receptacle Testing
Do not plug the dryer in immediately after wiring the terminal block. Use a digital multimeter to verify the NEMA 14-30R receptacle wiring at the wall. This prevents catastrophic damage to the dryer's electronic control board if the electrician miswired the outlet.
- L1 to L2 (Hot to Hot): Should read 240V (±5%).
- L1 to Neutral: Should read 120V.
- L2 to Neutral: Should read 120V.
- Ground to Neutral: Should read 0V to 1.5V. (If you read 120V here, the neutral is floating or miswired—do not proceed).
For comprehensive guidelines on appliance energy efficiency and electrical safety standards, refer to the U.S. Department of Energy's clothes dryer resources and the National Fire Protection Association (NFPA) NEC portal.
Common Installation Failure Modes
The Dryer Runs, But the Timer Doesn't Advance
If your Maytag dryer tumbles and heats, but the mechanical timer stalls, check the wiring diagram for the timer motor circuit. The timer motor operates on 120V. If the neutral connection at the terminal block is loose, the timer motor will not receive the return path required to operate, even though the 240V heating element continues to function.
Breaker Trips Immediately Upon Starting
This is almost always caused by a neutral-to-ground fault. If you are using a 4-prong cord and forgot to remove the factory ground strap at the center terminal, the neutral current will return to the panel via both the neutral wire and the ground wire. If your panel utilizes a dual-function (CAFCI/GFCI) 30A breaker, this current imbalance will trigger an immediate trip. Remove the strap, isolate the neutral, and reset the breaker.
Final Planning Checklist
Before pushing the dryer against the wall, ensure you have completed the following:
- Verified 10 AWG (or 8 AWG for long runs) copper wiring.
- Confirmed 30A double-pole breaker is correctly sized.
- Matched the power cord (3 or 4 prong) to the wall receptacle.
- Removed the neutral-to-chassis ground strap (for 4-prong installs).
- Torqued all terminal block screws and installed the strain relief.
- Cleaned the exhaust vent path to ensure optimal airflow and prevent thermal fuse blowouts.
By thoroughly understanding the wiring diagram for a Maytag dryer and adhering to modern electrical codes, you ensure a safe, efficient, and long-lasting installation for your laundry room.