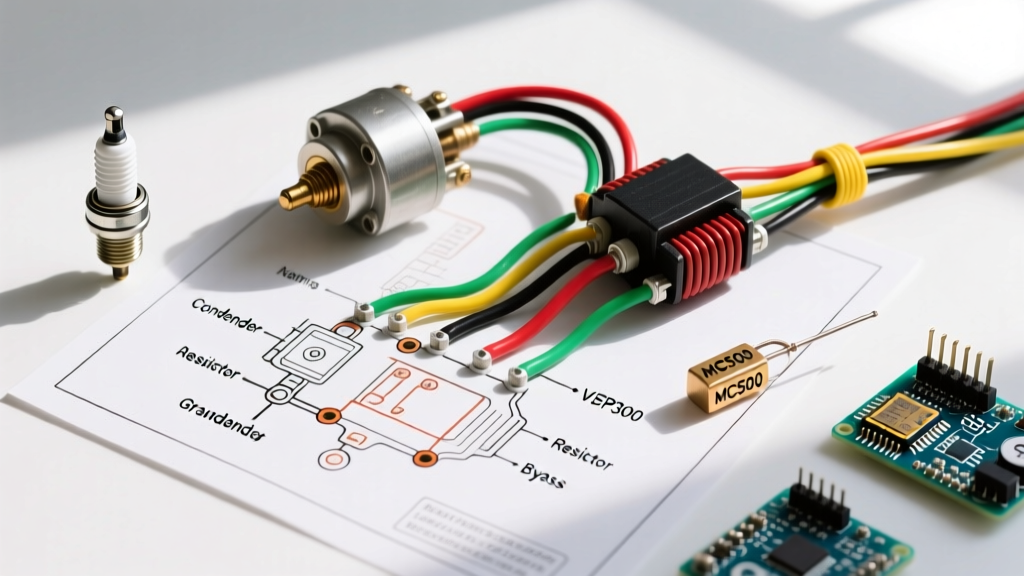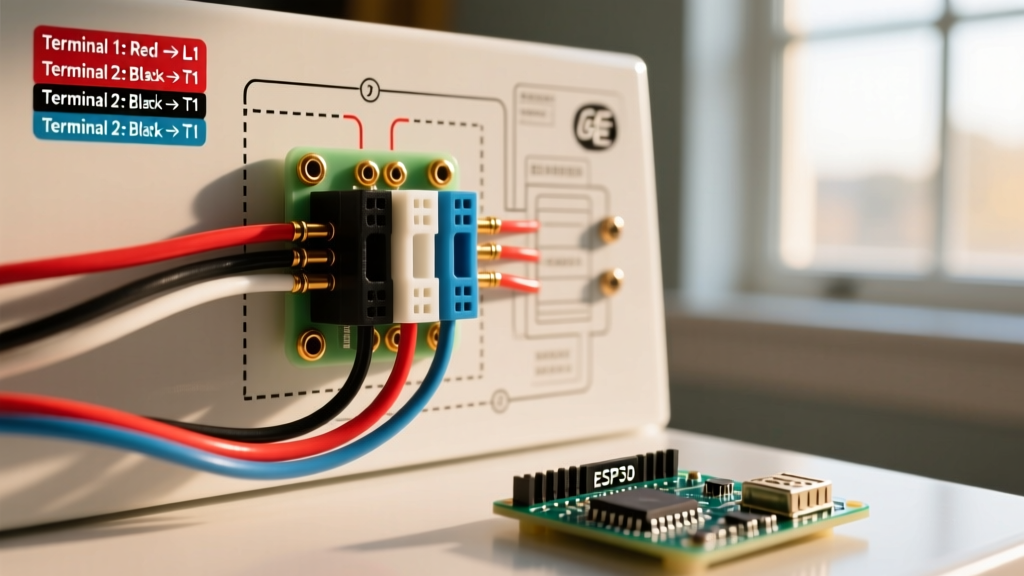

Introduction to the STX38 Electrical Architecture
The John Deere STX38, produced primarily between 1992 and 1997, remains a legendary staple in residential lawn care. Despite its age, its 12-volt electrical system is remarkably robust. However, as we navigate the 2026 landscaping season, original OEM wiring harnesses are largely discontinued or subject to extreme backorders. Understanding the wiring diagram for John Deere STX38 mowers is no longer just about reading a schematic; it is about harness repair, custom loom building, and precise multimeter diagnostics. Whether your STX38 is equipped with the Kawasaki FD420V or the Kohler Command CV15S, the core 12V DC logic remains consistent, though the engine-specific kill circuits and regulator plugs vary slightly.
Engine Variations: Kawasaki vs. Kohler
Before tracing any wires, identify your engine block. The wiring diagram for the John Deere STX38 changes at the engine harness connector depending on the manufacturer:
- Kawasaki FD420V (12.5 HP / 13 HP): Uses a specific 3-pin regulator connector and a dual-coil ignition kill setup. The kill wire (usually green) must ground to the engine block to stop the spark.
- Kohler Command CV15S: Features a different voltage regulator pinout and utilizes a SAM (Smart Alternator Module) or standard rectifier depending on the exact year of manufacture. The kill circuit often relies on breaking the primary ignition coil ground rather than a direct short.
Core Circuit Breakdown & Wire Color Reference
John Deere utilizes a standardized color-coding system for its lawn and garden tractors. While UV exposure and previous DIY repairs may have altered your specific harness, the factory wiring diagram for the John Deere STX38 adheres to the following color matrix:
| Wire Color | Primary Function | Voltage / Signal Type | Common Connection Points |
|---|---|---|---|
| Red | Main Battery Positive | 12V DC (Constant) | Starter Solenoid, Ignition Switch (B), PTO Fuse |
| Black | Chassis / Engine Ground | 0V (Return Path) | Battery Negative, Headlights, Solenoid Base |
| Yellow (x2) | Stator AC Output | 28V - 35V AC | Engine Stator to Voltage Regulator |
| White | Regulated DC Output | 13.8V - 14.2V DC | Voltage Regulator to Ignition Switch / Battery |
| Purple | PTO Clutch Engagement | 12V DC (Switched) | PTO Switch to Electromagnetic Clutch Coil |
| Green | Ignition Kill / Safety | Ground Signal | Ignition Switch (M) to Engine Coil |
The Safety Interlock System Logic
The most heavily modified and frequently failing section of the STX38 wiring diagram is the safety interlock system. John Deere engineered this system to prevent the engine from cranking unless specific conditions are met, and to kill the engine if the operator leaves the seat while the PTO is engaged.
Starter Solenoid Trigger Path
For the starter solenoid to receive the 12V trigger signal from the ignition switch's 'S' terminal, the current must pass through a series of normally-open (NO) and normally-closed (NC) switches. The exact logic flow is:
- Brake Pedal Switch: Must be depressed (Circuit Closed).
- PTO Engagement Switch: Must be in the OFF/DISENGAGED position (Circuit Closed).
- Transmission Gear Selector: Must be in Neutral or Park (if equipped with a neutral safety switch).
Pro-Tip for 2026 Restorations: If your STX38 clicks once at the solenoid but won't crank, bypass the safety switches temporarily with a jumper wire to isolate a failed micro-switch. Brake switches on the STX38 are notorious for internal corrosion due to their low mounting position near the mower deck.
Charging System & Stator Troubleshooting
Unlike automotive alternators, the STX38 uses a permanent-magnet stator located under the engine flywheel, paired with an external voltage regulator/rectifier. Diagnosing this requires a digital multimeter (DMM) capable of reading AC voltage.
Critical Testing Warning: Never test the yellow stator wires with your multimeter set to DC Voltage. The stator produces raw Alternating Current (AC). Setting your DMM to DC will yield inaccurate, near-zero readings, leading you to falsely condemn a perfectly good stator.
Step-by-Step Stator & Regulator Test
- Locate the Regulator: Unplug the 3-pin connector (two yellow, one white/ground) near the engine block.
- Test Stator AC Output: Set your DMM to 200V AC. Insert probes into the two yellow wire terminals on the engine side of the plug. Start the engine and run at full throttle (3600 RPM). You should read 28V to 35V AC. If you read below 24V AC, the stator is failing or the flywheel magnets have demagnetized.
- Test Regulator DC Output: Reconnect the plug. Set DMM to 20V DC. Place the red probe on the white output wire and the black probe on the battery negative post. At full throttle, you must read 13.8V to 14.2V DC. If the voltage remains at 12.4V or drops as RPMs increase, the internal diode bridge in the regulator has failed.
PTO Clutch Diagnostics and Air Gap Adjustment
The electromagnetic PTO clutch on the STX38 (typically a Warner 5218-44 or Ogura equivalent) is a high-draw component. When engaged, it should pull between 2.5 and 3.5 Amps. As of 2026, an OEM replacement PTO clutch costs between $160 and $210, while high-quality aftermarket units from Jack's Small Engines range from $95 to $130.
Before replacing a slipping PTO clutch, check the air gap. Over time, the friction surfaces wear down, widening the gap between the armature and the rotor. If the gap exceeds 0.030 inches, the magnetic field cannot pull the armature in, resulting in slipping, extreme heat, and eventual coil burnout.
- Target Air Gap: 0.018" to 0.022"
- Adjustment Method: Loosen the three set screws on the clutch armature. Insert a 0.020" feeler gauge between the rotor and armature at three 90-degree intervals. Tighten the set screws evenly while maintaining gauge friction.
Sourcing Parts and Harness Repair
Because the STX38 is a legacy model, finding a complete, plug-and-play OEM wiring harness is nearly impossible. Most technicians and advanced DIYers now purchase bulk marine-grade tinned copper wire (AWG 12 for main power, AWG 16 for switched circuits) and Deutsch connectors to rebuild the harness from scratch. For engine-specific components like the Kawasaki voltage regulator or ignition coils, the Kawasaki Motors Support portal provides the exact OEM part numbers cross-referenced to your engine serial number. For chassis and body electrical components, the John Deere Parts Catalog remains the gold standard for verifying original switch terminal configurations.
Common STX38 Electrical Failure Matrix
| Symptom | Probable Cause | Multimeter Test / Action |
|---|---|---|
| Engine cranks but won't start | Ignition Kill Wire Grounded | Check Green wire for continuity to ground with key ON. Should be Open (OL). |
| Battery dies after 2 mows | Failed Voltage Regulator | Test White wire for 14.1V DC at 3600 RPM. If 12V, replace regulator. |
| PTO won't engage, clicks at switch | Worn Clutch Air Gap or Bad Fuse | Check 20A inline fuse. Measure clutch coil resistance (should be 3-5 Ohms). |
| Headlights flicker violently | AC Ripple from Bad Regulator | Test headlight wires with DMM set to AC. Any reading over 1.5V AC indicates bad diodes. |
Mastering the wiring diagram for the John Deere STX38 requires moving beyond simple visual inspections. By understanding the underlying logic of the safety interlocks, the AC-to-DC conversion of the stator, and the precise mechanical tolerances of the PTO clutch, you can keep these legendary machines running flawlessly for decades to come.