
Decoding the Electrical Architecture of Modern Husqvarna Mowers
When servicing or modifying outdoor power equipment, understanding the wiring diagram for Husqvarna riding mower models is not merely an exercise in restoring functionality; it is a critical safety imperative. Modern Husqvarna tractors, such as the TS 354XD and the YTH24V54, feature complex 12V DC electrical systems that integrate high-amperage starter circuits, solid-state safety interlocks, and sensitive charging stators. As of 2026, with the widespread adoption of Electronic Fuel Injection (EFI) in premium residential and commercial mowers, the electrical architecture has become even more sensitive to voltage drops and improper grounding.
Ignoring electrical codes and manufacturer specifications when repairing these systems can lead to catastrophic failures, including harness fires, unintended blade engagement, or destruction of the Engine Control Unit (ECU). This guide breaks down the safety and compliance aspects of Husqvarna wiring diagrams, referencing industry standards to ensure your repairs meet the highest benchmarks for operator safety.
The ANSI/OPEI B71.1 Standard and Safety Interlocks
The electrical safety systems in Husqvarna riding mowers are governed by the ANSI/OPEI B71.1 standard, which dictates the requirements for consumer turf care equipment. This standard mandates that the mower's engine and cutting blades must automatically stop if the operator leaves the seat while the Power Take-Off (PTO) is engaged, or if the mower is shifted into reverse without the operator deliberately overriding the system (Reverse Operation System, or ROS).
Understanding the Interlock Logic Loop
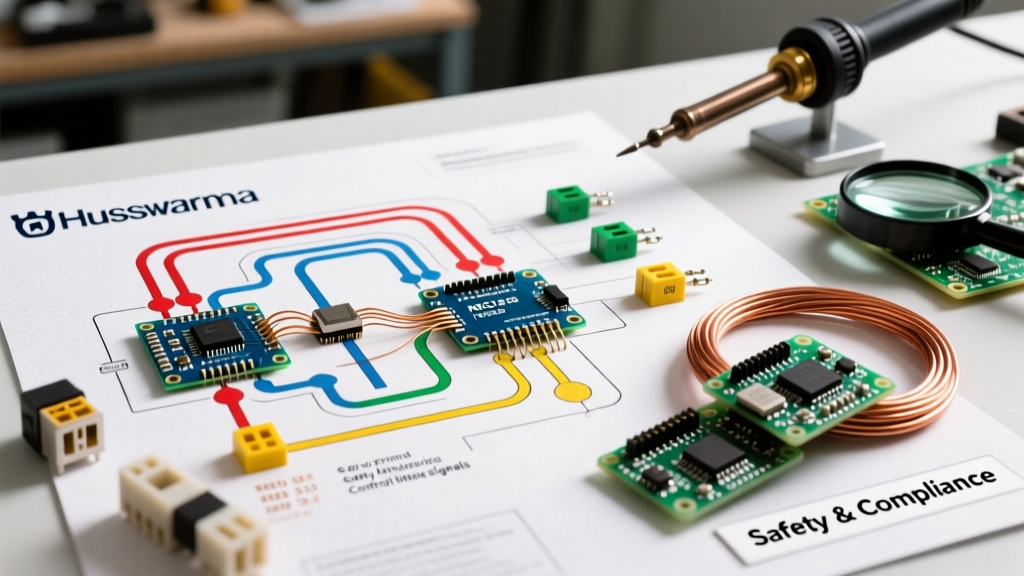
On a standard Husqvarna wiring diagram, the safety interlock loop is typically represented by white or light blue wires connecting the seat switch, brake pedal switch, PTO switch, and ignition module. These switches operate on a 'ground-to-kill' or 'open-to-run' logic, depending on the specific ignition module (e.g., Walbro or Nikki).
- Seat Switch (4-pin): Detects operator weight. If the operator rises, the switch closes a circuit that grounds the ignition kill wire or triggers a solid-state relay to cut fuel/spark.
- Brake/Clutch Switch: Ensures the transmission is disengaged and brakes are set during cranking. Bypassing this switch violates code and allows the mower to lurch forward upon starting.
- PTO Engagement Switch: Monitors blade status. If the PTO is engaged, the seat switch logic changes to require the brake to be set or the engine to die if the seat is vacated.
Expert Compliance Warning: Never jumper or bypass a Husqvarna safety interlock switch to troubleshoot a no-start condition. According to the U.S. Consumer Product Safety Commission (CPSC), bypassed interlocks are a leading cause of severe laceration and amputation injuries in children and operators who fall from the machine.
Wire Gauge, Routing, and SAE J1128 Compliance
A common mistake among DIY mechanics is replacing damaged mower wiring with whatever copper wire is available in the garage. Automotive and outdoor power equipment wiring must comply with SAE J1128 standards for low-tension primary cable, which dictates specific insulation thickness, temperature ratings (typically 125°C), and resistance to oil, gasoline, and UV exposure.
Below is the required wire gauge matrix for standard 12V Husqvarna circuits, ensuring voltage drop remains below 3% over the length of the harness.
| Circuit Function | Max Amperage | Min. AWG (SAE J1128) | Husqvarna Standard Color |
|---|---|---|---|
| Battery to Starter Solenoid | 250A (Cranking Peak) | 6 AWG | Red (Heavy) |
| Main Harness (Post 30A Fuse) | 30A Continuous | 10 AWG | Red |
| PTO Clutch Engagement | 5A Peak / 3.5A Run | 14 AWG | Purple |
| Safety Interlock Loop | < 1A | 16 AWG | White / Light Blue |
| Charging Stator to Rectifier | 20A AC | 14 AWG | Yellow (AC) / Red (DC) |
The Powder-Coat Grounding Problem
Husqvarna mower frames are coated with a thick, electrostatically applied powder coat. This coating is an excellent electrical insulator. When a wiring diagram calls for a chassis ground, you cannot simply bolt a ring terminal to the frame. Code-compliant repairs require the use of a star washer or a specialized grounding terminal that bites through the powder coat to establish a zero-resistance path to the bare steel. Failure to do so results in erratic ECU behavior, dim headlights, and premature PTO clutch failure due to voltage starvation.
Overcurrent Protection: Fuses and Relays
The primary overcurrent protection on a Husqvarna riding mower is a 30A ATO/ATC blade fuse, typically housed in a red inline waterproof holder located within 12 inches of the battery's positive terminal. This placement is critical; it ensures that the entire main harness is protected in the event of a dead short to the frame.
Why You Must Never Upsize the Main Fuse
If a 30A fuse blows repeatedly, the instinct is to replace it with a 40A or 50A fuse. This is a severe fire hazard. The 10 AWG main harness wire is rated for roughly 30A to 40A depending on ambient engine heat. If a short circuit draws 45A, a 50A fuse will not blow, but the 10 AWG wire will overheat, melt its SAE J1128 insulation, and ignite dry grass or fuel vapors. Always diagnose the short using a multimeter and a circuit breaker test tool before replacing a blown fuse.
PTO Clutch and EFI Charging System Nuances
Modern Husqvarna mowers utilize electromagnetic PTO clutches (commonly manufactured by Ogura or Warner). These clutches draw a significant inrush current (up to 5A) when engaged, settling to about 3.5A during continuous operation. The wiring diagram will show a dedicated relay for the PTO clutch to prevent the high current from passing through the delicate dashboard toggle switch.
2026 EFI Stator and Rectifier Sensitivities
For 2025 and 2026 models equipped with EFI engines (like the Kawasaki FR730V EFI), the charging stator and bridge rectifier are highly sensitive to voltage spikes. When the PTO clutch is disengaged, the collapsing magnetic field generates a massive reverse-voltage spike. Husqvarna wiring diagrams for these models include a snubber diode or a dedicated suppression module wired in parallel with the PTO clutch. If you are replacing a PTO clutch with an aftermarket unit, you must ensure this suppression circuit remains intact, or the voltage spike will instantly destroy the EFI rectifier and potentially the ECU.
Step-by-Step Multimeter Verification for Safety Loops
When troubleshooting a no-start condition or a PTO that refuses to engage, follow this systematic approach to verify the wiring harness integrity without bypassing safety codes.
- Isolate the Battery: Disconnect the negative (-) battery terminal to prevent accidental cranking or shorts while probing.
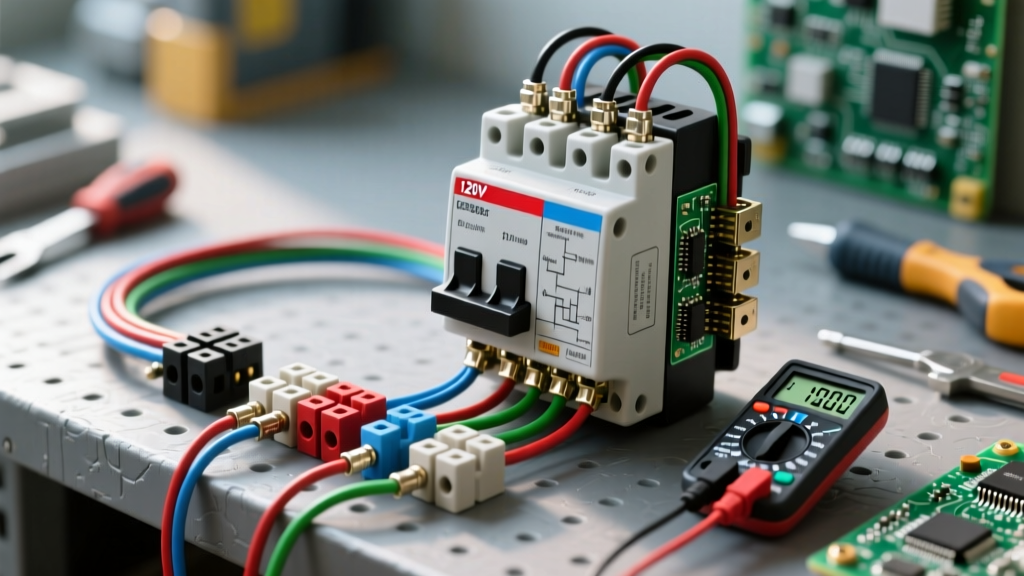
- Set the Multimeter: Switch your digital multimeter (DMM) to the Continuity or Ohms (Ω) setting.
- Test the Brake Switch: Locate the brake pedal switch. With the pedal depressed, probe the two terminals. You should read near 0Ω (closed circuit). Release the pedal; the meter should read 'OL' (open loop).
- Verify the Seat Switch Logic: Probe the seat switch terminals. Depending on the specific Husqvarna model year, the switch may be Normally Open (NO) or Normally Closed (NC) regarding the ground path. Consult the specific schematic legend, as applying weight should toggle the state predictably.
- Check the PTO Relay Coil: Locate the PTO relay in the harness. Measure the resistance across the coil pins (usually 85 and 86). A healthy 12V relay coil will read between 60Ω and 120Ω. A reading of 0Ω indicates a shorted coil; 'OL' indicates a burned-out coil.
Authoritative References and Further Reading
Adhering to electrical safety standards protects both the operator and the technician. For further reading on outdoor power equipment safety, electrical fire prevention, and turf care maintenance, consult the following authoritative resources:
- Outdoor Power Equipment Institute (OPEI): The governing body for ANSI B71.1 standards. Visit OPEI Standards for compliance documentation.
- Consumer Product Safety Commission (CPSC): Provides vital statistics and safety alerts regarding lawn mower injuries and electrical hazards. Read the CPSC Lawn Mower Safety Guide.
- Penn State Extension: Offers comprehensive, university-backed research on agricultural and residential equipment safety protocols. Review their Lawn and Garden Equipment Safety publications.
By treating the wiring diagram for your Husqvarna riding mower as a strict compliance document rather than a mere suggestion, you ensure the machine operates safely, reliably, and in accordance with the engineering standards that protect lives.