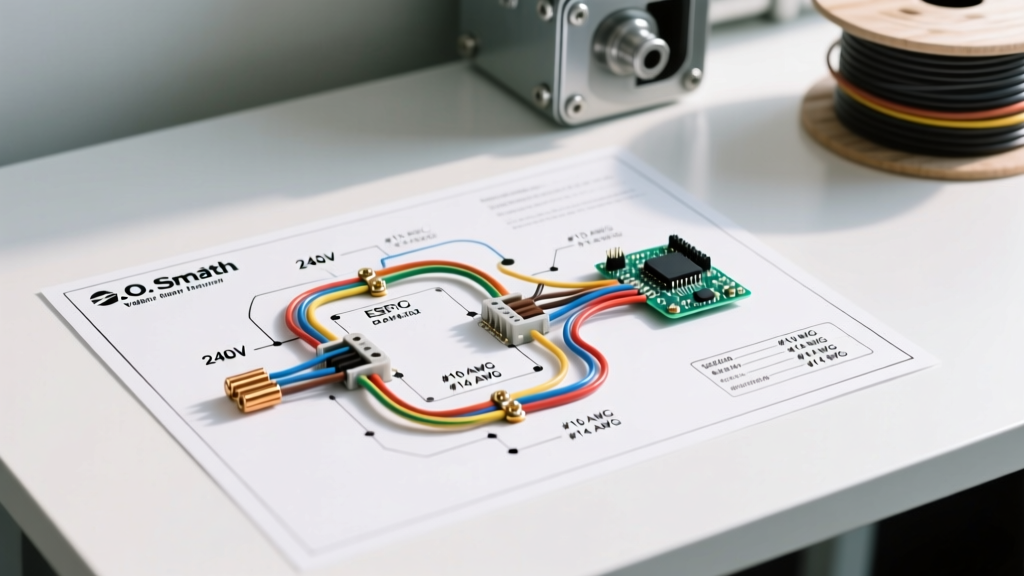

Mastering the Wiring Diagram for A.O. Smith Water Heaters
Wiring a water heater requires precision, adherence to local electrical codes, and a clear understanding of the specific unit's internal architecture. Whether you are installing a legacy resistive tank like the ProLine XE (ENS-50) or a modern smart heat pump like the 2026 Voltex Hybrid (HPTS-50), misinterpreting the wiring diagram for A.O. Smith water heaters can lead to tripped breakers, destroyed heating elements, or severe fire hazards. This comprehensive, step-by-step walkthrough breaks down the exact terminal routing, wire gauge requirements, and control board configurations for current A.O. Smith models.
Safety Protocols and NEC Compliance
Before removing any junction box covers, verify that the dedicated circuit breaker in your main service panel is switched OFF and locked out. According to the National Fire Protection Association (NFPA), Article 422 of the National Electrical Code (NEC) dictates that water heaters must be protected by a dedicated branch circuit with a disconnecting means within sight of the appliance, or a breaker that can be locked in the off position.
Expert Warning: Never rely solely on a wall switch or a smart home relay to disconnect power to a 240V water heater. Always verify zero voltage at the junction box using a Category III (CAT III) or Category IV (CAT IV) non-contact voltage tester or a digital multimeter before touching any bare copper or terminal screws.
Wire Gauge and Breaker Sizing Matrix
Selecting the correct wire gauge is critical to prevent voltage drop and thermal degradation of the insulation. Below is the definitive sizing matrix for current A.O. Smith residential models based on their maximum wattage draw.
| A.O. Smith Model Series | Voltage | Max Wattage | Breaker Size | Copper Wire Gauge (THHN/THWN) |
|---|---|---|---|---|
| ProLine XE (ENS-40/50) | 240V | 4500W | 30 Amp (2-Pole) | 10 AWG |
| ProLine XE High Recovery | 240V | 5500W | 30 Amp (2-Pole) | 10 AWG (8 AWG for runs >50ft) |
| Voltex Hybrid (HPTS-50/80) | 240V | 4500W (Backup) | 30 Amp (2-Pole) | 10 AWG |
| Vertex Gas (Power Direct Vent) | 120V | 120W (Ignition/Blower) | 15 Amp (1-Pole) | 14 AWG |
Step-by-Step Walkthrough: 240V Electric ProLine Series
The A.O. Smith ProLine electric series utilizes a non-simultaneous (interlocked) dual-element system. This means the upper and lower 4500W elements will never draw power at the exact same time, keeping the maximum continuous draw under 19 amps and safely within the 24-amp continuous limit of a standard 30A breaker.
Step 1: Junction Box Preparation and Grounding
- Strip exactly 3/4 inch of insulation from the black (Line 1), white (Line 2, which must be re-identified with black tape at both ends), and bare copper (Ground) wires.
- Connect the bare copper ground wire directly to the green grounding screw inside the water heater's top junction box. Torque to 12 in-lbs to ensure a solid mechanical bond.
- Wire-nut the incoming ground to the unit's internal ground pigtail.
Step 2: Routing Power to the Upper Thermostat
The upper thermostat acts as the primary gatekeeper and contains the high-limit Energy Cut-Off (ECO) reset switch.
- Line 1 (Black): Connect to the L (Left) terminal on the upper thermostat.
- Line 2 (White/Re-identified): Connect to the R (Right) terminal on the upper thermostat. Note: A jumper wire must also run from this R terminal directly to the right terminal of the lower heating element.
Step 3: The Interlock and Lower Element Wiring
Once the top half of the tank reaches the set temperature (typically 120°F), the upper thermostat's internal bimetallic strip snaps, cutting power to the upper element and simultaneously passing Line 1 down to the lower thermostat.
- Interlock Wire: Run a 10 AWG jumper from the EL (Element Left) terminal on the upper thermostat to the L terminal on the lower thermostat.
- Lower Element Connection: Run a jumper from the T (Thermostat) terminal on the lower thermostat to the left terminal of the lower heating element.
Step-by-Step Walkthrough: 240V Voltex Hybrid (HPTS-50)
The 2026 Voltex Hybrid models represent a massive shift in water heater technology, combining a heat pump compressor with backup resistive elements. According to the U.S. Department of Energy, heat pump water heaters can be up to three times more energy-efficient than conventional electric resistance models, but their wiring is significantly more complex. Always cross-reference your physical unit with the A.O. Smith official literature database to download the exact schematic for your serial number.
Control Board and Compressor Connections
Unlike the ProLine, the Voltex does not use standalone mechanical thermostats. Instead, 240V power enters a centralized, solid-state main control board located behind the top shroud.
- Main Power Input: Connect Line 1, Line 2, and Ground to the primary terminal block labeled AC IN L1, L2, GND.
- Compressor Wiring: The control board steps down voltage and modulates frequency for the inverter-driven compressor. Connect the 3-phase U, V, W wires from the compressor strictly in the order specified on the board. Reversing these will trigger an immediate phase-sequence fault code (Error Code E-04).
- Backup Element Routing: The board utilizes heavy-duty internal contactors to fire the 2000W or 4500W backup elements during high-demand events. Ensure the thick 10 AWG element leads are seated deeply into the HEAT 1 and HEAT 2 push-to-lock terminals.
- UI Communication: Connect the low-voltage 4-pin ribbon cable from the main board to the exterior User Interface (UI) display. Ensure the locking tab clicks; a loose ribbon cable will result in a blank display and a locked-out compressor.
Edge Cases and Common Wiring Failure Modes
Even experienced electricians encounter edge cases when servicing A.O. Smith units. Recognizing these failure modes saves hours of diagnostic time.
1. Dry-Firing Elements (The $80 Mistake)
If power is applied to a newly installed ProLine or Voltex backup element before the tank is 100% full of water, the copper sheath will melt and rupture in less than 3 seconds. This is known as 'dry-firing.' Diagnostic: Use a multimeter to check resistance across the element screws. A good 4500W element at 240V should read exactly 12.8 ohms. A reading of 'OL' (Open Line) indicates a burnt-out element requiring replacement.
2. Neutral/Ground Bonding Errors in Hybrids
The Voltex Hybrid control board is highly sensitive to stray voltage. If the neutral and ground buses are improperly bonded at a sub-panel feeding the water heater, the board's ground-fault detection will trip instantly upon compressor startup. Ensure your sub-panel strictly isolates the neutral bar from the grounding bar.
3. Tripped ECO (Energy Cut-Off)
If you have 240V at the junction box, but 0V at the lower thermostat, the upper thermostat's ECO has likely tripped due to a stuck contactor or a failed lower thermostat. Press the red reset button on the upper thermostat. If it trips again immediately, do not bypass it; replace the upper thermostat assembly (Part #188236-2).
Frequently Asked Questions
Can I use aluminum wire for my A.O. Smith 240V water heater?
While the NEC permits aluminum wire for 240V appliances, A.O. Smith terminal blocks and contactors are typically rated and tested for copper (CU) only. If you must use aluminum (e.g., 8 AWG AL for a 30A circuit), you must use a copper-to-aluminum rated wire nut (like the Ideal Twister Al/Cu) and apply anti-oxidant paste (Noalox) to prevent galvanic corrosion and subsequent high-resistance heating at the junction box.
Does the Voltex Hybrid require a dedicated neutral wire?
Standard 240V Voltex models (HPTS series) operate on a pure 240V split-phase circuit and do not require a neutral wire. They only require Line 1, Line 2, and Ground. However, if you are installing a specialized 120V/240V commercial variant, a neutral may be required for the 120V control circuitry. Always verify the nameplate amperage and wire requirements.
What is the expected cost for a professional wiring upgrade?
If your home currently lacks a 30A 240V circuit near the installation site, expect to pay between $450 and $850 in 2026 for a licensed electrician to run a new 10 AWG NM-B (Romex) line from the main panel, install the 2-pole breaker, and mount a compliant disconnect switch. Upgrading to a Voltex Hybrid may qualify for federal tax credits under the Inflation Reduction Act, which can offset both the unit cost and associated electrical panel upgrades.