
Mastering the Wiring Diagram for Hampton Bay Ceiling Fan Installations
Installing a ceiling fan is often viewed as a simple switch-box task, but true electrical safety begins at the service panel. When evaluating the wiring diagram for Hampton Bay ceiling fan models—such as the popular Southwind 52-inch (Model #52372) or the Midili 44-inch (Model #44724)—you must consider the entire circuit path. From the breaker terminal torque to the canopy wire nuts, every connection impacts the longevity of your motor and the safety of your home.
Hampton Bay fans, exclusively distributed through Home Depot, typically utilize a standardized color-coded wiring harness. However, integrating these fans into modern residential electrical panels requires strict adherence to National Electrical Code (NEC) branch circuit rules, particularly regarding Arc Fault Circuit Interrupter (AFCI) protection and continuous load calculations.
Deconstructing the Hampton Bay Canopy Wiring Diagram
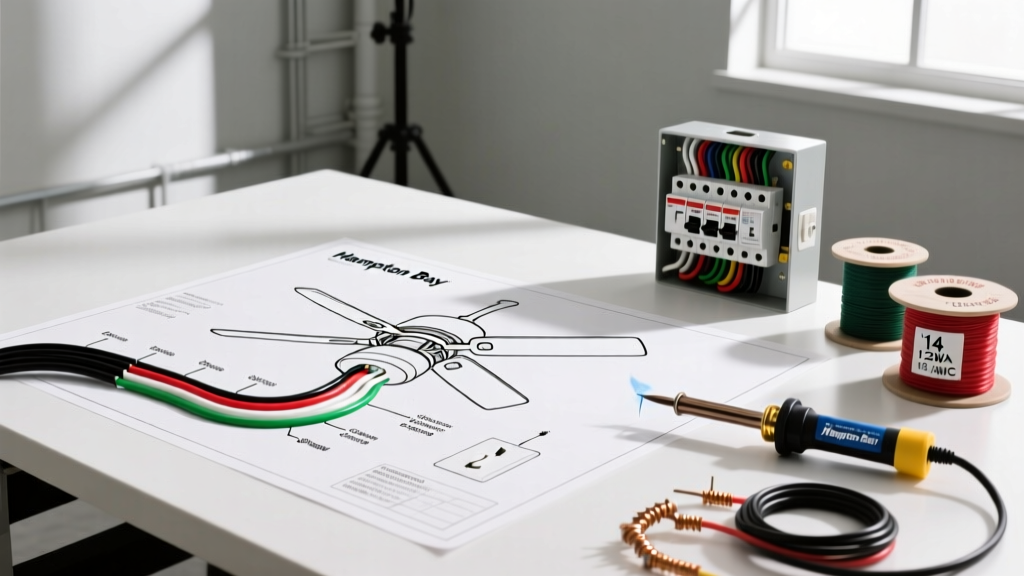
Before touching the panel, you must understand the load characteristics dictated by the fan's internal wiring diagram. Most modern Hampton Bay fans feature a quick-connect terminal block or a proprietary remote-control receiver module housed inside the canopy mounting bracket.
Standard 3-Wire vs. 4-Wire Configurations
- 3-Wire Setup (Single Wall Switch): The ceiling box provides one hot wire (usually black). In the Hampton Bay diagram, you will connect the ceiling's black hot wire to both the fan's black wire (motor hot) and blue wire (light kit hot) using a wire nut. This means the wall switch controls power to the entire unit, while pull chains or a remote dictate fan speed and light status.
- 4-Wire Setup (Dual Wall Switches): The ceiling box provides two hot wires (black and red). The diagram dictates connecting the ceiling black to the fan black (motor), and the ceiling red to the fan blue (light). This allows independent wall control for the light and the fan motor.
- Neutral (White) and Ground (Green/Bare): All Hampton Bay models require a dedicated equipment grounding conductor. The white neutral wires must be paired together. Never bootleg a ground using the neutral wire, as this creates a severe shock hazard and will immediately trip modern GFCI/AFCI breakers.
Expert Insight: If your Hampton Bay fan includes an integrated smart receiver (common in 2024–2026 models), the receiver requires a constant hot and a dedicated neutral to power its internal Wi-Fi/RF switching power supply. Bypassing the neutral to the receiver will result in a dead unit or a fried logic board.
Panel & Breaker Sizing: Sizing the Circuit for Ceiling Fans
A common misconception is that ceiling fans require dedicated breakers. According to National Fire Protection Association (NFPA) NEC guidelines, a ceiling fan is considered a lighting outlet and can be placed on a general-purpose 15-amp or 20-amp lighting branch circuit, provided the total continuous load does not exceed 80% of the breaker's rating.
Load Calculations and Wire Gauge
While the fan motor itself draws minimal amperage (typically 0.5A to 0.8A on high speed), the attached light kit dictates the true load. Older Hampton Bay models utilizing halogen or incandescent candelabra bulbs could draw up to 4 amps. Modern 2026 models utilizing integrated LED arrays draw less than 0.2 amps. Always verify the nameplate on the motor housing and the ENERGY STAR Ceiling Fan Specifications label for exact wattage.
| Breaker Type | Wire Gauge (Copper) | Max Continuous Load (80%) | Ideal Hampton Bay Application |
|---|---|---|---|
| 15-Amp (e.g., Square D QO115) | 14 AWG | 12 Amps (1,440W) | Standard bedrooms, single fan + LED light |
| 20-Amp (e.g., Eaton BR120) | 12 AWG | 16 Amps (1,920W) | Living rooms, multiple fans, or high-wattage halogen kits |
AFCI Requirements and Nuisance Tripping
Under NEC Article 210.12, all 120-volt, single-phase, 15- and 20-amp branch circuits supplying outlets in dwelling unit bedrooms, living rooms, and hallways must be protected by a Combination-Type AFCI breaker. This is where Hampton Bay installations frequently encounter issues.
Some older Hampton Bay fans equipped with cheap electronic transformers for halogen light kits, or poorly shielded universal remote receivers, generate harmonic distortion and high-frequency noise on the line. When installed on a modern AFCI breaker (like the Square D QO115CAFIC), this electrical noise mimics an arc fault, causing nuisance tripping.
Troubleshooting AFCI Trips at the Panel
- Check the Neutral Pigtail: Ensure the AFCI breaker's white coiled pigtail is securely terminated to the panel's neutral bar. A loose neutral pigtail causes phantom trips.
- Inspect the Canopy Connections: A loose wire nut on the blue (light) wire inside the Hampton Bay canopy can create micro-arcing when the light is switched on, which the AFCI breaker will correctly detect and trip.
- Isolate the Receiver: If the fan features a plug-in remote receiver module, bypass it temporarily by wiring the fan directly. If the breaker stops tripping, the receiver's switching power supply is faulty and must be replaced.
Step-by-Step Panel to Fan Wiring Flow
To ensure a safe, code-compliant installation that passes municipal inspections, follow this precise workflow from the service panel to the ceiling canopy.
- De-energize and Verify: Turn off the specific branch circuit breaker at the main panel. Use a non-contact voltage tester (NCVT) and a digital multimeter to confirm 0V at the ceiling junction box. The U.S. Consumer Product Safety Commission (CPSC) Electrical Safety Center strongly advises against relying solely on wall switches to isolate power.
- Prepare the Panel Termination: If running a new circuit, strip 1/2 inch of insulation from the 14 AWG or 12 AWG wire. Insert it into the breaker terminal and torque the set screw to the manufacturer's specification (typically 25 to 35 inch-pounds for residential breakers). Under-torqued screws cause thermal hotspots; over-torqued screws strip the threads.
- Secure the Mounting Bracket: Hampton Bay fans are heavy (often 25–45 lbs). The ceiling junction box must be rated for fan support (UL Listed for ceiling fan mounting). Secure the bracket using the provided 10-24 machine screws, not drywall screws.
- Execute the Canopy Wiring: Following the specific wiring diagram for your Hampton Bay model, connect ground-to-ground, neutral-to-neutral, and hot-to-hot. Use UL-listed wire nuts rated for the specific wire gauge combination (e.g., an orange WingNut for 18 AWG fixture wire to 14 AWG branch wire).
- Tuck and Test: Carefully fold the wires into the junction box, ensuring no bare copper is exposed outside the wire nuts. Secure the canopy, restore power at the panel, and test both the motor speeds and the light kit.
Frequently Asked Questions (FAQ)
Can I install a Hampton Bay outdoor fan on a GFCI breaker?
Yes. If you are installing a damp-rated or wet-rated Hampton Bay fan (like the Nassau II series) on a covered patio or porch, NEC Article 210.8 requires GFCI protection for all outdoor receptacles and outlets. A GFCI breaker in the panel or a GFCI receptacle upstream is mandatory to prevent lethal shock hazards from moisture ingress.
Why does my Hampton Bay fan hum loudly on a dimmer switch?
This is a wiring mismatch, not a panel issue. Standard wall dimmers are designed for resistive lighting loads, not inductive motor loads. If you wire the fan's black (motor) wire to a dimmer, the chopped sine wave causes the motor windings to vibrate audibly and overheat. Always use a dedicated ceiling fan speed control switch for the motor, and reserve the dimmer exclusively for the blue (light kit) wire.
What if my ceiling box only has 2 wires (no ground)?
If you live in an older home with an ungrounded (2-wire) circuit, you cannot safely install a modern metal-body Hampton Bay fan without mitigating the shock risk. You must either run a new 3-wire cable from the panel or replace the breaker with a GFCI breaker and label the ceiling box 'GFCI Protected, No Equipment Ground' per NEC 406.4(D)(4). Never leave the fan's green ground wire unconnected or capped alone if the metal canopy is accessible.