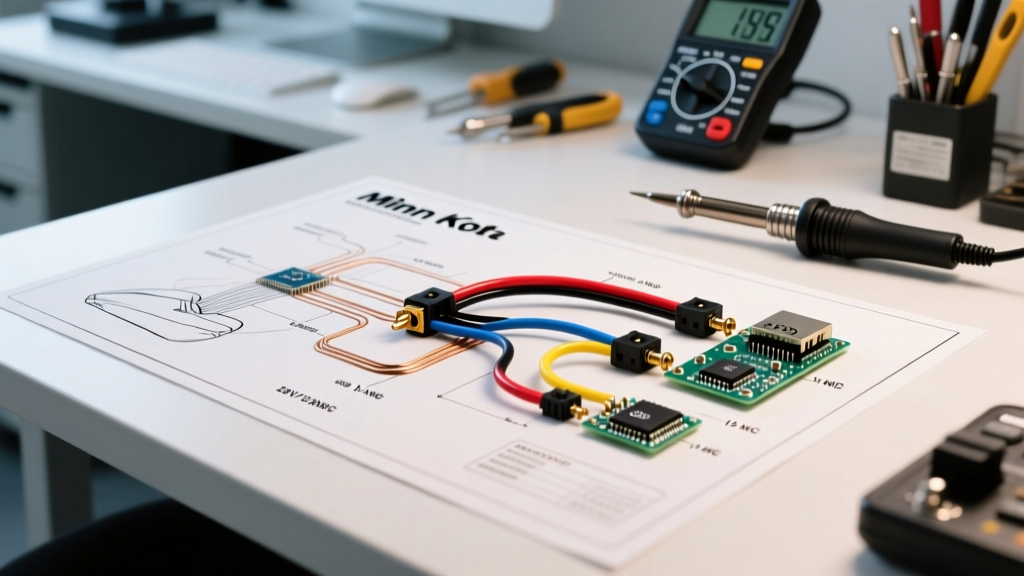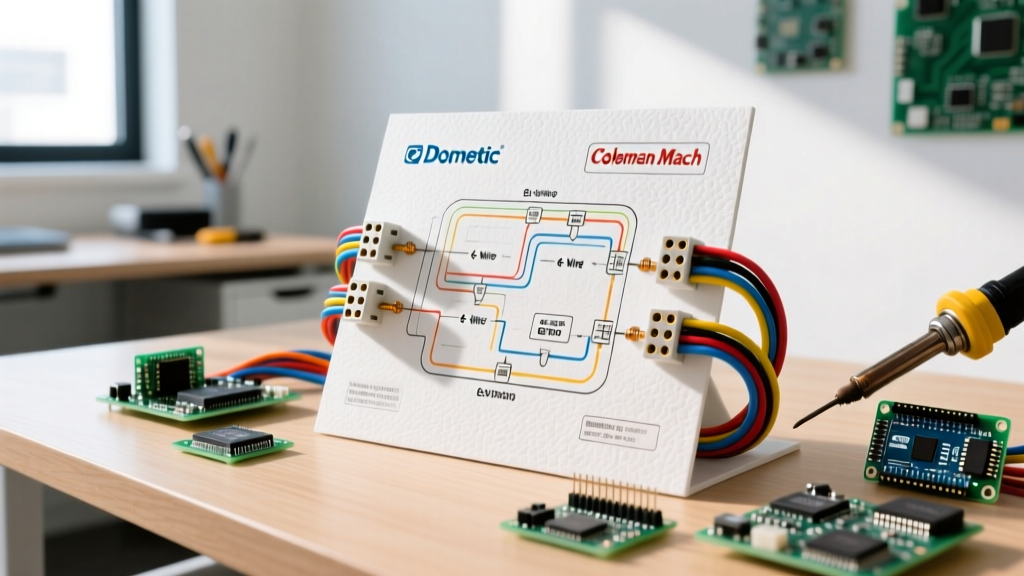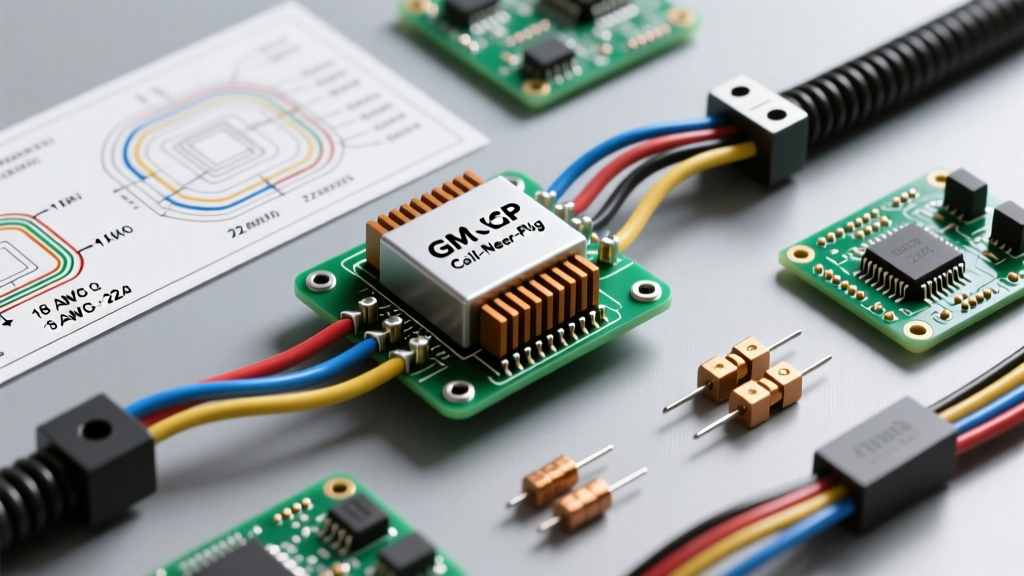

The Architecture of GM LS Coil-Near-Plug (CNP) Systems
Swapping a Gen III or Gen IV GM LS engine into a classic muscle car, off-road rig, or custom build remains one of the most popular DIY automotive projects in 2026. However, transitioning from a traditional distributor to a modern Coil-Near-Plug (CNP) ignition system introduces significant wiring complexity. Unlike older HEI distributors that require a single 12V feed and a tach signal, an LS ignition system requires individual power, ground, and logic-level trigger signals for all eight cylinders.
Understanding the exact wiring diagram for ignition on an LS platform is critical. A single misrouted wire, an undersized power feed, or an improperly grounded shield can result in catastrophic ECU failure, high-RPM misfires, or dead cylinders. This guide provides a vehicle-specific, deep-dive blueprint for wiring the ubiquitous Delphi-style 4-pin LS ignition coils, whether you are using a factory GM PCM, a Holley Terminator X, or a FiTech standalone ECU.
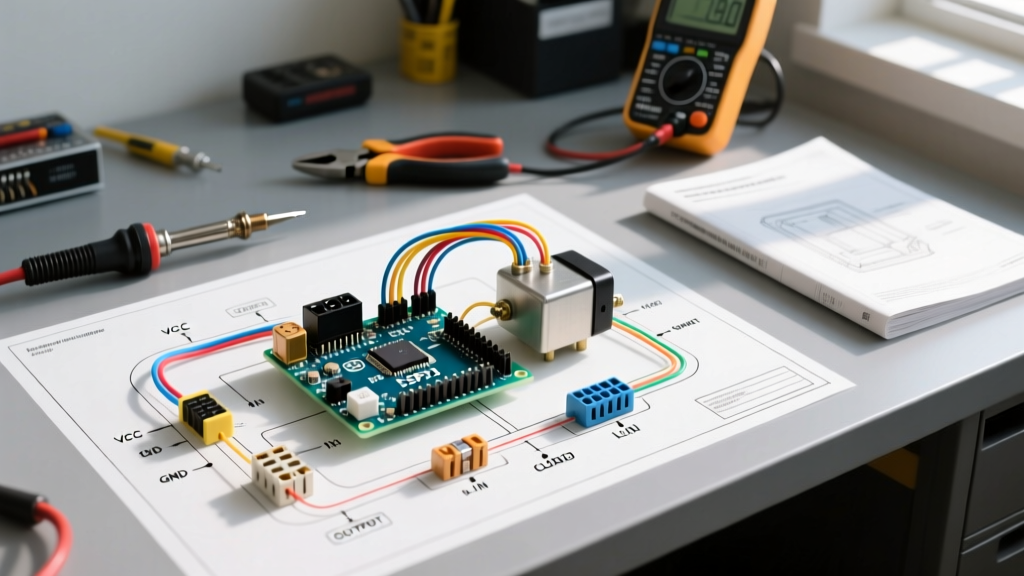
Core Wiring Diagram for Ignition: 4-Pin Delphi Coil Pinout
The standard GM LS2, LS3, and L99 engines utilize a 4-pin Delphi connector (GM Part #12558693 for the pigtail). While it has four pins, aftermarket standalone ECUs often only utilize three. Below is the definitive pinout mapping for the ignition coil harness.
| Pin | Function | Factory Wire Color | Aftermarket ECU Connection | Wire Gauge (AWG) |
|---|---|---|---|---|
| A | 12V Switched Power (IGT) | Pink | Relay-triggered 12V Ignition Source | 18 AWG (per coil) / 10 AWG (main feed) |
| B | Coil Ground | Black / White | Dedicated Engine Block / Cylinder Head Ground | 18 AWG (per coil) / 10 AWG (main ground) |
| C | Ignition Trigger Signal (IC) | Varies (e.g., Red/White) | ECU Ignition Output Channel (1-8) | 18 AWG (Shielded recommended) |
| D | Ignition Confirmation / Diag | Varies (e.g., Yellow) | Typically Capped / Unused on Aftermarket ECUs | N/A |
Note: Pin D is used by the factory GM PCM to monitor coil dwell and detect misfires. Most aftermarket ECUs, including the Holley Terminator X, do not require this feedback loop. Safely heat-shrink and cap Pin D wires at the coil harness to prevent short circuits.
Wire Gauge, Fusing, and Relay Matrix
One of the most common mistakes in DIY LS swaps is undersizing the main power feed to the coils. Each coil draws approximately 1.5 to 2 amps during peak dwell. At peak cranking or high-RPM load, eight coils can pull up to 16 amps simultaneously. Running a single 14 AWG wire from the ignition switch to a spliced power bus will cause severe voltage drop, leading to weak spark and misfires above 5,000 RPM.
According to industry standards outlined by Summit Racing's technical documentation, you must use a dedicated relay for the coil power feed. Use the following matrix to size your harness correctly:
| Circuit Segment | Recommended Wire Gauge | Overcurrent Protection | Terminal / Connector Type |
|---|---|---|---|
| Battery to Relay (Pin 30) | 10 AWG | 30A ATO Blade Fuse (within 18' of battery) | Ring Terminal (Heat Shrink) |
| Relay to Coil Power Bus (Pin 87) | 10 AWG | Protected by upstream 30A fuse | Weather-Pack Sealed Splice |
| Ignition Switch to Relay Coil (Pin 86) | 16 AWG | 5A to 10A Fuse | Standard Spade / Quick Disconnect |
| Relay Ground (Pin 85) | 14 AWG | N/A | Ring Terminal to Chassis |
| Individual Coil Pigtails (Power & Ground) | 18 AWG (TXL/GXL) | N/A | Delphi Weather-Pack Crimp |
Step-by-Step Harness Fabrication and Routing
Building a custom ignition harness requires precision. Do not use generic crimpers; the Delphi Weather-Pack terminals require a specific die to crimp the wire core and the insulation grip simultaneously. We recommend the Titan Tools 11215 or an equivalent Delphi-specific ratcheting crimper.
- Prep the Pigtails: Cut eight 12-inch lengths of 18 AWG TXL (cross-linked polyethylene) wire for power, ground, and trigger signals. TXL wire offers superior heat and abrasion resistance compared to standard PVC wire, which is critical in the high-heat environment of an LS valve cover.
- Crimp and Seal: Crimp the female Delphi terminals onto the wires. Insert them into the 4-pin coil connectors until you hear a definitive click. Apply dual-wall adhesive-lined heat shrink (3/16' diameter) over the rear of the connector boot to prevent moisture ingress.
- Construct the Power Bus: Splice the eight 18 AWG pink power wires into a single 10 AWG main feed using a sealed, adhesive-lined butt splice or a solder-seal splice. Route this 10 AWG feed to a Bosch-style 30A ISO mini relay mounted on the firewall.
- Route the Trigger Signals: Route the eight ECU trigger wires through the firewall. If your ECU is mounted in the cabin, use a grommet to prevent chafing against the sheet metal.
- Establish the Ground Star Point: Do not ground the coils to the intake manifold or accessory brackets. Fabricate a dedicated ground bus bar and bolt it directly to the LS cylinder head using an M8 or M10 bolt, ensuring you scrape away any paint or powder coating for bare metal contact.
Critical Failure Modes and Edge Cases
WARNING: The Shielded Wire Trap
When using shielded wire for the ignition trigger signals to block EMI (Electromagnetic Interference) from alternator whine, the drain wire (the bare copper wire inside the shield) MUST be grounded at the ECU end only. If you ground the shield drain wire at both the coil end and the ECU end, you create a ground loop. This can induce stray voltage that will instantly fry the internal ignition drivers on your ECU, resulting in a $1,200+ replacement cost.
Edge Case: Cranking Voltage Drop
If your engine backfires through the intake during cranking, your coil power bus may be losing voltage. During starter engagement, system voltage can drop to 9V. Ensure your relay's Pin 86 trigger source is wired to a true 'Start/Run' 12V source, not an 'Accessory' or 'Run-Only' circuit. Some factory ignition switches drop the coil power during the 'Start' position to prioritize the starter motor. You must bypass this using a diode or a dedicated cranking relay to maintain coil dwell during engine turnover.
Expert Troubleshooting FAQ
Why is my LS engine misfiring only above 5,500 RPM?
This is the classic symptom of voltage drop on the coil power feed. As RPM increases, the dwell time (the time the coil spends charging) decreases, demanding higher instantaneous amperage. If your main power feed wire is too thin (e.g., 14 AWG instead of 10 AWG) or your relay contacts are degraded, the voltage at the coil drops below 11V under load, resulting in a weak spark. Check the voltage at Pin A of the coil connector with a digital multimeter while the engine is at 6,000 RPM.
Can I use standard PVC wire instead of TXL or GXL automotive wire?
Technically yes, but it is highly discouraged. Standard PVC wire insulation becomes brittle and melts when exposed to the radiant heat of LS exhaust manifolds and cylinder heads. As of 2026, high-quality TXL wire costs only pennies more per foot than PVC. Always use TXL, GXL, or SXL wire, and protect the harness with fiberglass sleeving or high-temp split loom near the exhaust crossover.
Do I need to wire Pin D (Ignition Confirmation) if I'm using a factory GM PCM?
Yes. If you are retaining the factory GM PCM (such as an E38 or E67 controller) rather than an aftermarket standalone ECU, the PCM actively uses Pin D to monitor coil charging and diagnose misfires. Leaving Pin D disconnected on a factory PCM will trigger a Check Engine Light (CEL) and may cause the PCM to default to a limp-home timing map. For factory PCM swaps, consult a dedicated Painless Performance or factory GM service manual wiring schematic to map Pin D back to the correct PCM diagnostic pins.