
The Anatomy of a Gibson SG Wiring Harness
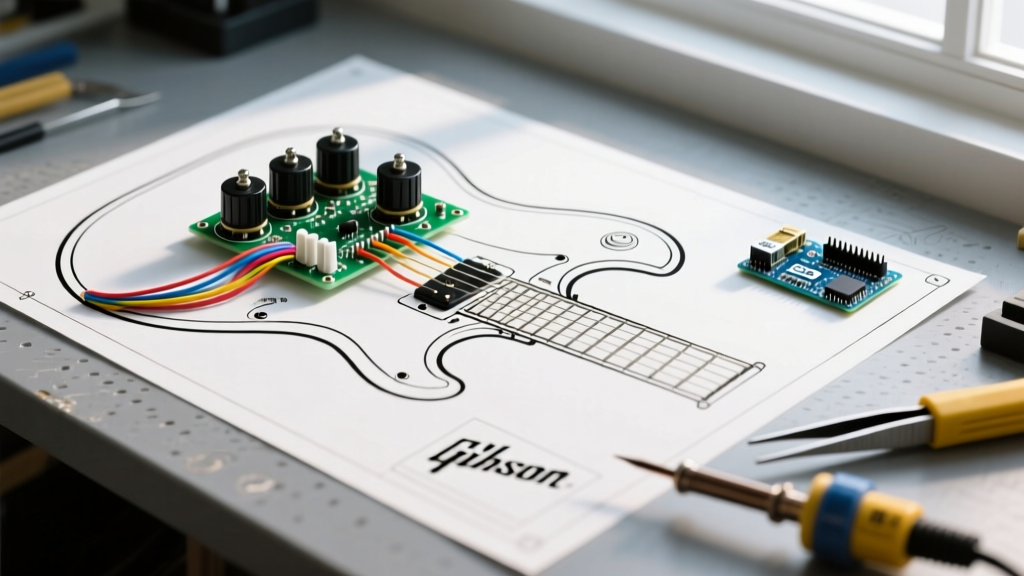
The Gibson SG is legendary for its biting humbucker tones and lightweight mahogany body. However, its shallow control cavity makes wiring a unique challenge compared to a Les Paul. A standard wiring diagram for Gibson SG models utilizes a dual-humbucker configuration with independent volume and tone controls for each pickup, routed through a 3-way toggle switch to a mono output jack. Whether you are upgrading stock components or troubleshooting a dead circuit, precision and proper grounding are non-negotiable. In this 2026 updated walkthrough, we will build a professional-grade harness from scratch using premium components, ensuring noise-free operation and optimal high-frequency retention.
2026 Bill of Materials (BOM) & Component Specs
Skip the generic import kits. To achieve factory-spec (or better) reliability, source these exact components. Prices reflect early 2026 market averages from major US luthier suppliers.
| Component | Specification / Part Number | Qty | Approx. Cost |
|---|---|---|---|
| Potentiometers | CTS 450G Series 500k Audio Taper (Split Shaft) | 4 | $8.50 ea. |
| Toggle Switch | Switchcraft #1452 Short Shaft 3-Way | 1 | $12.50 |
| Output Jack | Switchcraft #11 Mono 1/4" Jack | 1 | $4.75 |
| Capacitors | Sprague Orange Drop 715P 0.022µF 600V | 2 | $3.25 ea. |
| Hookup Wire | 22 AWG Stranded Tinned Copper (Push-back) | 1 Spool | $16.00 |
| Solder | Kester 44 63/37 Rosin Core (0.031" dia) | 1 Roll | $19.50 |
Essential Tools & Preparation
Before touching iron to lug, prepare your workspace. Set your temperature-controlled soldering station (like the Hakko FX-888D or Pinecil V2) to 360°C (680°F). This is the sweet spot for 63/37 eutectic solder, allowing it to flow instantly without lingering and transferring excessive heat to the potentiometer's internal carbon track, which can cause permanent scratchiness.
- Flux: Use a no-clean liquid flux pen (e.g., MG Chemicals 8341) on all pot casings and switch lugs.
- Abrasive: 220-grit sandpaper or a fiberglass scratch pen to scuff the back of the CTS pots for ground joints.
- Wire Stripping: Strip exactly 3/16" of insulation from your 22 AWG wire. Twist the strands tightly and pre-tin them with a micro-bead of solder before inserting into lugs.
Phase 1: Wiring the 3-Way Toggle Switch
The Switchcraft #1452 short-shaft toggle is the correct fit for the SG's control cavity depth. It features four outer lugs and two inner lugs. Follow this exact sequence to avoid the dreaded "out-of-phase" or "dead middle position" errors.
- Ground the Switch Frame: Bend the two middle outer lugs backward until they touch the metal casing of the switch. Apply flux and solder them directly to the casing. Attach your main ground wire from the volume pot bus here.
- Pickup Inputs: Solder the hot lead from your Neck pickup to the Top Outer Lug. Solder the hot lead from your Bridge pickup to the Bottom Outer Lug.
- Switch Outputs: Solder a wire from the Top Inner Lug to Lug 3 of the Neck Volume pot. Solder a wire from the Bottom Inner Lug to Lug 3 of the Bridge Volume pot.
Pro-Tip: When soldering the inner lugs, use a silicone soldering mat or a damp sponge behind the lug to act as a heat sink. The plastic spacer inside the Switchcraft switch can melt if heat is applied for more than 3 seconds, resulting in a loose, crackling toggle.
Phase 2: Volume Potentiometer Connections
For the CTS 500k Audio Taper pots, orient them with the shaft facing away from you. The lugs are numbered 1 (left), 2 (middle/wiper), and 3 (right).
- Lug 3 (Input): Receives the hot signal from the toggle switch (Inner lugs).
- Lug 2 (Output): This is the wiper. It routes the adjusted signal to the output jack. Run a wire from Neck Lug 2 and Bridge Lug 2 to the Tip lug of the output jack.
- Lug 1 (Ground): Solder to the back casing of its respective volume pot.
Phase 3: Tone Capacitors & The "50s Wiring" Decision
The standard wiring diagram for Gibson SG guitars uses 0.022µF capacitors for both neck and bridge positions. However, where you connect the capacitor dictates the behavior of your volume knob as you roll it down.
Comparison Matrix: Modern vs. 50s Independent Wiring
| Feature | Modern Wiring (Standard) | 50s Wiring (Vintage Mod) |
|---|---|---|
| Capacitor Connection Point | Volume Lug 2 (Wiper/Output) | Volume Lug 3 (Input) |
| Volume Roll-off Behavior | Loses high-end clarity; gets muddy at 50% | Retains high-end clarity; smooth, vocal taper |
| Tone Knob Interaction | Tone knob affects sound even when volume is at 0 | Tone knob becomes inactive when volume is at 0 |
| Best For | High-gain players needing dark, jazzy roll-offs | Blues/Classic rock players using volume swells |
Wiring the Tone Pot: Connect one leg of the Sprague Orange Drop capacitor to the chosen Volume lug (based on the matrix above). Connect the other leg to Tone Pot Lug 1. Solder Tone Pot Lug 3 to the back of the tone pot casing for ground. Lug 2 is left empty.
Phase 4: Output Jack and Grounding Star
The Switchcraft #11 mono jack features a short (ground) lug and a long (hot/tip) lug.
- Route the combined volume outputs (from Phase 2) to the Long Lug.
- Solder your main cavity ground wire to the Short Lug.
The Grounding Star: Hum in an SG is almost always a grounding failure. The bridge and tailpiece ground wire (usually a bare 22 AWG stranded wire routed through the body from the bridge post hole) must be soldered to the back of the Bridge Volume pot. Ensure all four pot casings are daisy-chained together with short, thick ground wires, or tied to a central copper tape star in the cavity. Scuff the pot casings with 220-grit sandpaper, apply liquid flux, and use a chisel-tip iron (minimum 60W) to achieve a shiny, concave solder joint in under 4 seconds.
Troubleshooting Common SG Wiring Faults
| Symptom | Probable Cause | Diagnostic Fix |
|---|---|---|
| Loud 60-cycle hum that stops when touching strings | Missing or broken bridge/tailpiece ground wire. | Check continuity from output jack ground lug to the metal bridge post insert in the body. |
| Toggle switch cuts out entirely in the middle position | Cold solder joint on the toggle's inner lugs or dirty internal contacts. | Re-flow inner lugs with fresh flux; spray switch internals with DeoxIT D5. |
| Tone knob acts like a second volume knob | Capacitor is shorted, or tone pot lugs 1 and 3 are bridged by stray solder. | Inspect tone pot lugs under magnification; ensure cap legs are not touching the pot casing. |
| Scratchy sound when turning volume knobs | Heat damage to the carbon track inside the CTS pot during ground soldering. | Replace the damaged pot; use a heat sink clip on the lug during future casing solders. |
Authoritative References
For further exploration of pickup phase alignments and advanced push-pull coil-splitting mods compatible with this SG harness, consult the following industry-standard resources:
- StewMac Wiring Diagrams and Schematics Library – Comprehensive visual guides for vintage and modern Gibson harness layouts.
- Seymour Duncan Pickup Wiring Diagrams – Essential reference for color-coding aftermarket humbuckers (e.g., 4-conductor wiring) to the Switchcraft toggle switch.