
The Evolution of Emerson Motors: What DIYers Must Know in 2026
If you are searching for a wiring diagram for Emerson electric motor setups, the first thing you need to understand is the brand's corporate evolution. As of 2026, finding a brand-new motor stamped with the Emerson logo in retail channels is nearly impossible. Nidec Motor Corporation acquired Emerson's motor division years ago, fully absorbing and rebranding the lineage under the US Motors and Nidec labels. However, millions of legacy Emerson motors remain actively deployed in HVAC blowers, pool pumps, air compressors, and industrial conveyors.
Whether you are maintaining a legacy Emerson K-Series HVAC blower or wiring a newly manufactured Nidec US Motors C-Face pump motor, the underlying NEMA (National Electrical Manufacturers Association) wiring standards remain identical. This tutorial provides a deep-dive masterclass on interpreting these nameplate diagrams, executing dual-voltage configurations, and sizing your circuit protection to strict NEC (National Electrical Code) standards.
⚠️ CRITICAL SAFETY WARNING: Always perform Lockout/Tagout (LOTO) procedures before opening a motor peckerhead (conduit box). Capacitors can retain lethal voltages (up to 400VDC) long after power is disconnected. Always discharge start and run capacitors using a 20k-ohm, 5-watt bleeder resistor before touching any terminals.Decoding the Nameplate: Your Primary Wiring Diagram
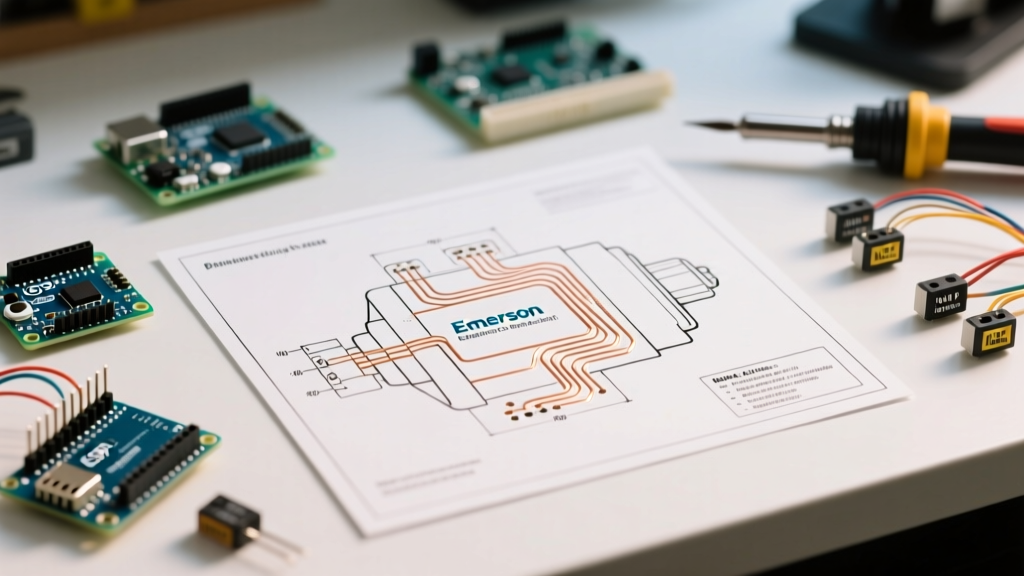
The most accurate wiring diagram for an Emerson electric motor is not found in a generic manual; it is stamped directly onto the metal nameplate or printed on the adhesive schematic inside the peckerhead cover. Before making any connections, verify these critical data points:
- Frame Size (FR): Dictates the physical mounting footprint (e.g., 56C, 145T, D1126). This does not affect electrical wiring but is vital for mechanical alignment.
- Full Load Amps (FLA): The current the motor draws at its rated horsepower and voltage. This is your baseline for wire sizing.
- Service Factor (SF): A multiplier (typically 1.15 or 1.25) indicating how much the motor can be overloaded intermittently without thermal damage. A 1.5 HP motor with a 1.15 SF can safely deliver 1.725 HP in short bursts.
- Insulation Class: Legacy Emerson motors often use Class B (130°C), while modern Nidec replacements use Class F (155°C) or Class H (180°C). Higher classes allow for denser winding packs and better heat dissipation in enclosed spaces.
Step-by-Step: Single-Phase Dual Voltage (115V/230V) Wiring
Most single-phase Emerson fractional and integral horsepower motors (1/2 HP to 3 HP) are dual-voltage. They utilize a standard 6-lead or 8-lead configuration. The most common wiring schematic you will encounter for a 115/230V capacitor-start motor uses leads labeled T1 through T8.
High Voltage Configuration (208-230V)
Wiring for 230V places the two internal run windings in series, which halves the current draw and reduces voltage drop over long wire runs. This is the preferred setup for pool pumps and heavy-duty compressors.
- Connect T1 and T5 together, and attach them to Line 1 (L1 / Hot).
- Connect T2 and T8 together, and attach them to Line 2 (L2 / Hot).
- Connect T3 and T4 together. Cap this connection with a wire nut and electrical tape. Do not connect this to a power source.
Low Voltage Configuration (115V)
Wiring for 115V places the internal run windings in parallel. This doubles the amperage draw, requiring heavier gauge wiring and larger breakers.
- Connect T1, T3, and T8 together, and attach them to Line 1 (L1 / Hot).
- Connect T2, T4, and T5 together, and attach them to Line 2 (L2 / Neutral).
Expert Insight: If your Emerson motor has a 115/208-230V rating and you are wiring it to a 208V commercial three-phase wye system (using single phase from two legs), you must use the High Voltage (230V) wiring configuration. Using the 115V tap on a 208V supply will instantly fry the start winding and trip the internal thermal overload.
Three-Phase Emerson Motor Wiring (9-Lead T1-T9)
For industrial applications, Emerson manufactured thousands of 9-lead three-phase motors. These can be wired in either Wye (Star) or Delta configurations, depending on the nameplate voltage rating.
- Wye (Star) High Voltage (460V): Connect T4-T7, T5-T8, and T6-T9 together and tape them off. Apply L1 to T1, L2 to T2, and L3 to T3.
- Wye (Star) Low Voltage (230V): Connect T4, T7, and T1 together to L1. Connect T5, T8, and T2 together to L2. Connect T6, T9, and T3 together to L3.
Always verify the specific Wye/Delta schematic inside the peckerhead, as internal factory connections vary between older Emerson manufacturing runs and modern Nidec production facilities.
NEC-Compliant Wire Gauge and Breaker Sizing
A common and dangerous mistake DIYers make is sizing the circuit breaker based on the motor's FLA. According to NFPA 70 (National Electrical Code), motor circuits require specialized sizing to accommodate the massive inrush current (Locked Rotor Amps) without nuisance tripping, while relying on the motor's internal thermal overload for running protection.
The table below outlines standard sizing for single-phase, 230V Emerson/Nidec motors based on NEC Article 430.
| Motor HP | NEC Table 430.248 FLA (230V) | Min. Wire Size (THHN @ 125% FLA) | Max Inverse-Time Breaker (250% FLA) |
|---|---|---|---|
| 1/2 HP | 4.9 A | 14 AWG (15A rated) | 15 A |
| 1 HP | 8.0 A | 14 AWG (15A rated) | 20 A |
| 1.5 HP | 10.0 A | 12 AWG (20A rated) | 25 A |
| 2 HP | 12.0 A | 12 AWG (20A rated) | 30 A |
| 3 HP | 17.0 A | 10 AWG (30A rated) | 40 A |
Note: If the calculated breaker size does not correspond to a standard commercial breaker size, NEC 430.52 allows you to round up to the next standard size (e.g., rounding 27.5A up to a 30A breaker).
Capacitor-Start / Capacitor-Run (CSCR) Wiring Nuances
High-torque Emerson motors (like those driving reciprocating air compressors) utilize a CSCR design. This means they have both a start capacitor and a run capacitor.
The Role of the Potential Relay
Unlike centrifugal switches which are mechanically prone to failure due to dust and vibration, modern CSCR Emerson motors use a solid-state or electromechanical potential relay (such as the Steveco 4PR2 or Supco SU series) to disconnect the start capacitor.
- Terminals 1 & 5: Connect across the start capacitor.
- Terminal 2: Connects to the start winding lead (often T8 or a dedicated yellow/purple wire).
As the motor reaches roughly 75% of its rated RPM, the back-EMF (electromotive force) generated by the start winding increases. The potential relay senses this voltage spike and opens the circuit between terminals 1 and 5, safely removing the start capacitor from the circuit while leaving the run capacitor engaged.
Troubleshooting Common Emerson Motor Wiring Failures
When an Emerson motor fails to start, hums, or trips the breaker immediately, follow this diagnostic sequence using a high-quality digital multimeter (like the Fluke 87V industrial multimeter):
- Check the Thermal Overload: Many Emerson motors feature a manual reset thermal overload button (usually red or black) located on the side of the peckerhead. If the motor overheated due to poor ventilation or low voltage, this bimetallic disc trips. Allow the motor to cool for 45 minutes and press the button firmly until it clicks.
- Measure Winding Resistance: Disconnect power. Set your multimeter to Ohms (Ω). Measure between T1 and T2 (Run Winding). You should see a low resistance reading (typically 1.5 to 5.0 ohms depending on HP). Measure between T5 and T8 (Start Winding). This should read slightly higher. If your meter reads 'OL' (Open Loop), the internal winding is burned out or the embedded thermal protector has permanently failed.
- Test for Ground Faults: Set your meter to Megohms (or use a dedicated Megger insulation tester). Place one probe on the motor casing (scrape away paint for bare metal) and the other on T1. The reading should be infinite. Any reading below 1.0 Megohm indicates degraded winding insulation, meaning the motor is compromised and must be replaced.
Frequently Asked Questions
Can I run a 230V Emerson motor on a 208V supply?
Yes, but with caveats. NEMA standards dictate that motors must operate safely at ±10% of their rated voltage. 10% below 230V is 207V. Therefore, a 230V motor will run on 208V, but it will draw higher amperage to produce the same mechanical work, run hotter, and experience reduced starting torque. If your facility runs on 208V, it is highly recommended to purchase a motor specifically nameplated for 208-230V.
What happens if I wire the start capacitor backward?
AC (Alternating Current) start and run capacitors are non-polarized. There is no positive or negative terminal. You can wire them in either direction without causing damage to the capacitor or the motor.
Why does my motor hum but not spin?
A humming motor that requires a manual push to start almost always indicates a failed start capacitor or a stuck centrifugal switch. The run winding is energized (creating the magnetic hum), but the phase-shifted magnetic field required to initiate rotation is missing. Replace the start capacitor (matching the exact MFD/microfarad rating and voltage) before attempting to rewind or replace the motor.