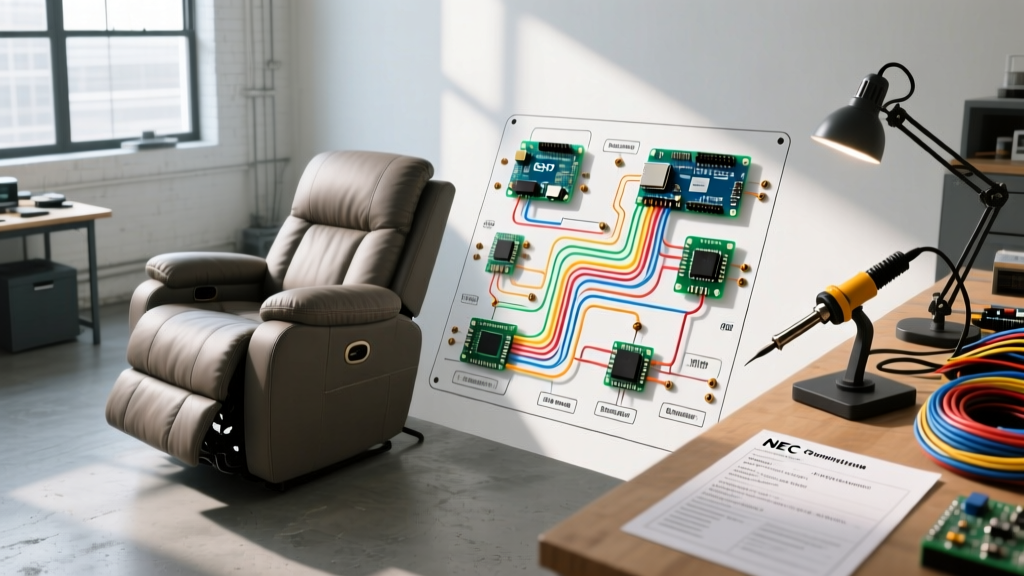

The Hidden Risks of Motorized Furniture Wiring
As motorized furniture becomes a staple in modern living rooms, the complexity of the underlying electrical systems has increased exponentially. An electric recliner wiring diagram is not just a roadmap for assembling a chair; it is a critical safety document. According to the National Fire Protection Association (NFPA), electrical failures in household furnishings and fixed wiring are a leading cause of residential fire injuries. When a 120V AC line is stepped down to 29V DC to power high-torque linear actuators, improper wire gauge selection, lack of strain relief, or incorrect battery backup integration can lead to thermal runaway, arcing, or catastrophic motor failure.
This guide dissects the standard electric recliner wiring diagram from a strict safety and National Electrical Code (NEC) compliance perspective. Whether you are repairing a faulty Limoss Smart-Drive system, replacing a Kaidi KD29 transformer, or designing a custom battery backup, understanding the intersection of low-voltage DC control and line-voltage AC safety is mandatory.
Anatomy of an Electric Recliner Wiring Diagram
A standard motorized recliner operates on a split-voltage architecture. The wiring diagram is generally divided into two distinct zones: the AC line-voltage input and the DC low-voltage distribution network.
The AC Line-Voltage Side (120V)
The power originates at a standard NEMA 1-15P or 5-15P wall plug, traveling through a flexible AC cord to a switching power supply (transformer). In compliance with safety standards, this cord must feature an integrated strain relief bushing where it enters the transformer housing. The transformer steps the 120V AC down to a nominal 29V DC (though 24V and 31V systems exist). The AC side is strictly governed by line-voltage safety protocols, requiring double-insulated wiring and proper grounding if the chair frame is metallic and conductive.
The DC Low-Voltage Side (29V)
The DC output feeds into a central junction box or directly into a multi-channel control module. From here, the wiring diagram branches out to:
- Linear Actuators: High-draw motors (typically 1.5A to 2.5A each) that extend and retract the footrest and backrest.
- Hand Controller (Pendant): A low-draw circuit utilizing a 5-pin DIN or proprietary RJ-style connector to send polarity-reversal signals to the control box.
- Battery Backup Unit: A secondary power source designed to return the chair to a neutral position during a grid outage.
NEC Code Compliance for Recliner Wiring
While furniture manufacturers handle the initial UL certification, DIY repair technicians and custom installers must adhere to the National Electrical Code (NEC) when modifying or extending these circuits. Ignoring these codes voids the manufacturer's liability and introduces severe shock and fire hazards.
NEC Article 725: Class 2 Power Supplies
The power bricks used in electric recliners are classified as Class 2 power sources under NEC Article 725. This classification means the power supply is inherently limited in energy output (typically under 100VA), reducing the risk of fire initiation. However, Article 725 strictly prohibits mixing Class 2 low-voltage wiring with Class 1 line-voltage wiring in the same conduit, cable tray, or junction box without a certified physical barrier. When routing replacement DC wires under the recliner, they must be physically separated from any AC line cords by at least 2 inches or separated by a grounded metal barrier.
NEC Article 400: Flexible Cords and Routing
Electric recliners rely heavily on flexible cords to accommodate moving parts. NEC Article 400 dictates the acceptable uses of flexible cords. A critical compliance failure occurs when homeowners or technicians route the recliner's AC power cord under a permanent wall-to-wall carpet or through a hole in the floor to hide it. Article 400 explicitly forbids using flexible cords as a substitute for fixed building wiring or routing them through walls, floors, or ceilings. The AC cord must remain exposed in the room's ambient air to dissipate heat and remain accessible for inspection.
Wire Gauge and Component Specification Matrix
Undersized wiring is the primary cause of voltage drop and subsequent actuator overheating in motorized furniture. The following matrix outlines the strict wire gauge requirements for standard 29V DC recliner systems (e.g., Kaidi, Limoss, Okin).
| Circuit Segment | Typical Voltage | Max Amperage | Required AWG | Insulation Type | Compliance Standard |
|---|---|---|---|---|---|
| AC Mains to Transformer | 120V AC | 1.5A | 16 AWG | SJT / SVT (Jacketed) | UL 62 |
| Transformer to Control Box | 29V DC | 3.0A | 14 AWG | THHN / Stranded | UL 758 |
| Control Box to Actuators | 29V DC | 2.5A (per motor) | 14 AWG | SPT-2 (Flexible) | UL 62 |
| Hand Controller Pendant | 5V - 29V DC | 0.5A | 18 AWG to 20 AWG | PVC Multi-conductor | UL 758 |
| Battery Backup Line | 18V - 29V DC | 4.0A (surge) | 12 AWG | Silicone / High-Temp | UL 758 |
Note: Always use stranded copper wire for any segment of the wiring diagram that crosses a mechanical hinge or moving joint. Solid core wire will suffer from metal fatigue and snap after repeated articulation cycles.
Battery Backup Wiring and Backfeed Prevention
Modern electric recliners feature a battery backup to ensure the user is not trapped in a fully reclined position during a power outage. Wiring the backup circuit requires meticulous attention to polarity and diode placement.
CRITICAL SAFETY WARNING: Never wire a lithium-ion battery pack (such as the Limoss BA29) directly in parallel with the DC output of the main AC transformer without an integrated blocking diode or a smart relay. If the AC power is restored while the battery is connected, the transformer will attempt to charge a non-rechargeable or unprotected battery pack, leading to venting, fire, or explosion.
In a compliant wiring diagram, the battery backup connects to a dedicated 'Backup' port on the control box. This port contains an internal relay that physically disconnects the main transformer's DC feed before engaging the battery circuit. If you are bypassing a broken control box and wiring directly to the actuators for emergency use, you must install an inline 10A Schottky diode on the positive lead of the AC transformer to prevent backfeeding.
Common Failure Modes and Troubleshooting
When diagnosing a malfunctioning recliner using the wiring diagram, safety professionals look for specific mechanical and electrical failure modes:
- Strain Relief Failure: According to UL 962 (Standard for Furniture), the cord anchoring mechanism must withstand a direct pull of 35 pounds for one minute without the wires pulling out of the terminal block. If a chair's wiring feels loose near the junction box, the strain relief has failed, and arcing is imminent.
- Limit Switch Bypass: Actuators contain internal micro-switches that cut power when the chair reaches full extension. A dangerous DIY 'fix' involves bypassing a faulty limit switch to force the motor to move. This removes the thermal cutoff, guaranteeing the motor will draw locked-rotor amperage (LRA) until the wiring melts.
- Polarity Reversal in Hand Controls: If a replacement hand controller is wired with reversed polarity on the 5-pin DIN connector, pressing 'Up' will send a 'Down' signal to the control box. While not inherently a fire hazard, it causes violent mechanical jerking that can strip the actuator's internal Acme threads.
Sourcing UL 962 Compliant Replacement Parts
When replacing components identified in your electric recliner wiring diagram, avoid unbranded, uncertified parts from overseas marketplaces. The Consumer Product Safety Commission (CPSC) routinely issues recalls for uncertified furniture transformers that lack internal thermal fuses. Always verify that replacement transformers, control boxes, and pendants bear the UL or ETL mark. Specifically, look for the UL 962 designation for the furniture assembly and UL 1310 for the Class 2 power supply. Investing $45 to $85 in a certified OEM replacement part from brands like Okin, Kaidi, or Limoss is a non-negotiable requirement for maintaining the fire-safe integrity of your motorized furniture.