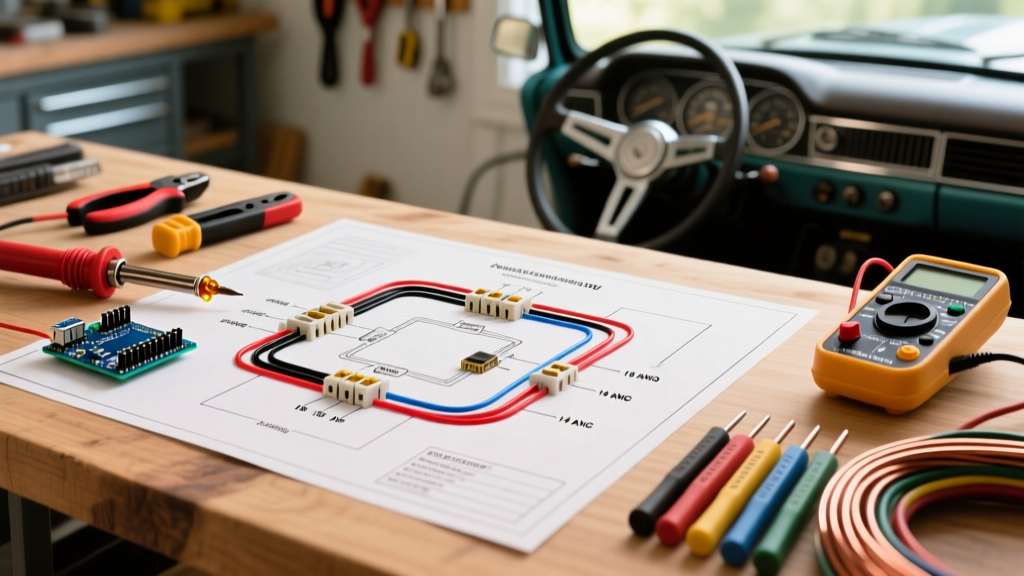

Bridging Automotive Power and Appliance Wiring
As overlanding, vanlife, and mobile off-grid setups surge in popularity through 2026, the line between automotive electrical systems and household appliance wiring has blurred. Modern vehicles are no longer just transportation; they are mobile micro-grids powering 12V DC compressor fridges, induction cooktops via inverters, and high-draw lighting arrays. To safely integrate these loads, you must master basic car electrical wiring diagrams. Unlike standard home AC wiring (120V/240V), automotive DC systems operate at a nominal 12.6V to 14.4V, meaning current (Amperage) is significantly higher for the same wattage. This demands strict adherence to wire gauge sizing, voltage drop calculations, and precise fuse coordination.
This tutorial treats your vehicle as a mobile appliance hub, breaking down how to read, interpret, and execute basic car electrical wiring diagrams to safely power high-draw 12V appliances.
Decoding Symbols in Basic Car Electrical Wiring Diagrams
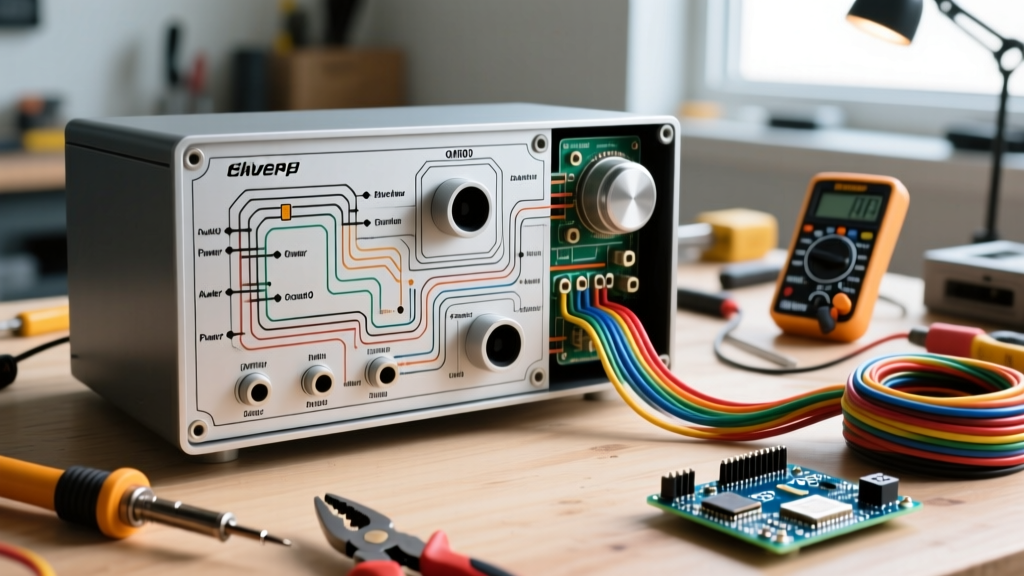
Before routing a single cable, you must understand the schematic language. Automotive diagrams use standardized symbols governed by organizations like the Society of Automotive Engineers (SAE). Below is the essential legend for 12V appliance integration.
| Symbol Shape | Component | Appliance Wiring Context |
|---|---|---|
| Parallel Lines (Long/Short) | Battery / Power Source | The vehicle's starting battery or auxiliary LiFePO4 house bank. |
| Zig-Zag or Rectangle with Line | Fuse / Circuit Breaker | Overcurrent protection. Must be rated 125% of the appliance's continuous draw. |
| Rectangle with Diagonal Line | Relay | Electromagnetic switch used to trigger high-draw appliances (like inverters) via a low-draw dash switch. |
| Circle with Cross or Dot | Motor / Load | The appliance itself (e.g., compressor motor, heating element). |
| Line with 3 Downward Arrows | Chassis Ground | Connection to the vehicle's steel frame. Must be sanded to bare metal. |
The Anatomy of a 12V DC Appliance Circuit
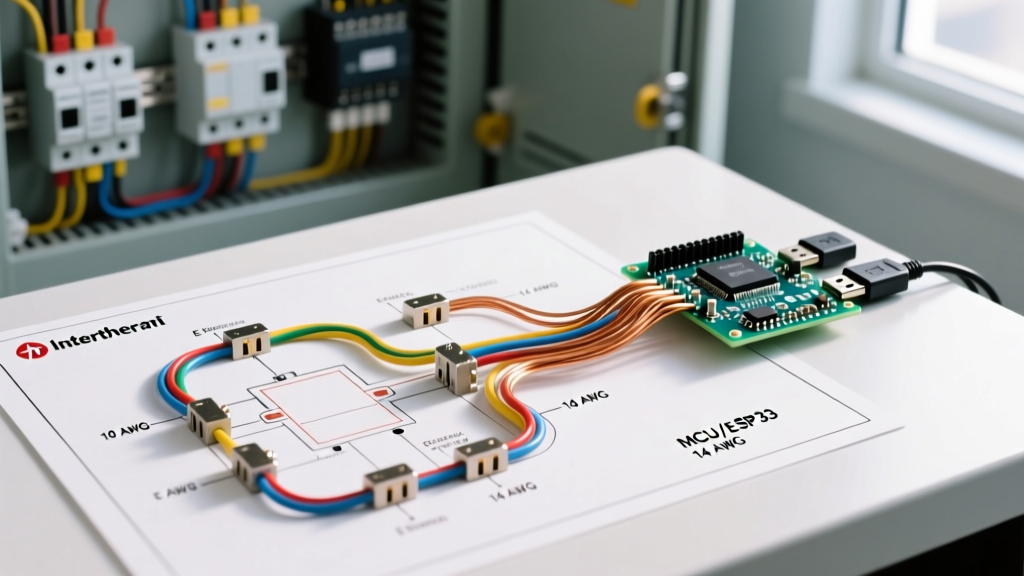
When analyzing basic car electrical wiring diagrams for auxiliary appliances, every safe circuit follows a strict topological sequence. Deviating from this sequence is the primary cause of electrical fires in mobile builds.
- Power Source: Connection to the positive battery terminal or main distribution busbar.
- Main Overcurrent Protection: A fuse or breaker placed within 7 inches of the power source. This protects the main feed wire from shorting to the chassis.
- Main Feed Wire: Heavy-gauge cable (e.g., 4 AWG or 2 AWG) routed to a secondary distribution block or fuse panel.
- Branch Protection: A secondary fuse sized specifically for the individual appliance's branch circuit.
- Control Switch / Relay: Optional for low-draw appliances, mandatory for high-draw appliances (over 15A) to prevent switch melting.
- The Load (Appliance):strong> The 12V device receiving power.
- Ground Return: The negative wire returning to the chassis ground or negative busbar, completing the circuit.
Wire Gauge and Fuse Sizing Matrix for Car Appliances
Because 12V systems push high amperage, wire resistance generates heat. According to the American Boat and Yacht Council (ABYC) E-11 standards—which serve as the gold standard for 12V DC mobile wiring—wire sizing must be based on both ampacity and acceptable voltage drop. The table below provides a practical matrix for common 12V appliances.
| Appliance Type | Typical Max Draw | Min. Wire Gauge (Up to 15ft) | Branch Fuse Size | Recommended Fuse Type |
|---|---|---|---|---|
| 12V LED Lighting Array | 5 Amps | 16 AWG | 7.5A | ATO / ATC Blade |
| 60L Compressor Fridge | 12 Amps (Peak) | 12 AWG | 15A | ATO / ATC Blade |
| 12V Diesel Heater | 15 Amps (Glow Plug) | 10 AWG | 20A | ATO / ATC Blade |
| 1000W Pure Sine Inverter | 85 Amps | 2 AWG | 100A | ANL or Class T |
| 3000W Inverter (Microwave/AC) | 260 Amps | 1/0 AWG | 300A | Class T |
Note: Always use marine-grade, tinned copper wire (e.g., Ancor or Southwire). Untinned automotive wire oxidizes rapidly in humid environments, increasing resistance and fire risk.
Real-World Case Study: Wiring a Dometic CFX3 55 Fridge
Let's apply basic car electrical wiring diagrams to a specific, high-value appliance: the Dometic CFX3 55 portable fridge (retailing around $950 in 2026). This appliance features a variable-speed Danfoss-style compressor that draws roughly 1.2A continuously but spikes to 8.5A during startup.
The Voltage Drop Edge Case
The CFX3 features a built-in battery protection system with three modes (High, Medium, Low). In 'High' mode, the fridge cuts power if voltage at the plug drops below 10.1V to protect the vehicle's starting battery. If you use undersized wire or rely on a cheap cigarette lighter socket, the voltage drop under the 8.5A startup load will trigger this cutoff, resulting in spoiled food.
Step-by-Step Execution
- Step 1: Run 10 AWG marine-grade duplex wire from the auxiliary battery to the rear cargo area. (10 AWG is used instead of 12 AWG to minimize voltage drop over a 15-foot run).
- Step 2: Install a 15A ATO fuse holder within 6 inches of the positive battery terminal.
- Step 3: Terminate the wire at the cargo area using a heavy-duty Anderson Powerpole (APP) 50A connector or a dedicated Merit plug. Never use standard cigarette lighter plugs for compressor fridges; the internal solder joints will melt under sustained 8A loads.
- Step 4: Ground the negative wire directly to a clean, unpainted chassis bolt using a ring terminal, secured with a star washer to bite into the bare metal.
Calculating Voltage Drop: The 3% Rule
When designing circuits from basic car electrical wiring diagrams, the National Electrical Code (NEC) and industry best practices recommend a maximum voltage drop of 3% for critical appliances. For a 12V system, a 3% drop equals just 0.36 Volts. You can verify your wire sizing using the Southwire Voltage Drop Calculator.
Expert Troubleshooting Tip: If your 12V appliance is malfunctioning or shutting off, do not just check the battery voltage. Use a digital multimeter to measure the voltage at the appliance's plug while the appliance is actively running under load. If the battery reads 12.6V but the plug reads 11.2V, you have a 1.4V drop (11%), indicating undersized wiring, a corroded ground, or a failing fuse holder.
Essential Tools and Materials for 2026
Executing these wiring diagrams requires professional-grade tools. Relying on cheap crimpers leads to high-resistance connections that melt under load.
- Wire Crimpers: Knipex 48 11 J1 or Channellock 440. Budget: $45 - $60. These provide the ratcheting force necessary for gas-tight crimps on insulated terminals.
- Heat Shrink Tubing: 3M or Glueshrink adhesive-lined heat shrink (3:1 ratio). Budget: $25 per kit. Prevents moisture ingress at crimp joints.
- Busbars: Blue Sea Systems ST Busbars (rated 250A continuous). Budget: $35. Essential for organizing multiple appliance branch circuits cleanly.
- Wire Loom: Split loom tubing or Techflex braided sleeving to protect wires from chafing against the vehicle's sharp sheet metal firewall.
Final Safety and Compliance Checks
Before energizing any new appliance circuit, perform a continuity test with a multimeter to ensure there are no dead shorts between the positive feed and the chassis ground. Furthermore, ensure all wiring passing through metal bulkheads (like the firewall or cargo partition) is protected by rubber grommets. According to the NFPA 70 (National Electrical Code) guidelines for mobile and recreational vehicle power systems, physical protection of conductors against abrasion is a mandatory safety requirement. By strictly following basic car electrical wiring diagrams and respecting DC physics, your mobile appliance setup will remain safe, efficient, and reliable for years on the road.