
The Critical Role of Capacitors in RV Rooftop AC Systems
When your RV's rooftop air conditioner emits a low hum but fails to kick into high gear, the culprit is almost always a failing capacitor. Unlike residential HVAC systems that sit in shaded, climate-controlled yards, RV rooftop units (like the Dometic Penguin II or Coleman Mach 10) endure extreme temperature fluctuations, constant highway vibration, and notoriously dirty campground power pedestals. Because of these harsh conditions, understanding the wiring diagram for AC capacitor configurations in recreational vehicles is an essential skill for any RV owner or mobile technician.
In 2026, replacing an OEM rooftop AC capacitor remains one of the most cost-effective DIY repairs you can perform. While a dealership might charge $250 to $350 for a diagnostic visit and replacement, a high-quality aftermarket dual run capacitor (such as those from Supco, PowerWell, or Genteq) typically costs between $14 and $22. This guide will walk you through the exact terminal identifications, OEM specifications, and step-by-step wiring procedures to get your rig's cooling system back online safely.
Anatomy of the Wiring Diagram for AC Capacitor
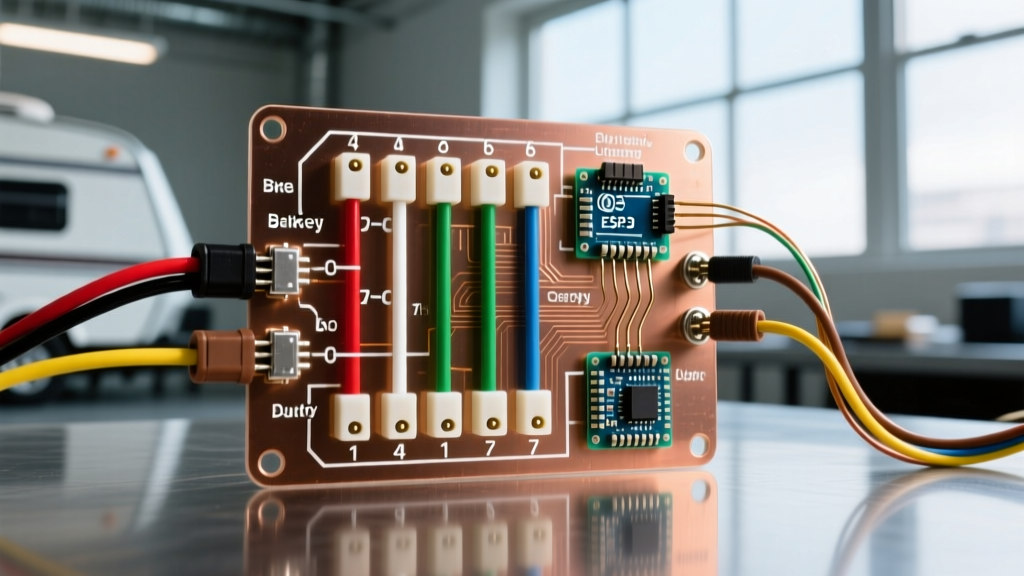
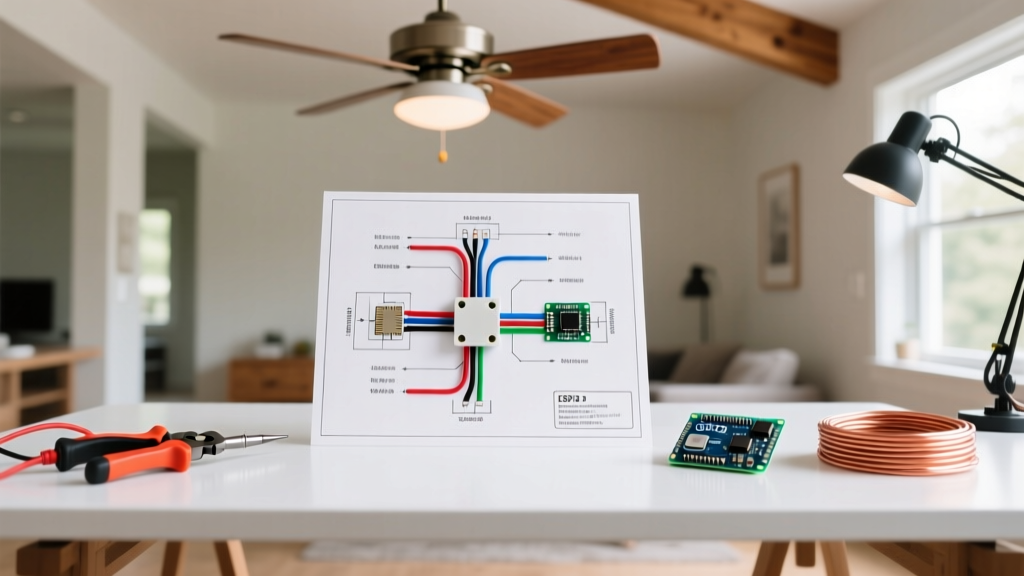
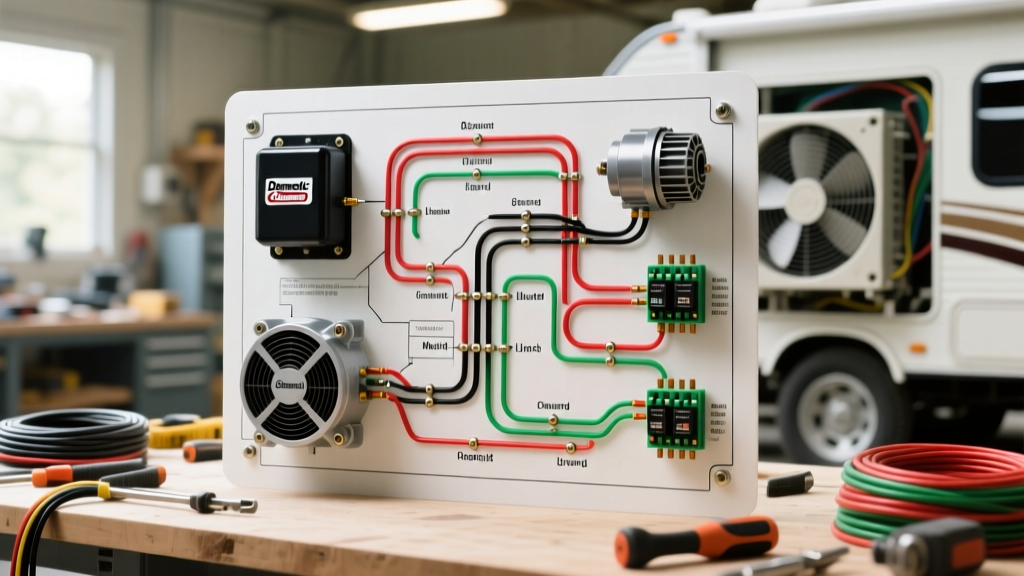
Most modern RV rooftop air conditioners utilize a dual run capacitor. This single cylindrical component houses two separate capacitors in one casing: one for the compressor motor and one for the condenser fan motor. Reading the wiring diagram for AC capacitor setups requires you to understand the three primary terminals located on the top of the component.
Terminal Identification and Wire Routing
- C (Common): This is the shared line voltage terminal. It typically receives the main 120VAC hot wire from the contactor or relay. In most RV wiring harnesses, this wire is black or red.
- HERM (Hermetic Compressor): This terminal feeds the start/run winding of the sealed compressor. The wire routing from HERM to the compressor is almost universally yellow or white with a yellow tracer.
- FAN (Condenser Fan Motor): This terminal powers the outdoor fan motor that pulls air across the condenser coils. The wire connected here is usually brown.
Safety Warning: Before touching any wiring diagram for AC capacitor terminals, you must disconnect shore power, turn off the generator, and flip the dedicated AC breaker in your RV's main distribution panel. According to OSHA electrical safety guidelines, capacitors can retain lethal electrical charges long after power is removed. Always discharge the capacitor using a 20k-ohm, 5-watt wirewound resistor attached to insulated pliers before handling.
OEM Capacitor Specifications: Dometic vs. Coleman
Not all RV air conditioners use the same microfarad (MFD or µF) ratings. Installing a capacitor with the wrong MFD rating will cause the compressor to overheat, trip the internal thermal overload switch, or draw excessive amperage. Below is a comparison matrix of the most common OEM specifications found in popular RV rooftop units.
| RV AC Brand & Model | Capacitor Type | Compressor MFD | Fan Motor MFD | Voltage Rating | Approx. 2026 Cost |
|---|---|---|---|---|---|
| Dometic Penguin II (15k BTU) | Dual Run | 45 µF | 5 µF | 370/440 VAC | $16 - $20 |
| Coleman Mach 10 (15k BTU) | Dual Run | 45 µF | 5 µF | 370/440 VAC | $15 - $19 |
| Dometic BriskAir (13.5k BTU) | Dual Run | 30 µF | 5 µF | 370 VAC | $14 - $18 |
| Furrion Chill (15k BTU) | Dual Run | 45 µF | 5 µF | 440 VAC | $18 - $24 |
Note: Always verify the exact MFD and voltage requirements printed on the label of your specific OEM capacitor, as manufacturing revisions can alter specifications even within the same model line.
Step-by-Step Wiring and Installation Guide
When replacing the component, following the correct wiring diagram for AC capacitor connections is vital to prevent short circuits or motor burnout. Here is the professional procedure for swapping the unit:
- Access the Roof Unit: Safely climb to the RV roof and remove the sheet metal shroud covering the AC unit. This usually requires a 1/4-inch nut driver or a Phillips screwdriver.
- Discharge the Old Capacitor: Using an insulated screwdriver with a wire wrapped around the shaft connected to the C terminal, briefly touch the blade to the HERM and FAN terminals to bleed off residual voltage. (A discharge resistor is safer and preferred).
- Document the Wiring: Take a high-resolution photo of the existing wiring before disconnecting anything. While the standard colors apply 90% of the time, previous repairs or aftermarket hard-start kits may have altered the harness.
- Disconnect and Remove: Pull the spade connectors off the C, HERM, and FAN terminals. Use a 1/4-inch nut driver to loosen the metal retaining strap holding the capacitor to the chassis.
- Wire the New Capacitor: Connect the black/red line voltage wire to C. Connect the yellow/white compressor wire to HERM. Connect the brown fan wire to FAN. Ensure all female spade connectors are crimped tightly; loose connections cause arcing and terminal melting.
- Secure and Test: Reinstall the retaining strap, replace the shroud, and restore power at the breaker. Listen for the distinct "click" of the contactor followed by the immediate startup of the fan and compressor.
Diagnostic Testing: Identifying Failure Modes
Visual inspection isn't enough. While a bulging top or leaking dielectric fluid are obvious signs of failure, many capacitors fail internally without cosmetic damage. To properly diagnose the unit, you need a digital multimeter capable of measuring capacitance (microfarads), such as the Fieldpiece SC440 or the Klein Tools MM600.
Microfarad Testing Procedure
Set your multimeter to the capacitance setting (usually denoted by -| |- or µF). Place one probe on the C terminal and the other on the HERM terminal. The meter should read within ±6% of the rated MFD. For a 45 µF capacitor, an acceptable reading is between 42.3 µF and 47.7 µF. Repeat this process between C and FAN (for a 5 µF rating, acceptable is 4.7 µF to 5.3 µF).
| Multimeter Reading | Capacitor Status | Action Required |
|---|---|---|
| Within ±6% of rated MFD | Healthy | No action; check contactor or compressor windings. |
| Below -10% of rated MFD | Weak / Failing | Replace immediately; compressor is struggling to start. |
| OL (Open Line) or 0.00 | Open Circuit (Dead) | Replace capacitor; internal foil has severed. |
| Short Circuit (Beep on continuity) | Shorted Internally | Replace capacitor; check compressor for collateral damage. |
Edge Cases: Campground Power Surges and Hard Start Kits
One of the most common reasons RV AC capacitors fail prematurely is voltage fluctuation at older campgrounds. When the pedestal voltage drops below 108V under load, the compressor draws higher amperage to compensate, generating excessive heat inside the capacitor's dielectric oil. This heat degrades the internal film, leading to a drop in MFD over time. The RV Industry Association (RVIA) frequently highlights the importance of using an auto-transformer voltage regulator (like a Hughes Autoformer) to protect sensitive HVAC components from brownouts.
Integrating an Aftermarket Hard Start Kit
If your RV AC struggles to start on generator power or low-voltage pedestals, installing a hard start kit (such as the Supco SPP6) is highly recommended. The wiring diagram for AC capacitor modifications involving a hard start kit requires wiring the kit's start capacitor and potential relay in parallel with the existing run capacitor.
- Connect the hard start kit's yellow wire to the HERM terminal on your main dual run capacitor.
- Connect the hard start kit's black wire to the C terminal on your main dual run capacitor.
This setup provides an extra phase-shifted torque boost to the compressor for the first few milliseconds of startup, then the internal relay drops the start capacitor out of the circuit, leaving the main run capacitor to handle continuous operation. This modification can reduce locked rotor amperage (LRA) by up to 50%, saving your generator from tripping its overload breaker.
Final Thoughts on RV AC Maintenance
Mastering the wiring diagram for AC capacitor configurations empowers you to maintain your RV's climate control system independently. By keeping a spare 45+5 MFD dual run capacitor in your rig's tool bay, a $20 part and 15 minutes of labor can save a weekend trip from being ruined by a sweltering, broken AC unit. Always adhere to Department of Energy guidelines regarding HVAC maintenance, and ensure all roof penetrations and electrical covers are properly sealed against moisture ingress before hitting the road.