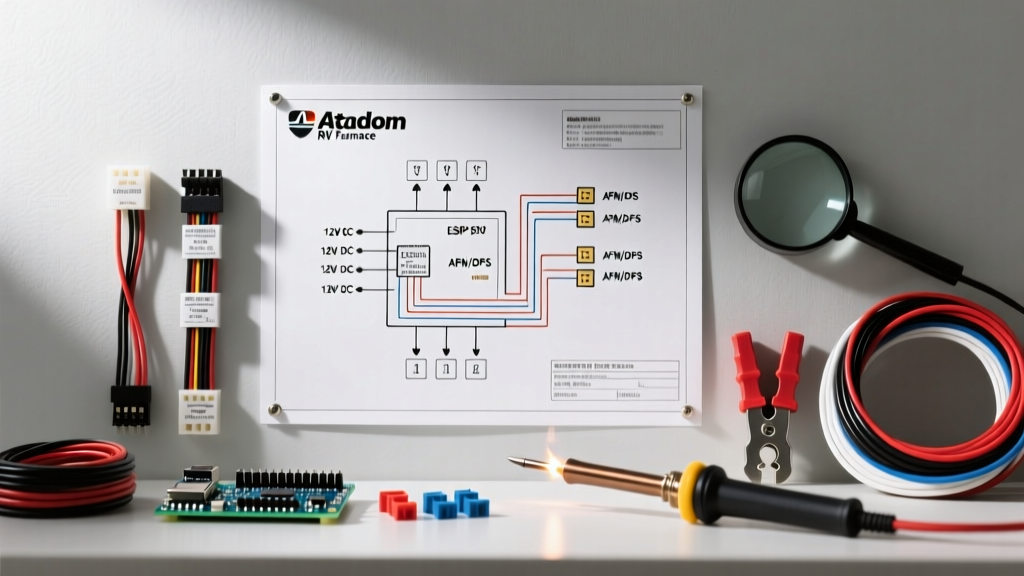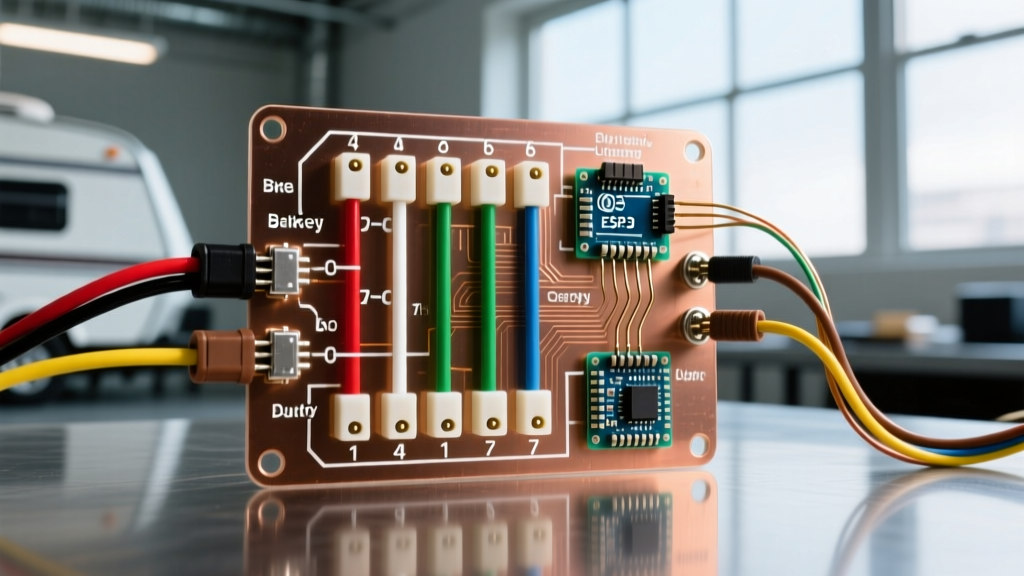

The Critical Role of the 7-Pin Connector in Modern RV Appliances
If you are towing a travel trailer or fifth wheel in 2026, your onboard appliances—specifically 12V compressor refrigerators, residential fridge inverters, and auxiliary battery banks—rely entirely on the umbilical cord connecting your tow vehicle to the rig. While most DIYers view the 7-way RV blade connector strictly as a lighting and brake interface, it is actually the primary power artery for your trailer's 12V appliance ecosystem. Understanding the correct wiring diagram for 7 pin configurations is the difference between arriving at your campsite with a cooler full of spoiled food and a fully charged house battery bank.
Modern tow vehicles and RVs have evolved significantly. With the rise of high-efficiency 12V compressor fridges like the Dometic CFX3 55IM and the Furrion Arctic series, the electrical demands on the 7-pin connector have multiplied. This comprehensive appliance wiring tutorial will dissect the 7-pin layout, calculate voltage drops, and integrate modern DC-DC charging solutions to keep your appliances running flawlessly on the highway.
Standard 7-Pin RV Blade Pinout and Appliance Assignments
Before cutting any wire, you must understand the SAE J286 standard layout for the 7-way RV blade connector. Below is the definitive pinout matrix, specifically annotated for appliance and heavy-draw applications.
| Pin Position | Function | Standard Wire Color | Recommended AWG | Appliance / System Application |
|---|---|---|---|---|
| Pin 1 (Top Left) | Left Turn / Stop | Yellow | 14 AWG | Exterior clearance lights near appliance vents |
| Pin 2 (Bottom Center) | Ground (White) | White | 10 AWG or 8 AWG | Critical: Main ground return for all 12V appliances |
| Pin 3 (Bottom Left) | Tail / Running Lights | Brown | 14 AWG | Interior ambient lighting circuits |
| Pin 4 (Top Right) | 12V Auxiliary Power | Black or Red | 10 AWG or 8 AWG | Primary: 12V Fridge power, DC-DC Charger feed |
| Pin 5 (Center) | Electric Brakes | Blue | 12 AWG | Trailer brake controller (high transient draw) |
| Pin 6 (Top Right Inner) | Right Turn / Stop | Green | 14 AWG | Exterior clearance lights near appliance vents |
| Pin 7 (Bottom Right) | Backup Lights / 12V | Purple | 14 AWG | Reverse cameras, exterior utility lighting |
Pro-Tip for Appliance Wiring: Never use the trailer chassis as a ground return for high-draw appliances like compressor fridges. Always run a dedicated 10 AWG or 8 AWG ground wire directly from the appliance negative terminal back to Pin 2 on the 7-pin junction box. Chassis grounding introduces unpredictable resistance that triggers low-voltage shutdowns.
Deep Dive: Wiring Pin 4 for 12V Compressor Refrigerators
Pin 4 (12V Auxiliary) is the most abused pin on the connector. When wiring a 12V compressor refrigerator, you are dealing with continuous draws of 5A to 8A, with startup surges that can briefly spike to 15A. If your wiring diagram for 7 pin setups utilizes the factory 12 AWG wire commonly found in older truck tow packages, you will experience severe voltage drop.
Calculating Voltage Drop for Appliance Runs
Let's calculate the voltage drop for a Dometic CFX3 drawing 8A continuous. The distance from the tow vehicle's alternator, through the 7-pin, to the trailer's fridge is roughly 35 feet of total wire length (positive and negative combined).
- 12 AWG Wire Resistance: ~1.588 mΩ per foot.
- Voltage Drop Formula: (2 x Length x Current x Resistance) / 1000
- Calculation: (2 x 35 x 8 x 1.588) / 1000 = 0.88 Volts dropped.
If your alternator is pushing 13.8V, the fridge receives 12.92V, which is acceptable. However, if you are using a modern truck with a smart alternator that drops to 12.8V under light load, the fridge receives 11.92V and will throw a DC Voltage Low error code and shut off. Upgrading the Pin 4 and Pin 2 circuits to 10 AWG GXL (Cross-Linked Polyethylene) automotive wire reduces the resistance to 0.998 mΩ/ft, dropping the voltage loss to just 0.55V.
The Smart Alternator Problem: Integrating a DC-DC Charger
For 2024 through 2026 model year trucks (including the Ford F-150, GM Silverado, and Ram 1500), the factory alternator is managed by an ECU to maximize fuel economy. These 'smart alternators' frequently drop output voltage to 12.7V or lower once the starter battery is fully charged. This voltage is insufficient to charge an RV's lithium house battery bank or run a residential fridge inverter.
The modern solution is to use the 7-pin's Pin 4 not as a direct power feed, but as the trigger and primary feed for a DC-DC Battery Charger (such as the Renogy 60A DCC60S or REDARC BCDC1225D).
- Run 8 AWG Wire: Upgrade the Pin 4 feed from the truck's battery to the trailer tongue using 8 AWG wire, protected by a 60A ANL fuse at the truck battery.
- Connect to DC-DC Input: Feed this 8 AWG wire into the 'Alternator/Start Battery' input on the DC-DC charger mounted in the trailer's front pass-through.
- Ignition Trigger: Use the running lights circuit (Pin 3, Brown wire) via a 12V relay to turn the DC-DC charger on only when the truck is running, preventing the trailer from draining the truck's starter battery when parked.
For more on adapting modern truck electrical systems to RV standards, refer to the NFPA 1192 Standard on Recreation Vehicles, which outlines the baseline safety requirements for low-voltage DC systems in towables.
Step-by-Step Termination: Ensuring Corrosion-Free Connections
The number one cause of appliance failure on the road is corrosion inside the 7-pin plug itself. Water ingress turns copper into high-resistance copper oxide. When terminating your 7-pin connector (we recommend the heavy-duty Pollak PK11721 cast metal trailer end), follow this exact procedure:
- Strip the Jacket: Use a precision wire stripper to remove exactly 5/16" of insulation from your GXL wire. Do not nick the copper strands.
- Select Adhesive-Lined Terminals: Discard the cheap vinyl terminals included with the plug. Use tinned-copper, adhesive-lined heat shrink ring terminals (e.g., 3M MDT series).
- Ratchet Crimp: Use a ratcheting crimper like the Knipex 97 53 04 or Titan 11950. The ratchet ensures the terminal is compressed to the exact factory specification, creating a gas-tight seal that prevents oxygen from reaching the copper.
- Heat Shrink: Apply heat with a heat gun set to 300°F. Move the gun back and forth until the adhesive bleeds out of the ends of the shrink tube. This seals out moisture entirely.
- Dielectric Grease: Pack the interior of the 7-pin housing with Permatex 22058 Dielectric Tune-Up Grease before screwing on the strain relief boot.
Troubleshooting Common Appliance Power Failures
Even with a perfect wiring diagram for 7 pin setups, things can go wrong. Use this diagnostic matrix when your appliances fail on the road.
- Symptom: 12V Fridge shuts off randomly on highway bumps.
Culprit: Pin 2 (Ground) is loose inside the junction box, or the trailer-side plug is sagging, pulling the ground pin out of contact.
Fix: Install a heavy-duty 7-pin plug holder bracket and ensure the white ground wire is secured with a star washer under a stainless steel nut. - Symptom: Alternator whine heard through the RV's audio system or inverter fan pulses.
Culprit: The 12V auxiliary feed (Pin 4) is routed too closely to the audio or signal cables inside the trailer tongue, causing electromagnetic interference (EMI).
Fix: Reroute the 10 AWG power cable at least 6 inches away from low-voltage signal wires, or shield it with a braided copper EMI sleeve. - Symptom: Electric brakes (Pin 5) feel weak, and the brake controller shows a low-voltage warning.
Culprit: Voltage drop on the blue wire due to undersized factory wiring.
Fix: Run a dedicated 10 AWG blue wire from the brake controller output directly to the trailer's breakaway switch and brake magnets, bypassing the factory harness.
Final Thoughts on RV Appliance Wiring
Treating your 7-pin connector as a high-capacity appliance power bus rather than a simple lighting harness will fundamentally change your boondocking and travel experience. By upgrading to 10 AWG or 8 AWG GXL wire, utilizing adhesive-lined crimps, and integrating a DC-DC charger to defeat smart alternators, you ensure your 12V compressor fridges and lithium banks receive clean, stable voltage. Always consult your specific vehicle's tow guide and reference etrailer's comprehensive wiring guide for vehicle-specific tow package activation requirements before modifying your factory harness. For further industry standards on RV electrical safety, review the guidelines published by the Recreation Vehicle Industry Association (RVIA).