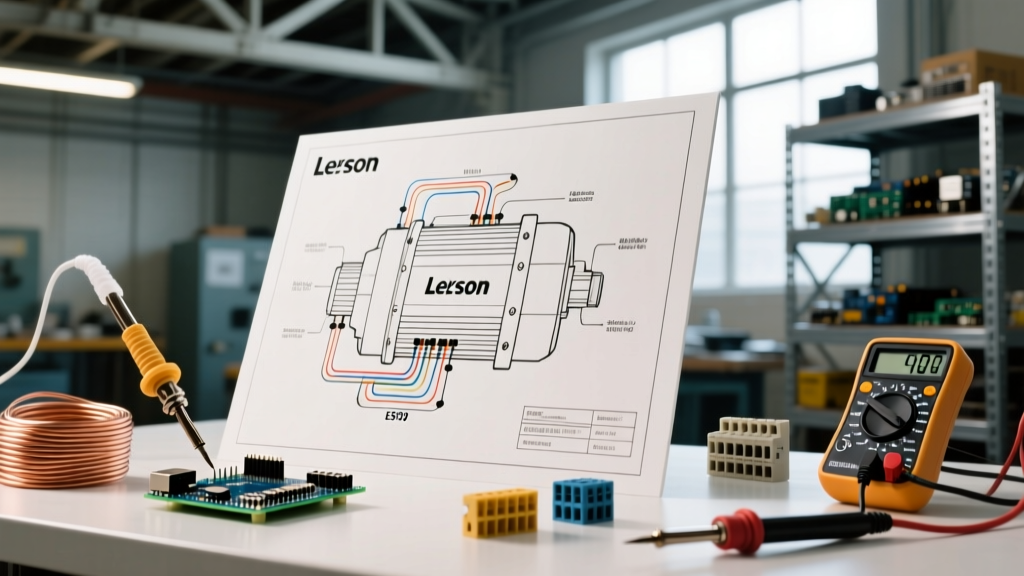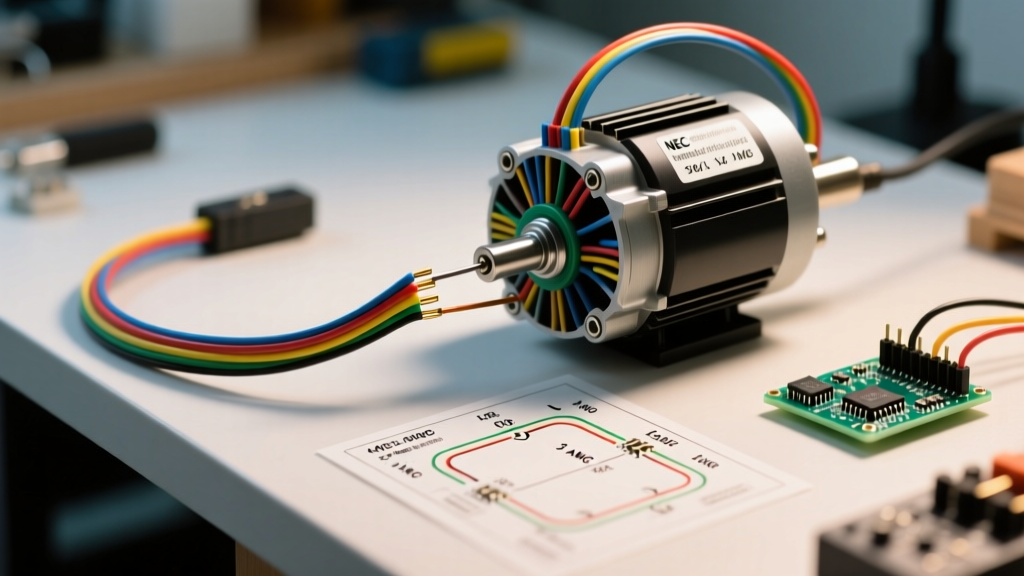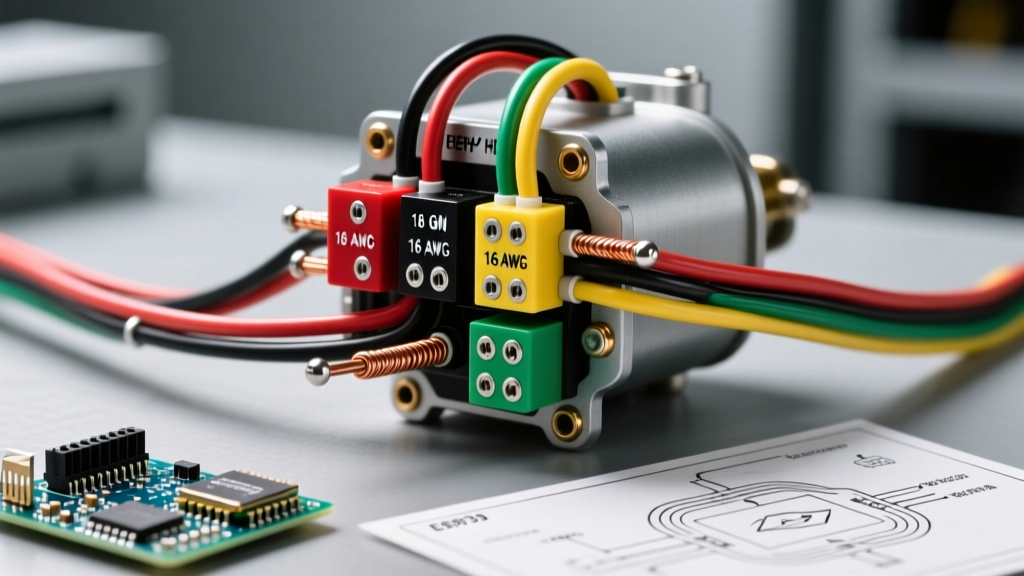

Mastering the Wiring Diagram for Chevy HEI Distributor Setups
Upgrading from a traditional breaker-points ignition to a General Motors High Energy Ignition (HEI) system remains one of the most reliable performance modifications for classic Chevy V8 engines. However, the transition introduces a critical electrical variable: the HEI module demands significantly more current and a stable, unresisted 12-volt feed to operate correctly. Misinterpreting the wiring diagram for Chevy HEI distributor configurations—specifically regarding wire gauge and automotive color codes—is the leading cause of module failure, high-RPM misfires, and burned-out ignition coils.
This comprehensive reference guide breaks down the exact wire gauge requirements, SAE-compliant insulation standards, and GM factory color codes necessary to wire a 4-pin HEI distributor correctly in 2026, ensuring optimal spark output and long-term reliability.
The "Resistance Wire" Trap: Why Points Wiring Fails on HEI
Before diving into the schematic, it is vital to address the most common wiring error. Original GM points-style distributors utilized a ballast resistance wire (typically 1.35 ohms per foot) to drop the voltage from 12V down to roughly 6V–9V at the coil, protecting the points from burning out.
Critical Warning: The HEI module requires a full, unresisted 12V to the "BAT" terminal. If you reuse the factory points resistance wire to feed your new HEI distributor, the voltage drop will starve the module. This causes weak spark, high-RPM cutoff, and eventual thermal failure of the internal ignition module. You must run a dedicated, full-voltage feed.
According to the ignition wiring standards documented by MAD Enterprises, bypassing the factory resistance wire and pulling a dedicated 12V switched feed directly from the ignition switch or a dedicated relay is mandatory for HEI longevity.
HEI 4-Pin Module Wiring Matrix & Wire Gauge Reference
The standard GM HEI distributor cap houses the coil and the 4-pin ignition module. Selecting the correct wire gauge is dictated by the SAE J1128 standard for low-voltage automotive primary cable, which accounts for under-hood ambient temperatures that can exceed 125°C (257°F). Using undersized wire introduces voltage drop, which directly reduces the dwell time and spark energy.
| Module Terminal | Function | Min. Wire Gauge (AWG) | Standard GM Color Code | Connector Type |
|---|---|---|---|---|
| BAT | Switched 12V Power Feed | 12 AWG (10 AWG for long runs) | Pink (or Red for direct relay) | 1/4" Female Spade |
| TACH | Tachometer Signal Output | 18 AWG | White | 1/4" Female Spade |
| GND | Module Ground | N/A (Grounded via housing) | Black (if using external pigtail) | Module-to-Housing Screw |
| Pickup Coil | Magnetic Trigger Signal | Internal (20-22 AWG) | Green & White (or Black & White) | Proprietary Snap Connector |
Understanding the Grounding Path
Unlike aftermarket MSD or Accel boxes that require a dedicated ground wire back to the battery or chassis, the standard GM 4-pin HEI module grounds directly through its metal mounting plate to the aluminum distributor housing. The housing, in turn, grounds to the engine block. Actionable Tip: Always apply a thin layer of dielectric grease or thermal compound between the module and the distributor housing to prevent galvanic corrosion, which can create a high-resistance ground and mimic a failing module.
GM Automotive Color Code Standards for Ignition
When fabricating a custom harness or integrating an HEI swap into a classic Chevy (C10, Camaro, or Chevelle), adhering to GM's legacy color codes simplifies future troubleshooting and maintains resale value. Modern aftermarket harnesses from brands like Painless Performance and American Autowire strictly follow these conventions:
- Pink: Ignition-switched 12V power. This wire should only have voltage when the key is in the "Run" and "Start" positions.
- White: Tachometer trigger signal. This outputs a 12V square wave pulse that drops to 0V every time the coil fires.
- Red: Constant 12V battery power (typically used if wiring the HEI through a heavy-duty 30A automotive relay to bypass aging factory ignition switches).
- Black: Chassis or engine block ground.
- Yellow: Starter solenoid "I" terminal bypass (used in older points systems to provide full 12V only during cranking; not required for HEI).
Step-by-Step HEI Wiring Procedure
Follow this sequence to ensure a clean, voltage-stable installation. For detailed aftermarket integration tips, refer to the electrical tech archives at Summit Racing Equipment.
- Remove the Factory Resistance Wire: Trace the original pink resistance wire from the firewall bulkhead connector to the ignition switch. Remove it or cap it securely to prevent short circuits.
- Install a 30A Relay (Recommended): Because classic GM ignition switches are prone to internal voltage drop over decades of use, wire a standard Bosch-style 30A relay. Run a 10 AWG red wire from the battery (with a 20A inline fuse) to Pin 30 of the relay. Connect Pin 87 to the HEI BAT terminal using 12 AWG pink wire.
- Trigger the Relay: Use the original ignition switch 12V output to trigger Pin 86 on the relay. Ground Pin 85 to the engine block.
- Connect the Tachometer: Run an 18 AWG white wire from the TACH terminal on the HEI cap to your aftermarket or factory tachometer signal input.
- Verify the Pickup Coil Connection: Ensure the two-wire snap connector from the internal magnetic pickup coil is firmly seated into the module. A loose connection here will cause an immediate no-spark condition.
Troubleshooting Voltage Drop & Edge Cases
Even with the correct wiring diagram for Chevy HEI distributor setups, environmental factors and aging chassis grounds can introduce faults. Use a digital multimeter (DMM) to perform these specific diagnostic checks:
The "Cranking Voltage" Test
Many enthusiasts measure 12.4V at the BAT terminal with the key in the "Run" position, assuming the circuit is healthy. However, the true test occurs during engine cranking. Have an assistant crank the engine while you monitor the BAT terminal with your DMM. If the voltage drops below 9.5V while cranking, the HEI module may not fire, resulting in a no-start condition. This is usually caused by an undersized feed wire, a corroded firewall bulkhead connector, or a weak starter drawing excessive amperage and starving the ignition circuit.
Tachometer Signal Interference
If your tachometer needle bounces erratically at high RPM, the issue is rarely the HEI module itself. It is almost always caused by routing the 18 AWG white TACH signal wire parallel to the spark plug wires or the alternator charge wire. Solution: Reroute the tachometer signal wire at least 4 inches away from high-voltage secondary ignition wires and wrap it in a shielded braided sleeve if it must cross the engine valley.
Summary of Best Practices
Successfully wiring a Chevy HEI distributor hinges on respecting its high-current demands. By abandoning the factory ballast resistance wire, upgrading to a minimum of 12 AWG SAE J1128-compliant silicone or cross-linked polyethylene (XLPE) wire, and utilizing a relay to bypass aging factory switches, you guarantee the module receives the stable 12V it requires. Adhering to GM color codes not only keeps your engine bay organized but ensures that any future diagnostics can be performed quickly and safely.