
The RVIA Standard: 7-Pin Color Code & Wire Gauge Matrix
When you are building, repairing, or upgrading a heavy-duty trailer, relying on a generic wiring diagram for 7 pin trailer harness setups without considering wire gauge is a recipe for catastrophic failure. The 7-way RV blade connector (governed by RVIA and SAE J286 standards) is the undisputed standard for travel trailers, fifth wheels, and heavy equipment haulers in 2026. However, matching the colors is only half the battle; selecting the correct American Wire Gauge (AWG) for each specific circuit is what prevents voltage drop, overheated plugs, and trailer brake failure.
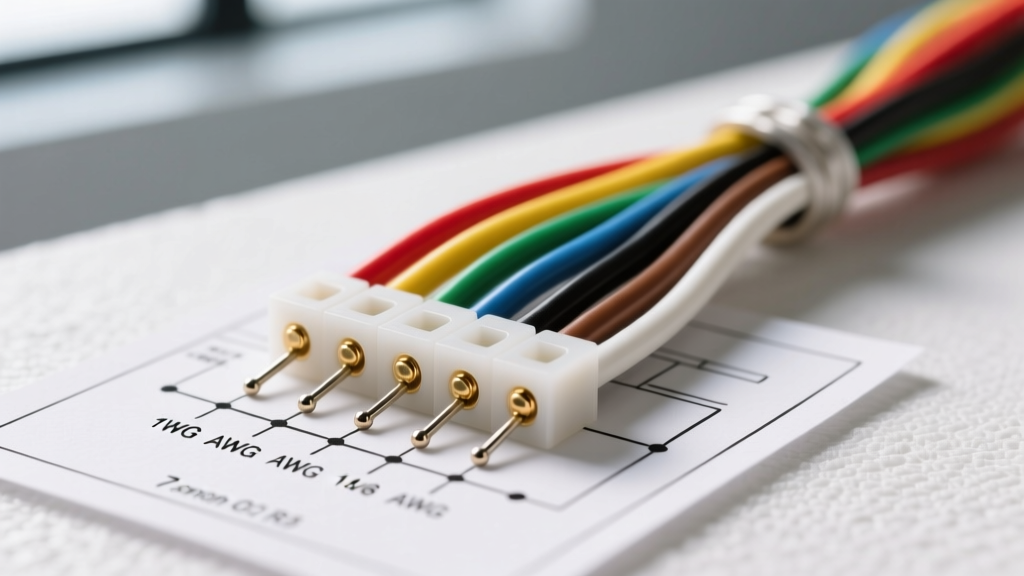
Below is the definitive matrix for the standard 7-pin RV blade connector, detailing the function, industry-standard wire color, and the critical AWG requirements for both standard and heavy-duty applications.
| Pin Function | RVIA Standard Color | Minimum AWG | Heavy-Duty AWG | Typical Max Draw |
|---|---|---|---|---|
| Ground Return | White | 12 AWG | 10 AWG | 15A - 20A |
| Tail / Running Lights | Brown | 16 AWG | 14 AWG | 4A - 6A |
| Left Turn / Stop | Yellow | 16 AWG | 14 AWG | 4A - 6A |
| Right Turn / Stop | Green | 16 AWG | 14 AWG | 4A - 6A |
| Electric Brakes | Blue | 12 AWG | 10 AWG | 12A - 16A |
| 12V Battery Charge / Aux | Black | 12 AWG | 10 AWG (or 8 AWG) | 20A - 40A |
| Backup Lights / Aux | Red or Purple | 16 AWG | 14 AWG | 3A - 5A |
The Physics of Trailer Wiring: Why Gauge Matters
A common mistake DIYers make when following a wiring diagram for 7 pin trailer harness configurations is using a uniform 14 AWG or 16 AWG wire for the entire loom. While this might work for a short 4-pin flat connector powering a few LED lights, a 7-pin system manages high-amperage inductive loads over a 20-to-30-foot copper run.
The Electric Brake Voltage Drop Problem
Consider the blue electric brake wire. A tandem-axle trailer features four brake assemblies. Each electromagnetic brake drum typically draws between 3A and 4A at 12V. Under heavy braking, your brake controller is pushing up to 16A down the blue wire.
If you use 12 AWG wire over a 25-foot run (50 feet total round-trip including the ground), you will experience a voltage drop of approximately 0.65V. Your brakes receive 11.35V, which is acceptable. However, if you mistakenly use 16 AWG wire, the voltage drop spikes to over 2.5V. The brakes receive less than 9.5V, reducing your stopping torque by up to 25% and causing the brake magnets to overheat. According to Southwire's Voltage Drop Calculator, keeping voltage drop under 3% on a 12V DC system requires strict adherence to 10 AWG or 12 AWG for high-draw circuits.
The Ground Wire Bottleneck (White Wire)
The white ground wire is the most abused circuit in trailer wiring. It must carry the return current for every single lighting circuit on the trailer, and in many chassis designs, it also serves as the return path for the electric brakes. If your running lights (3A), left turn (3A), and right turn (3A) are active simultaneously, the ground wire is carrying 9A. Using a 16 AWG white wire will result in a bottleneck, causing dim lights, backfeed through the tail light circuits, and erratic brake controller behavior. Always use a minimum of 12 AWG, and preferably 10 AWG, for the main ground.
Material Selection: GXL vs. Standard PVC in 2026
When sourcing wire for your harness, the jacket material is just as critical as the copper gauge. Standard PVC (Polyvinyl Chloride) wire, often found in cheap automotive primary wire kits, becomes brittle when exposed to UV light, road salt, and the extreme heat radiating from asphalt in the summer.
Industry Standard: For any wiring routed beneath the trailer chassis, the SAE J1128 standard recommends Cross-Linked Polyethylene (XLPE) jackets. Look for GXL (General Cross-Linked) or SXL (Special Cross-Linked) wire. These jackets resist abrasion, chemicals, and temperatures up to 125°C (257°F), compared to the 85°C limit of standard PVC.
In 2026, high-quality GXL wire kits cost roughly $0.40 to $0.60 per foot more than PVC, but they eliminate the need for constant loom replacements and prevent short circuits caused by cracked insulation rubbing against steel crossmembers.
Step-by-Step Termination & Weatherproofing
A perfect wiring diagram for 7 pin trailer harness layouts means nothing if the physical terminations fail. The environment at the trailer tongue is brutal, facing constant vibration and water intrusion.
- Strip with Precision: Use a calibrated wire stripper (like the Klein Tools 11063) to remove exactly 5/16' of insulation. Nicking the copper strands reduces the wire's ampacity and creates a hot spot.
- The Bellmouth Crimp: When attaching ring terminals to a 7-way molded pigtail (such as the popular Curt 58160 or Hopkins 48170, which retail for $30-$45), use a heavy-duty ratcheting crimper like the Glarks SN-01BM. A proper crimp will feature a slight 'bellmouth' at the rear of the terminal barrel, ensuring the wire strands are fully captured without being sheared.
- Adhesive Heat Shrink: Never use standard electrical tape. Slide a piece of 3M FP-301 adhesive-lined heat shrink tubing over the wire before crimping. After crimping, apply heat until the tubing shrinks and the inner meltable adhesive seals the wire jacket, creating a 100% waterproof bond.
- Dielectric Grease: Before mating the 7-pin plug to the tow vehicle's receptacle, coat the brass pins with a silicone-based dielectric grease (e.g., Permatex 22058). This prevents galvanic corrosion between the brass pins and the aluminum or steel receptacle housing.
Real-World Failure Modes & Diagnostics
Even with the correct gauge and color codes, 7-pin systems suffer from specific edge-case failures. Here is how to diagnose the most common issues reported by RV technicians:
- The 'Phantom' Brake Controller Error: If your Tekonsha or Curt brake controller displays an 'OL' (Overload) or 'SH' (Short) error when no trailer is connected, the 7-pin receptacle on the tow vehicle has likely accumulated moisture or road salt, creating a high-resistance bridge between the blue brake pin and the 12V black pin. Clean the receptacle with electrical contact cleaner and a nylon brush.
- Lithium Battery Charging Limitations: As of 2026, many RVs have upgraded to Lithium Iron Phosphate (LiFePO4) house batteries. These batteries can pull 50A+ when deeply discharged. The standard 10 AWG black charge wire from the tow vehicle's alternator will overheat and trigger the vehicle's 30A or 40A breaker. If you are running lithium, you must install a DC-to-DC charger in the trailer and use the 7-pin's 12V circuit merely as a trigger or low-amperage feed, rather than a primary charging line. For deeper insights on brake and power management, refer to the Tekonsha Installation Guides.
- LED Backfeed: If your trailer uses cheap, non-isolated LED taillights, current can backfeed from the turn signal circuit into the running light circuit, causing the running lights to flash in sync with your turn signals. The fix is not in the 7-pin harness, but at the trailer lights: install a 1N4007 diode on the running light feed at each fixture to enforce one-way current flow.
Frequently Asked Questions
Can I use a 4-pin to 7-pin adapter instead of rewiring?
You can use an adapter (like the Tow Ready 30717) for basic lighting, but a 4-pin flat connector lacks the physical circuits for electric brakes (Blue) and 12V auxiliary power (Black). If your trailer has electric brakes, an adapter is illegal and highly dangerous, as it provides zero braking power to the trailer.
Why is my 7-pin plug melting at the tow vehicle receptacle?
Melting is almost always caused by a loose terminal crimp or corrosion on the 12V auxiliary pin (Black) or the Ground pin (White). High resistance at a loose connection generates massive heat (Watts = I²R). If the plug feels hot to the touch after a 30-minute drive, immediately replace the molded pigtail and verify your crimps.
Does the physical pin layout match the wire colors?
Yes, but orientation matters. When looking at the wiring side (the back) of the trailer-side plug, the pins are arranged in a specific clock-face pattern. Always verify your physical pinout against a trusted reference like etrailer's comprehensive wiring FAQ before applying heat shrink, as plugging a 12V hot wire into the electric brake pin will instantly fry your brake controller.