
Why Integrate an Electric Strike in a Camper Van or RV?
In the 2026 landscape of expedition RVs and custom camper van conversions, securing rear barn doors and exterior garage compartments is a persistent challenge. Standard mechanical latches often vibrate loose on corrugated washboard roads, and integrating them into a vehicle's central locking system is nearly impossible without custom fabrication. This is where a 12V DC electric strike becomes essential. By utilizing a proper electric door strike wiring diagram tailored for automotive and marine environments, you can integrate heavy-duty compartment security directly into your van's house battery system or keyless entry fob.
Unlike residential AC strikes, vehicle-specific installations must account for severe voltage drops over long wire runs, constant high-frequency vibration, and the risk of inductive voltage spikes destroying modern vehicle CAN bus networks. This guide provides a comprehensive, vehicle-specific wiring blueprint for 12V DC systems found in Ford Transits, Mercedes-Benz Sprinters, and custom Class B/C motorhomes.
Fail-Secure vs. Fail-Safe: The 12V DC Vehicle Dilemma
Before cutting into your vehicle's wiring harness, you must select the correct strike mode. In architectural applications, fire codes often dictate fail-safe (unlocks when power is lost). In a vehicle, fail-secure is mandatory for exterior compartments.
- Fail-Secure (Recommended for Vehicles): The strike remains locked when power is removed. If your RV's 12V house battery bank is completely depleted or a fuse blows, your rear garage doors remain securely locked, protecting your gear.
- Fail-Safe: The strike unlocks when power is removed. This is dangerous for exterior vehicle doors, as a simple dead battery would leave your compartment wide open to theft.
Expert Insight: Always purchase a 12V DC fail-secure strike with an IP67 or higher water ingress rating. Residential strikes will corrode internally within months when exposed to road spray and high-humidity vehicle environments.
2026 Component BOM (Bill of Materials) & Pricing
| Component | Recommended Specification / Model | Est. Price (2026) |
|---|---|---|
| Electric Strike | Seco-Larm SD-996A-D1Q (12VDC Fail-Secure, Mini) | $85.00 |
| Relay | Bosch-Style 5-Pin 40A Automotive Relay (e.g., Littelfuse) | $6.50 |
| Flyback Diode | 1N4007 Rectifier Diode (1000V, 1A) | $0.15 |
| Wire | 14 AWG & 18 AWG Marine-Grade Tinned Copper | $25.00 |
| Adhesive Heat Shrink | 3M MDT Marine Dual-Wall Heat Shrink | $18.00 |
| Inline Fuse | 5A ATO/ATC Blade Fuse & Waterproof Holder | $4.50 |
The 12V Electric Door Strike Wiring Diagram (Relay-Driven)
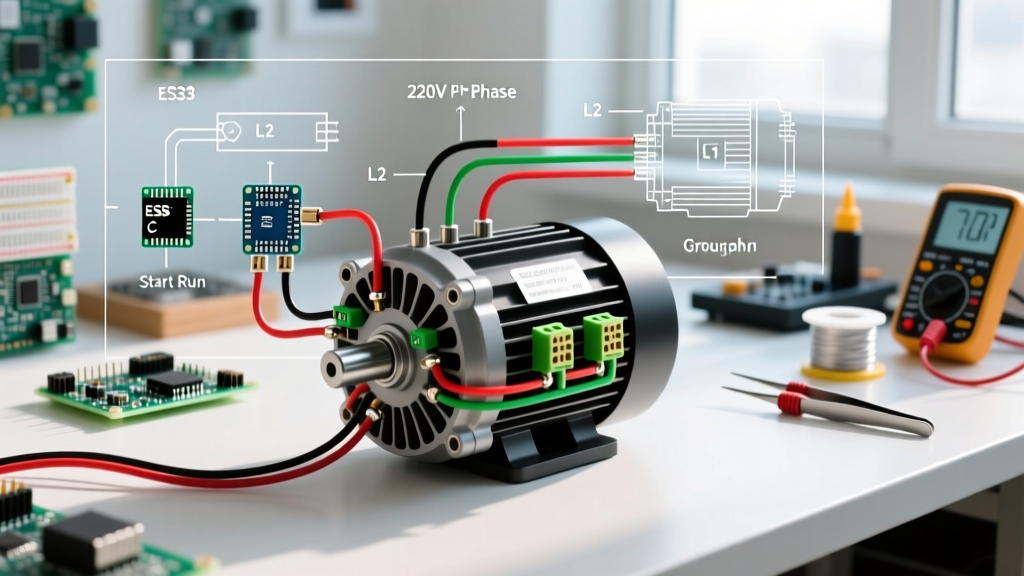
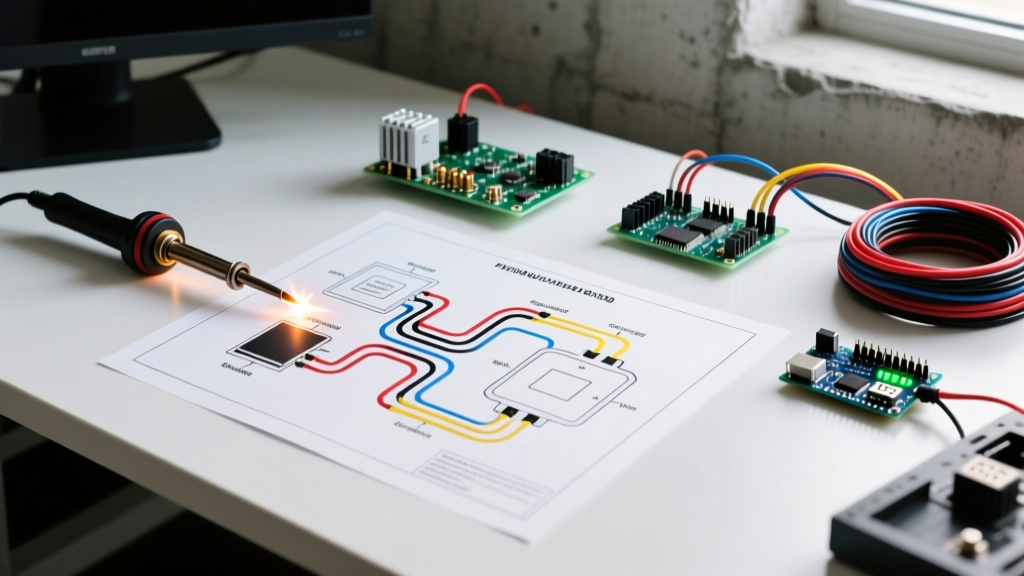
Never wire an electric strike directly to a vehicle's Body Control Module (BCM) or a low-amperage smart switch. The initial inrush current and subsequent inductive kickback will fry sensitive automotive electronics. You must use an isolation relay. Below is the step-by-step wiring sequence using a standard Bosch-style 5-pin relay, adhering to guidelines recognized by the Recreational Vehicle Industry Association (RVIA) for low-voltage DC safety.
Step-by-Step Bosch 5-Pin Relay Integration
- Pin 30 (Common Input): Connect to your 12V house battery positive terminal via a 5A inline ATC fuse. Use 14 AWG tinned wire for this main feed.
- Pin 87 (Normally Open Output): Connect to the positive (+) terminal of the electric door strike using 18 AWG wire (or 16 AWG for runs over 15 feet).
- Pin 86 (Coil Power): Connect to your 12V trigger source. This could be a momentary dashboard switch, a keyless entry remote receiver, or an ignition-switched 12V source.
- Pin 85 (Coil Ground): Connect to a clean, bare-metal chassis ground point. Sand away paint and use a star washer to ensure zero resistance.
- Pin 87a (Normally Closed): Leave this pin empty and insulated. It is not used in a standard fail-secure strike setup.
Wire Gauge Sizing for Long Vehicle Runs
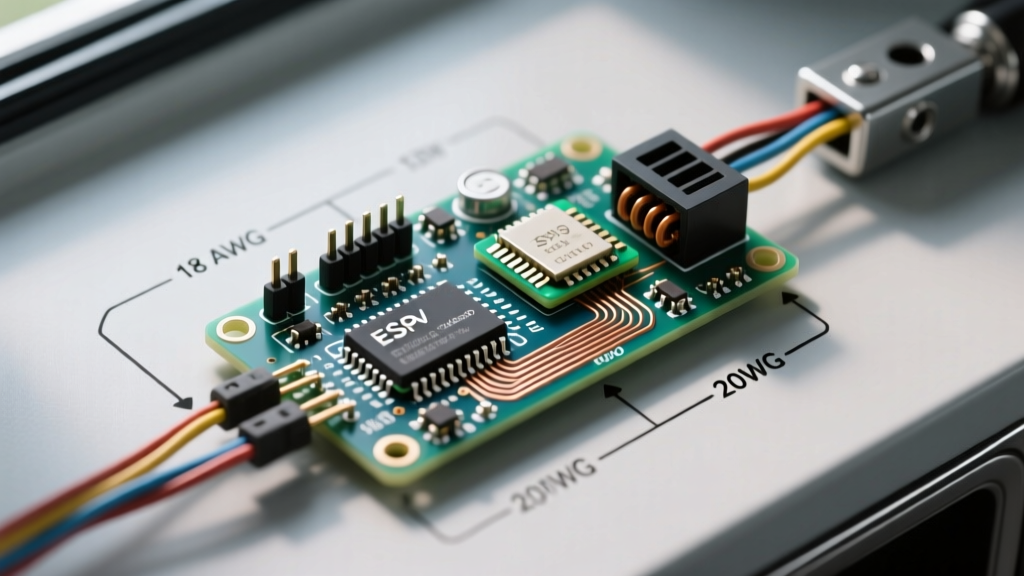
In a Sprinter or Transit van, routing wire from the B-pillar (where the house battery and fuse block usually reside) to the rear barn doors can easily exceed 25 feet. According to SAE International Standards for automotive wiring, voltage drop must be kept below 3% to ensure the strike solenoid receives enough amperage to pull the latch mechanism reliably. A standard 12V strike draws roughly 1.2A (14.4W).
| Total Wire Run (Round Trip) | Minimum Wire Gauge (AWG) | Voltage Drop at 1.2A |
|---|---|---|
| 10 Feet | 18 AWG | 0.05V (0.4%) |
| 20 Feet | 16 AWG | 0.09V (0.7%) |
| 30 Feet | 14 AWG | 0.08V (0.6%) |
| 50 Feet | 12 AWG | 0.11V (0.9%) |
Note: "Round Trip" means the distance from the battery to the strike, plus the distance from the strike back to the ground point. Always measure your actual wire routing, not just the straight-line distance of the vehicle.
Critical Edge Cases: Flyback Diodes & CAN Bus Protection
The most common failure mode in DIY vehicle electrical builds is the omission of a flyback diode. An electric strike contains a heavy electromagnetic coil. When the relay opens and cuts power to the coil, the collapsing magnetic field generates a massive reverse voltage spike (inductive kickback) that can exceed 100V for a fraction of a millisecond.
Protecting the Vehicle Network
If your trigger switch is tied into a modern vehicle's CAN bus system or a smart RV multiplexing board (like the Garmin or Victron Cerbo setups), this spike will backfeed into the logic board, causing ghost errors, blown multiplexor channels, or permanent ECU damage. To prevent this, you must solder a 1N4007 flyback diode directly across the electric strike's terminals.
- Orientation: The silver band (cathode) of the diode must point toward the positive wire. This blocks normal 12V forward current but provides a safe recirculation loop for the reverse voltage spike.
- Placement: Solder the diode as close to the strike's physical terminals as possible, sealing it inside adhesive-lined heat shrink to prevent vibration fatigue.
For a deeper understanding of automotive relay protection circuits, reference the engineering application notes provided by Littelfuse Automotive Relays.
Mechanical Installation & Environmental Sealing
Wiring is only half the battle. The physical installation of the strike in a vehicle door jamb requires specific attention to environmental sealing and vibration dampening.
- Mortising & Rust Prevention: Cutting into the sheet metal of a van's door frame exposes bare steel. Coat all cut edges with a zinc-rich cold galvanizing compound or rust-inhibiting primer before mounting the strike.
- Vibration Isolation: Do not mount the strike directly metal-to-metal. Use a neoprene or EPDM rubber gasket between the strike faceplate and the door jamb. This prevents the solenoid's internal components from fracturing under high-frequency road vibration.
- Hinge Routing: When running wire from the vehicle body into a swinging barn door, you must use a flexible braided cable sleeve and route the wire through the door hinge axis to prevent wire fatigue and snapping. Never use rigid conduit across a vehicle hinge.
Troubleshooting Common 12V Strike Issues in RVs
The Strike "Buzzes" or Humms Continuously
Cause: AC Ripple. If you are powering the strike circuit from a bus bar connected to a cheap inverter/charger or an unregulated solar charge controller, the 12V DC line may be contaminated with AC ripple voltage. The solenoid will rapidly chatter as the voltage fluctuates.
Solution: Install a 12V DC line filter (LC filter) near the strike, or run a dedicated, clean 12V feed directly from the house battery terminals rather than a shared inverter bus bar.
The Strike Fails to Release the Latch
Cause: Mechanical binding and voltage drop. If the door weatherstripping is too thick, the latch puts excessive preload pressure on the strike's lip. A 12V vehicle strike does not have the brute force of a 24V commercial unit to push past heavy pre-load.
Solution: Adjust the door hinges outward by 2-3mm to reduce latch compression. Verify voltage at the strike terminals with a multimeter while the actuation button is pressed. If it reads below 10.5V, upgrade your wire gauge.
Frequently Asked Questions (FAQ)
Can I wire the strike to the vehicle's alternator battery instead of the house battery?
It is highly discouraged. Tapping into the chassis start battery risks draining it if the switch is left on, leaving you stranded. Always isolate accessory security circuits to the RV house battery bank with a proper DC-DC charger or battery monitor.
Do I need a timer relay for the electric strike?
For fail-secure strikes, power is only applied for the 1-2 seconds required to pull the latch while the door is physically pushed open. A momentary switch is sufficient. However, if you are integrating with a keyless entry fob, use a 12V timer relay module set to a 1.5-second pulse to prevent the strike coil from overheating.