
The Unique Challenges of Vehicle Bedroom Wiring
When designing a camper van, skoolie, or motorhome, creating a reliable bedroom electrical wiring diagram is one of the most critical phases of the build. Unlike residential home wiring, vehicle electrical systems must endure constant vibration, extreme thermal cycling, and spatial constraints. A bedroom circuit in an RV typically requires a hybrid approach: integrating 12V DC for low-draw ambient lighting and device charging, alongside 120V AC for high-draw appliances like CPAP machines, laptops, or electric blankets.
According to the NFPA 1192 Standard on Recreational Vehicles, all 120V AC circuits in areas where occupants sleep or sit must be protected by Ground Fault Circuit Interrupters (GFCI) if they are within 6 feet of a water source, though best practices in the 2026 van-build community dictate GFCI protection for all bedroom and kitchen receptacles regardless of distance. Furthermore, 12V DC wiring must be marine-grade, tinned copper to resist corrosion and oxidation caused by humidity and temperature fluctuations.
Core Component BOM (Bill of Materials)
To execute this bedroom electrical wiring diagram safely and efficiently, you need components rated for mobile environments. Residential solid-core wire (Romex) is strictly prohibited in vehicle builds due to vibration-induced fracturing. Below is the recommended 2026 Bill of Materials for a dual-voltage bedroom circuit:
- Inverter/Charger: Victron MultiPlus-II 12/3000/120-50 (Approx. $1,550). Provides pure sine wave 120V AC and handles shore power pass-through.
- DC Fuse Block: Blue Sea Systems ST Blade 12-Circuit with Negative Bus (Approx. $48). Centralizes 12V overcurrent protection.
- USB-C Receptacle: Blue Sea 1011 USB-C PD (36W Max). Essential for fast-charging modern smartphones and tablets in the bedroom.
- 120V AC Receptacle: Leviton 20952-A 15A Tamper-Resistant GFCI (Approx. $22).
- Wire (DC): Ancor 12 AWG Tinned Marine Wire (Primary and Secondary colors, Approx. $0.85/ft).
- Wire (AC): 14 AWG or 12 AWG Stranded THHN (Approx. $0.45/ft).
- Terminals: Adico Heat Shrink Ring and Spade Terminals (12-10 AWG).
Bedroom Load Profile and Circuit Planning
Before running a single wire, you must calculate the continuous and peak loads. This dictates your wire gauge and breaker sizing. Below is a standard load profile for a modern off-grid camper van bedroom:
| Device / Appliance | Voltage | Wattage | Amperage (Draw) | Duty Cycle |
|---|---|---|---|---|
| 4x Dimmable LED Puck Lights | 12V DC | 12W (Total) | 1.0A | Evening (4 hrs) |
| Blue Sea 1011 USB-C PD Port | 12V DC | 36W (Max) | 3.0A | Intermittent |
| MaxxAir Deluxe Roof Fan | 12V DC | 36W (Max) | 3.0A | Night (8 hrs) |
| Bedside 120V Duplex Outlet | 120V AC | 1500W (Max) | 12.5A | Variable |
| CPAP Machine (w/ Humidifier) | 120V AC | 90W (Avg) | 0.75A | Night (8 hrs) |
Step-by-Step Bedroom Electrical Wiring Diagram Flow
Phase 1: 12V DC Lighting and USB Integration
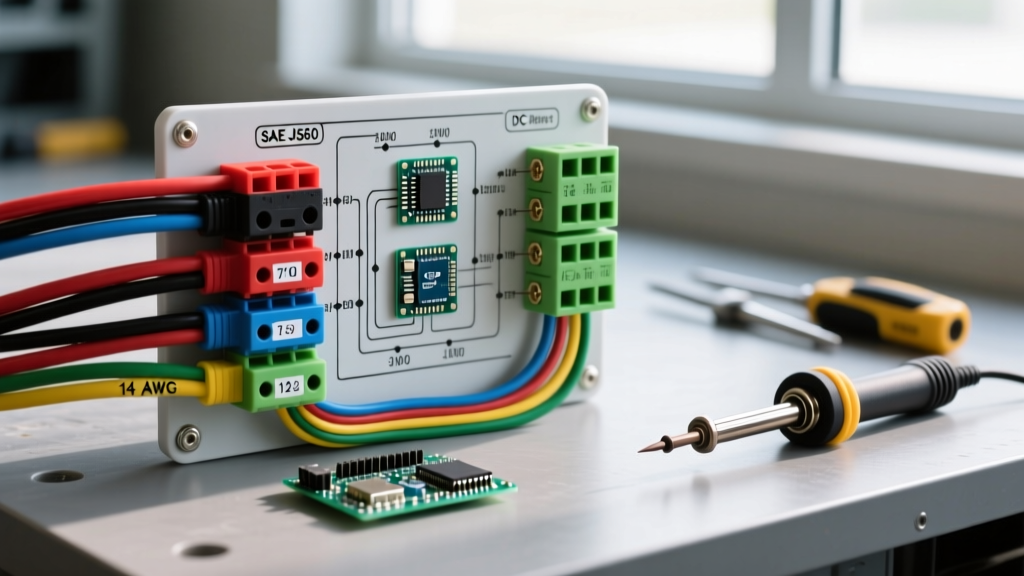
The 12V DC side of your bedroom electrical wiring diagram originates at the main house battery bank (typically a 12V 200Ah+ LiFePO4 setup). Power flows through a main Class T fuse (e.g., 300A) to a positive busbar, and then into the Blue Sea ST Blade Fuse Block.
- Fuse Sizing: Run 12 AWG wire from the fuse block to the bedroom. Use a 10A ATO blade fuse for the lighting circuit and a 15A fuse for the USB-C receptacle circuit.
- Switching: Route the positive wire to a Carling V-Series Contura rocker switch panel mounted near the bed headboard. This allows the occupant to kill the LED puck lights without leaving the bed.
- Daisy Chaining Lights: From the switch, run the 12 AWG wire to the first LED puck light, then daisy-chain to the remaining three. Use WAGO 221 lever-nuts (specifically the 221-413 3-conductor) inside small, accessible junction boxes to make splicing clean and vibration-resistant.
- Grounding: Do not use the vehicle's metal chassis as a ground return for the bedroom. Run a dedicated 12 AWG negative wire from every device back to the negative busbar on the Blue Sea fuse block. This prevents ground loops and stray current corrosion.
Phase 2: 120V AC Receptacles and Inverter Tie-In
The 120V AC side requires strict adherence to mobile electrical safety standards. The AC output of the Victron MultiPlus inverter feeds into a main AC distribution panel (like a Blue Sea 120V AC Panel).
- Breaker Selection: Install a Square D QO 15A single-pole breaker dedicated solely to the bedroom receptacles. Do not share this breaker with the kitchen or bathroom circuits.
- Wire Routing: Pull 12 AWG stranded THHN wire (Black for Hot, White for Neutral, Green for Ground) through split-loom tubing. Secure the loom every 18 inches using adhesive-backed P-clips to prevent chafing against the ribbed sheet metal of the van walls.
- GFCI Installation: Wire the Leviton GFCI receptacle at the first position in the bedroom circuit. Connect the incoming Hot to the LINE terminal (not LOAD), and the Neutral to the LINE silver terminal. If you are adding a second downstream outlet on the opposite side of the bed, connect it to the LOAD terminals to extend GFCI protection.
Expert Tip: When wiring 120V AC in a vehicle, always use a torque screwdriver set to the manufacturer's specifications (usually 12-14 in-lbs for standard receptacles). Vibration will easily back out hand-tightened terminal screws over a few thousand miles of driving, leading to arcing and potential fire hazards.
Wire Gauge Sizing and Voltage Drop Calculations
A common mistake in DIY camper builds is ignoring voltage drop on the 12V DC side. Because 12V systems operate at such low voltage, even a small drop in wire resistance can cause LED lights to flicker or USB chargers to fail to negotiate fast-charging protocols.
Using the Blue Sea Systems Circuit Wizard, we can calculate the exact wire size needed. Let's look at the 12V USB-C circuit:
- Current: 3 Amps
- Wire Length (Round Trip): 28 feet (14 feet from fuse block to USB port, 14 feet back)
- Target Voltage Drop: 3% (0.36V)
If you use 14 AWG wire, the voltage drop is roughly 3.1%, which is on the borderline of acceptable. By stepping up to 12 AWG Ancor marine wire, the voltage drop falls to 1.9%, ensuring the USB-C PD port receives adequate voltage to trigger 20V/3A fast charging for laptops and modern devices. Always round up your wire gauge when dealing with mobile 12V systems.
Critical Failure Modes to Avoid in Vehicle Wiring
Based on forensic analysis of camper van electrical fires and system failures, avoid these three critical mistakes when executing your bedroom electrical wiring diagram:
1. Non-Ratcheting Crimp Connections
Using cheap, non-ratcheting crimpers results in loose terminal connections. Over time, vehicle vibration works the wire out of the terminal, increasing resistance. This resistance generates heat, melting the insulation and causing a short. Always use a ratcheting crimper (like the Asta or IWISS heavy-duty ratcheting models) that ensures a gas-tight, uniform crimp every time, followed by marine-grade adhesive-lined heat shrink.
2. Sheet Metal Chafing
The interior walls of Sprinter, Transit, and ProMaster vans are essentially giant metal boxes with sharp, stamped edges. If a wire rests against a bare metal edge, the constant flexing of the chassis while driving will saw through the insulation within months. Every wire passing through a metal bulkhead or rib must be protected by a rubber grommet or enclosed in rigid split-loom tubing secured away from the metal.
3. Over-Fusing the Wire
The fuse is there to protect the wire, not the device. If you run 14 AWG wire (rated for roughly 15A in mobile applications) but install a 20A fuse on the Blue Sea block, a 17A short circuit will melt the wire insulation into a puddle before the fuse ever blows. Always size your fuse to the lowest ampacity rating in the circuit chain.
Authoritative References & Standards
For further reading and to ensure your custom camper build passes professional inspections, consult the following industry standards:
- NFPA 1192: The National Fire Protection Association's standard for Recreational Vehicles dictates all AC/DC separation, overcurrent protection, and GFCI placement rules. Read the NFPA 1192 Overview.
- Blue Sea Systems Circuit Calculator: Essential for calculating exact voltage drop and wire gauge requirements for 12V DC mobile environments. Access the Circuit Wizard.
- RVIA (RV Industry Association): Provides certification guidelines and best practices for mobile electrical system manufacturing and aftermarket conversions.