
The Blueprint of Power: Decoding Electrical Diagrams
Whether you are troubleshooting a flickering 120V receptacle or designing a new 240V dedicated circuit for a workshop, the basic electrical wiring diagram is your foundational roadmap. As we navigate the 2026 electrical landscape—where smart panels, expanded AFCI/GFCI requirements, and EV charger integrations are becoming standard—understanding the visual language of circuits is non-negotiable. Misinterpreting a single symbol can lead to catastrophic failure modes, including reversed polarity, overloaded neutrals, or severe arc flash hazards.
This comprehensive reference guide breaks down the anatomy of wiring diagrams, decodes essential symbols, and provides actionable frameworks for tracing physical circuits back to their schematic origins. According to the Occupational Safety and Health Administration (OSHA), electrical hazards remain a leading cause of workplace and residential injuries, often stemming from improper circuit modifications made without referencing accurate diagrams.
The Core Anatomy of a Basic Electrical Wiring Diagram
Every functional wiring diagram, regardless of complexity, contains four primary elements. Recognizing these components allows you to mentally map the schematic to the physical wires inside your walls.
- Power Source: The origin of the electromotive force (EMF). In residential diagrams, this is typically represented as the utility transformer or the main service panel bus bar.
- Overcurrent Protection: Circuit breakers or fuses that protect the conductors from thermal overload. Diagrams will specify the amperage (e.g., 15A, 20A) and pole configuration (single or double).
- Conductors (Paths): The lines representing wires. Solid lines usually indicate physical wires, while dashed lines may represent mechanical linkages or hidden/shielded cables.
- Load & Control: The devices consuming power (receptacles, lighting fixtures, motors) and the mechanisms controlling them (switches, relays, dimmers).
⚠️ CRITICAL SAFETY DIRECTIVE: Never rely solely on a diagram to confirm a circuit is de-energized. Diagrams represent the intended design, not necessarily the current physical reality, especially in older homes with undocumented DIY modifications. Always verify the absence of voltage using a Category III or IV rated multimeter at the physical termination points.
Essential Electrical Symbols Reference Matrix
To read a basic electrical wiring diagram fluently, you must memorize the standard NEMA and IEC symbols. Below is a quick-reference table for the most common residential and light-commercial components.
| Symbol Representation | Component Name | Function & NEC Context |
|---|---|---|
| ⊗ (Circle with X) | Ceiling Light Fixture | Indicates a hardwired lighting load. NEC Article 410 governs fixture support and box fill. |
| —| |— (Break in line) | Single-Pole Switch | Interrupts the ungrounded (hot) conductor only. Never switch the neutral. |
| ⏚ (Three descending lines) | Equipment Ground | Safety path for fault current. Must be bonded to the panel ground bar per NEC 250. |
| ⊙ (Circle with dot) | Receptacle / Outlet | Standard 15A/20A 120V outlet. Half-circle denotes a switched half-receptacle. |
| [ ] (Rectangle with diagonal) | Circuit Breaker | Overcurrent protection. Must match the wire gauge (e.g., 20A breaker for 12 AWG). |
Diagram Types: Schematic vs. Wiring vs. Line
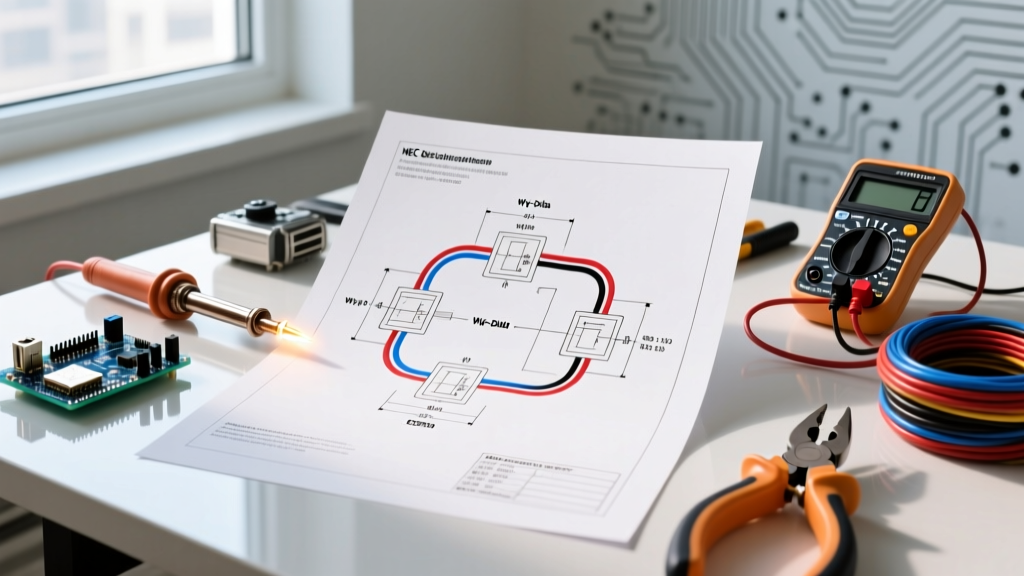
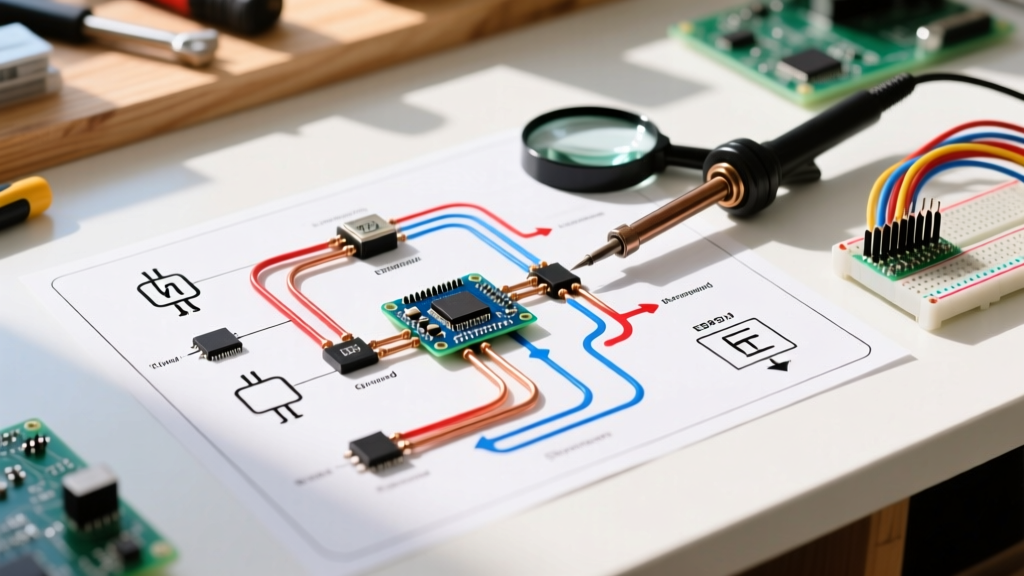
Not all diagrams serve the same purpose. Confusing a schematic with a physical wiring diagram is a common mistake that leads to improper physical routing.
| Diagram Type | Primary Use Case | Visual Layout Characteristics |
|---|---|---|
| Wiring Diagram | Physical installation and physical troubleshooting. | Shows physical proximity, wire colors, and exact terminal screw locations (e.g., brass vs. silver screws). |
| Schematic Diagram | Understanding circuit logic and electron flow. | Arranged logically, not physically. A switch and a light may be drawn inches apart on paper but are 20 feet apart in reality. |
| Line (Ladder) Diagram | Industrial motor controls and HVAC troubleshooting. | Reads left-to-right like a book. L1 (Hot) on the left, L2 (Neutral/Ground) on the right. Excellent for tracing control logic. |
Step-by-Step: Tracing a 120V Receptacle Circuit
Let us apply the theory to a practical scenario. Imagine you are reviewing a basic electrical wiring diagram for a new 15-amp bedroom receptacle circuit. Here is how you trace it from the panel to the load, incorporating modern material specifics.
- Identify the Source and Protection: Locate the breaker symbol on the diagram. For a 15A circuit, you will install a single-pole breaker (e.g., Square D Homeline HOM115, approx. $6.50) onto the 120V bus bar.
- Trace the Ungrounded (Hot) Conductor: Follow the black line from the breaker. In the physical world, this corresponds to the black wire in a 14/2 NM-B (Romex) cable. The diagram will show this wire routing to the brass-colored terminal screw on the receptacle.
- Trace the Grounded (Neutral) Conductor: Follow the white or light-colored line from the neutral bus bar. This maps to the white wire in the NM-B cable, terminating on the silver-colored screw of the receptacle.
- Verify the Equipment Grounding Conductor (EGC): The diagram will show a green or bare line connecting the ground bus to the green hexagonal screw on the receptacle and the metal junction box (if applicable).
- Splicing and Pigtailing: If the diagram shows multiple receptacles in series, it will depict wire nuts at each node. For 14 AWG solid copper, use Wago 221-413 lever nuts (approx. $0.45 each) or Ideal 34 Twister wire connectors to ensure a gas-tight, vibration-resistant splice that meets UL 486C standards.
Wire Gauge and Color Coding Standards
A high-quality basic electrical wiring diagram will often annotate wire gauges (AWG) and insulation colors. Adhering to these prevents thermal overloads and ensures compliance with National Electrical Code (NEC) Article 310.
- 14 AWG: Rated for 15 Amps. NM-B jacket is typically White. Used for general lighting and standard bedroom/living room receptacles.
- 12 AWG: Rated for 20 Amps. NM-B jacket is typically Yellow. Mandatory for kitchen, dining, and bathroom small-appliance branch circuits (SABC).
- 10 AWG: Rated for 30 Amps. NM-B jacket is typically Orange. Used for heavy appliances like electric dryers or dedicated water heaters (though 8 AWG is often preferred for long runs to mitigate voltage drop).
Common Failure Modes and Edge Cases
When reading diagrams, you must anticipate where physical installations often deviate from the schematic, creating dangerous edge cases.
The Multi-Wire Branch Circuit (MWBC) Trap
An MWBC shares a single neutral wire between two ungrounded (hot) conductors on opposite phases (L1 and L2), providing 240V between the hots but 120V from each hot to the neutral. On a basic electrical wiring diagram, this is depicted as two breakers feeding a 3-wire cable (e.g., 12/3 NM-B with black, red, white, and bare wires).
The Hazard: If an electrician or DIYer fails to recognize the MWBC diagram and disconnects the shared neutral while both breakers are energized, the neutral becomes a series path for 240V. This will instantly destroy 120V electronics and presents a lethal shock hazard. NEC 210.4(B) strictly requires a simultaneous disconnect (handle tie or 2-pole breaker) for MWBCs to prevent this exact scenario.
Ghost Voltages and False Readings
When verifying a diagram in the field, relying on a cheap non-contact voltage tester (NCVT) can lead to false positives due to capacitive coupling (ghost voltage) in parallel runs of NM-B cable. To accurately verify the circuit matches the de-energized state shown on your diagram, use a digital multimeter with a Low Impedance (LoZ) setting, such as the Fluke 117 True-RMS Multimeter (approx. $215), or a traditional solenoid voltage tester (Wiggy) to bleed off phantom voltages.
Recommended Tools for Diagram Verification
To bridge the gap between the paper diagram and the physical panel, equip yourself with the right diagnostic tools:
- Circuit Tracer: The Klein Tools ET310 AC Circuit Breaker Finder (approx. $38) allows you to plug a transmitter into a receptacle and identify the exact breaker in the panel, confirming the diagram's accuracy.
- Receptacle Tester: The Gardner Bender GRT-101 (approx. $12) quickly verifies standard 120V wiring configurations, instantly flagging reversed polarity or open grounds that deviate from the schematic.
- Tone Generator: For tracing un-terminated wires in walls to match a rough-in diagram, a Fox and Hound tone generator kit is indispensable.
Final Thoughts on Diagram Literacy
Mastering the basic electrical wiring diagram is not merely an academic exercise; it is a critical safety protocol. As residential electrical systems grow more complex with the integration of solar inverters, battery backups, and smart home automation, the foundational rules of circuit mapping remain unchanged. Always cross-reference your diagrams with the latest local code adoptions, utilize the Electrical Safety Foundation International (ESFI) resources for updated safety bulletins, and never compromise on verification testing before energizing a new circuit.