
The Electromechanics of Trailer Braking: A Motor Wiring Perspective
While typically categorized under automotive towing, electric trailer brakes are fundamentally electromagnetic actuators. From a motor wiring tutorial perspective, the brake magnet operates on the exact same principles as the stator in a DC motor. When the brake controller sends a Pulse Width Modulated (PWM) 12V DC signal, it energizes the electromagnet, pulling it against the rotating armature ring. This creates mechanical friction, translating electromagnetic force into kinetic stopping power. Understanding this electromechanical relationship is critical for executing a flawless wiring diagram for trailer electric brakes. If the circuit suffers from voltage drop, poor grounding, or PWM signal degradation, the 'motor' cannot generate the necessary magnetic flux, resulting in dangerous braking failures.
Core Component Specifications for Modern Towing
Before cutting and stripping wire, you must select components capable of handling the continuous and inrush currents demanded by the brake magnets. A standard 12-inch electric brake assembly (such as the Dexter Nev-R-Adjust 23-458) draws between 3.0 and 3.5 amps per wheel under full lock. A dual-axle trailer with four brakes will pull up to 14 amps continuously, with inrush spikes that can momentarily exceed 18 amps.
Recommended 2026 Hardware Stack
- Brake Controller: Tekonsha Prodigy P3 (Model 90195). Retailing around $175, this proportional controller uses advanced PWM circuitry to modulate braking force based on the tow vehicle's deceleration. Its diagnostic screen is invaluable for troubleshooting open circuits.
- Circuit Protection: 30A or 40A auto-resetting thermal circuit breaker. Never use standard automotive blade fuses for the main brake feed; the thermal cycling of braking will fatigue standard fuses over time.
- Main Feed Wire: 10 AWG stranded copper (Red for power, White for ground). Do not use Copper Clad Aluminum (CCA) wire, as it suffers from higher resistance and galvanic corrosion at the terminals.
- Connector: 7-Way RV Blade Connector (SAE J286 standard).
The 7-Way RV Blade Pinout and Wiring Matrix
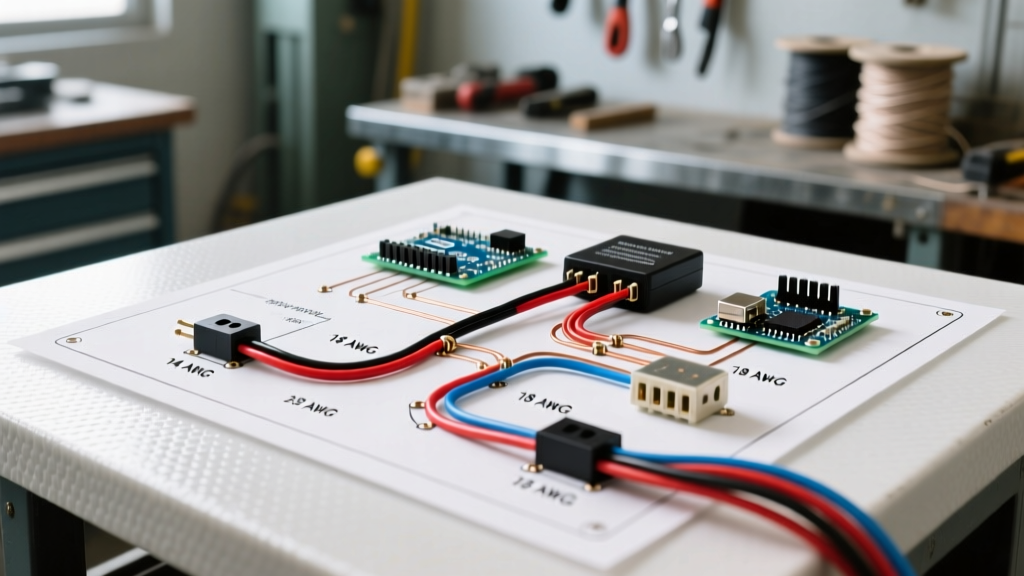
The industry-standard 7-way connector serves as the primary interface between the tow vehicle's electrical system and the trailer's electromagnetic actuators. Below is the definitive wiring matrix for the 7-way RV blade, detailing the specific function, wire color code, and required gauge for each pin.
| Pin Position | Function | Wire Color | Wire Gauge | Circuit Notes |
|---|---|---|---|---|
| 1 (White) | Ground Return | White | 10 AWG | Must route directly to vehicle chassis/battery negative. |
| 2 (Blue) | Electric Brakes | Blue | 10 AWG | Carries the PWM signal from the controller to the magnets. |
| 3 (Green) | Tail / Running Lights | Green | 14 AWG | Fused at 15A. Powers all marker and clearance lights. |
| 4 (Black) | 12V Auxiliary Power | Black | 10 AWG | Used for charging trailer breakaway batteries or interior 12V loads. |
| 5 (Red) | Left Turn / Stop | Red | 14 AWG | Combined stop/turn signal for the left side. |
| 6 (Brown) | Right Turn / Stop | Brown | 14 AWG | Combined stop/turn signal for the right side. |
| 7 (Yellow) | Reverse Lights / Aux | Yellow | 14 AWG | Often used to trigger reverse lockout solenoids on surge brakes. |
For a deeper dive into standardized trailer connector configurations and safety protocols, refer to the comprehensive guides provided by etrailer's wiring database, which remains one of the most reliable repositories for towing electrical standards.
Step-by-Step Routing and Termination
Executing the wiring diagram for trailer electric brakes requires meticulous attention to termination. Vibration and moisture are the enemies of any mobile electrical circuit.
Step 1: The Main Power and Ground Feed
Run a continuous length of 10 AWG red wire from the positive terminal of the tow vehicle's battery, through the 40A auto-resetting circuit breaker (mounted within 18 inches of the battery), to Pin 2 (Blue) on the vehicle-side 7-way receptacle. Simultaneously, run a 10 AWG white wire from Pin 1 (White) directly to the vehicle's battery negative terminal or a dedicated, bare-metal chassis ground stud. Never rely on the trailer hitch ball for the primary brake ground return. The hitch ball is prone to grease, rust, and pivot-movement arcing, which will instantly disrupt the PWM signal.
Step 2: Trailer-Side Distribution
On the trailer, the blue brake wire from the 7-way plug must be routed along the main frame rail to a centralized, weatherproof junction box. From this junction box, run 12 AWG blue wire to each individual wheel well. While 10 AWG is used for the main trunk to minimize voltage drop over the 20+ foot run, 12 AWG is perfectly adequate for the short branch runs to the individual brake magnets.
Step 3: Magnet Termination
Each electric brake magnet has two wires. Because they are DC electromagnets, polarity does not matter; you can connect either magnet wire to the 12V blue feed, and the other to the ground. However, you must use heat-shrink ring terminals and crimp them with a ratcheting crimper. Soldering is discouraged in high-vibration trailer environments because the solder joint can become brittle and fracture under torsional stress. Seal the connection with adhesive-lined marine heat shrink to prevent moisture ingress.
Advanced Troubleshooting: PWM Faults and Voltage Drop
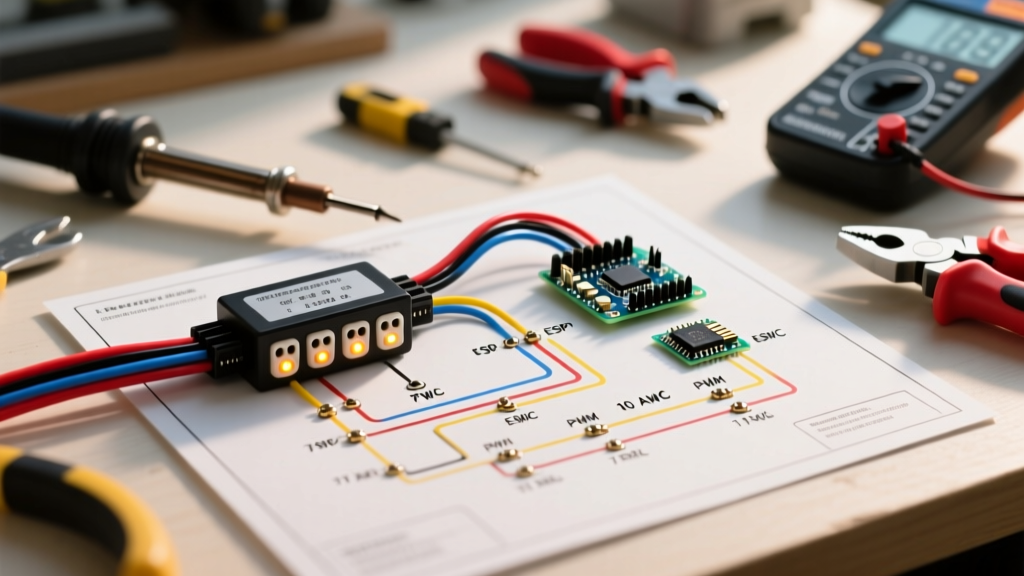
When wiring electric brakes from a motor-control perspective, you must account for the specific failure modes of PWM-driven inductive loads. If your brake controller (like the Tekonsha P3 or Curt Echo) displays an 'SH' (Short) or 'OL' (Open Load) error, the issue is rarely the controller itself.
Calculating and Mitigating Voltage Drop
Electromagnets require adequate voltage to generate the magnetic field necessary to pull the armature. If the voltage at the brake magnet drops below 10.5V under load, braking force decreases exponentially. Let us calculate the voltage drop for a 25-foot trailer using the standard formula: V_drop = 2 * L * I * R_wire.
Scenario: 25-foot run (50 feet total round-trip), 12 AWG wire (0.001588 ohms/ft), drawing 14 amps across four brakes.
Calculation: 50 * 14 * 0.001588 = 1.11 Volts dropped.
Result: 12.6V (alternator output) - 1.11V = 11.49V at the magnet. This is acceptable.
However, if you incorrectly use 14 AWG wire for the main trunk (0.002525 ohms/ft), the voltage drop jumps to 2.76 Volts, leaving only 9.84V at the magnets. This severe voltage drop will cause the brake controller's internal MOSFETs to overheat and trigger a protective shutdown. Always stick to 10 AWG for the main feed.
Ground Loop and Chassis Faults
A common failure mode occurs when installers ground the brake magnets directly to the trailer axle, assuming the steel frame will carry the return current back to the tow vehicle. Over time, the pivot points of the leaf springs and the hitch coupler develop rust and grease, creating high-resistance barriers. This forces the return current to seek alternative paths, often back-feeding through the running light circuit (Pin 3), causing tail lights to dim or flicker when the brakes are applied. The definitive fix, as mandated by FMCSA safety regulations regarding brake system integrity, is to run a dedicated 12 AWG white ground wire from every single brake magnet back to the main trailer junction box, and ultimately back to the tow vehicle via Pin 1 of the 7-way connector.
Inductive Kickback and Flyback Diodes
Because brake magnets are highly inductive loads (similar to the windings in a large DC motor), interrupting the PWM signal causes a rapid collapse of the magnetic field. This generates a high-voltage reverse spike (inductive kickback). Modern proportional controllers from Tekonsha and Curt have built-in flyback diodes and snubber circuits to absorb this spike. However, if you are wiring a custom breakaway switch directly to the battery, you must install a 1N5408 flyback diode in reverse bias across the brake feed wires to prevent the inductive spike from arcing and welding the breakaway switch contacts shut.
Final Verification and Burn-In Testing
Once the physical wiring is complete, perform a static burn-in test before hitting the road. Jack up the trailer safely on jack stands so all wheels are free to spin. Connect the 7-way plug and set the brake controller to manual override at 100% output. Spin each wheel by hand; you should feel immediate, smooth electromagnetic drag without any grinding or metallic clanking. Use a multimeter to probe the blue wire at the furthest brake magnet while the manual override is engaged. You should read no less than 11.0V. If the voltage is lower, re-evaluate your crimp connections and wire gauge. By treating your trailer's braking system with the same rigorous electrical standards as a high-torque DC motor circuit, you ensure reliable, fade-free stopping power for every tow.