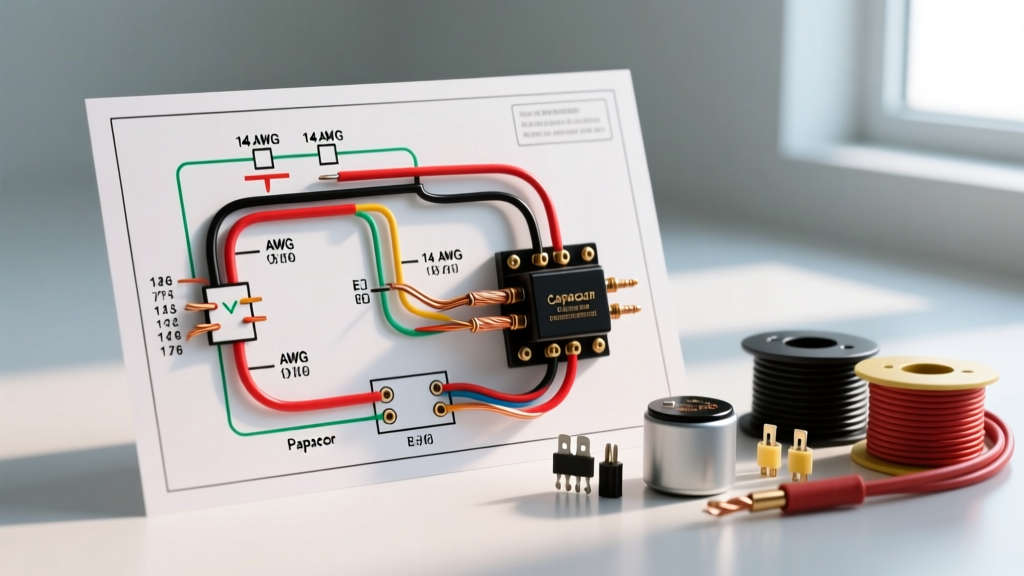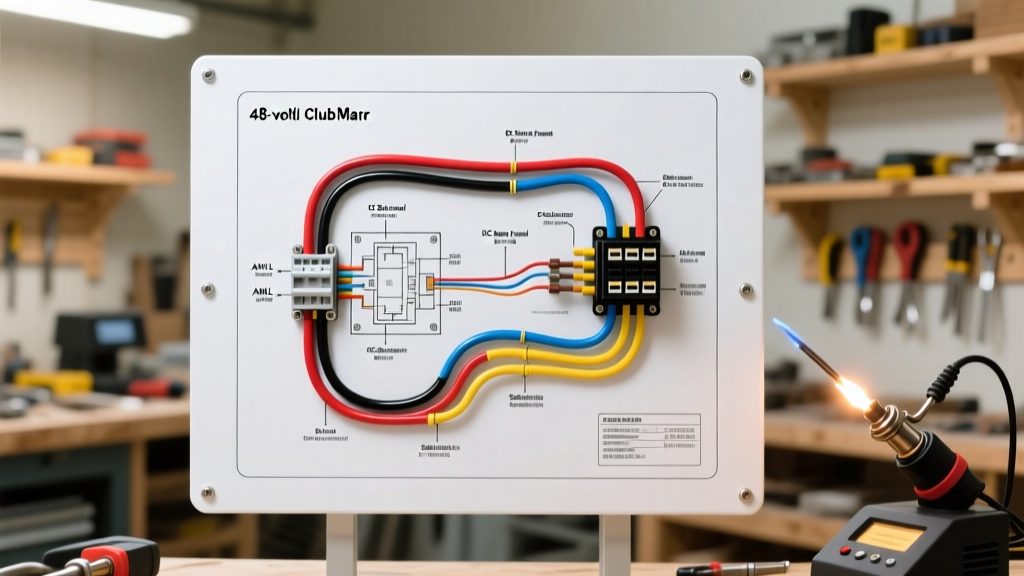

Introduction to 48V Club Car Electrical Architecture
Whether you are restoring a classic Club Car DS, maintaining a Precedent, or upgrading a modern Onward model, understanding the wiring diagram for 48 volt Club Car systems is critical for safety and performance. The 48-volt platform operates at high DC amperage, meaning that a poorly designed breaker panel or undersized main fuse can lead to catastrophic thermal events, melted harnesses, or stranded vehicles. In 2026, with the massive shift toward drop-in LiFePO4 lithium batteries and high-amperage aftermarket motor controllers, the traditional lead-acid wiring schematics require significant updates to handle increased continuous loads and higher short-circuit fault currents.
This guide approaches the 48V Club Car schematic strictly from a Panel & Breaker perspective. We will bypass basic motor hookups and focus entirely on overcurrent protection, main battery cutoffs, solenoid pre-charge circuits, and 12V accessory panel integration.
Core Components in the 48V Breaker & Fuse Layout
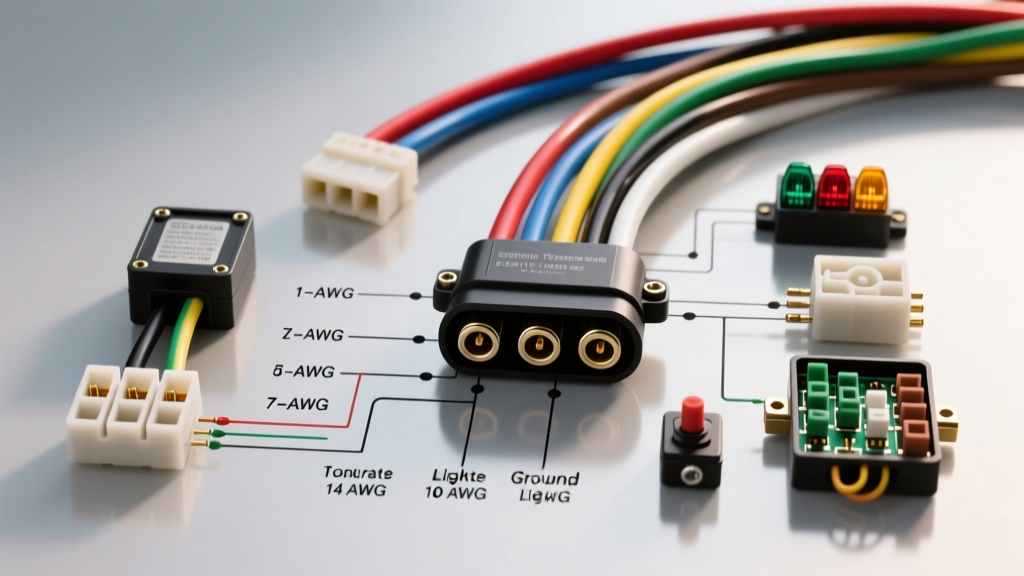
Before routing any 2 AWG cable, you must identify the specific overcurrent protection devices (OCPDs) required in a modern 48V architecture. According to the NFPA 70 National Electrical Code guidelines for DC battery systems, every ungrounded conductor leaving a battery bank must be protected within 18 inches of the source.
- Main Battery Cutoff / Kill Switch: A heavy-duty 500A rotary disconnect (e.g., Cole Hersee 75920) mounted directly to the battery box.
- Main Fuse (ANL vs. Class T): Traditional lead-acid setups use a 400A ANL fuse. However, modern 48V lithium batteries require a 400A Class T fuse due to the extreme Ampere Interrupting Capacity (AIC) required during a dead short.
- Main Solenoid: A 48V continuous-duty solenoid (e.g., Trombetta 70-111224 or Club Car OEM 1014360) acting as the primary high-current relay.
- Voltage Reducer Breaker: A 50A DC resettable circuit breaker protecting the 48V-to-12V step-down converter.
- Accessory Fuse Panel: A 12V blade-fuse distribution block (e.g., Blue Sea Systems ST Blade) for lights, horns, and USB chargers.
Step-by-Step Breaker Panel & Main Fuse Wiring
Follow this sequence to ensure your wiring diagram for 48 volt Club Car builds prioritizes safety and minimizes voltage drop.
Step 1: Battery Bank to Main Disconnect
Run 2 AWG fine-strand welding cable from the positive terminal of battery #1 (or the main positive busbar on a lithium pack) to the input stud of the main rotary kill switch. Torque the 5/16-inch terminal nuts to exactly 90-110 in-lbs. Over-torquing will strip soft lead posts or snap lithium busbars, a common failure noted in Battery Council International Safety Guidelines.
Step 2: Main Disconnect to Primary OCPD (Fuse)
From the output of the kill switch, run a short 2 AWG jumper to your main fuse block. If you are running traditional flooded lead-acid or AGM batteries, install a 400A ANL fuse. If you have upgraded to a 48V LiFePO4 battery (like a RoyPow or Allied Lithium 105Ah pack), you must install a 400A Class T fuse. Lithium cells can dump over 4,000A in a short circuit; an ANL fuse will arc and sustain a plasma fire, whereas a Class T fuse contains the blast safely.
Step 3: Fuse to Solenoid & The Pre-Charge Resistor
Route the 2 AWG cable from the fuse output to the large terminal on the battery side of the main solenoid. Critical Expert Detail: You must wire a 300-ohm, 10-watt pre-charge resistor across the two large solenoid terminals. When the solenoid engages, the motor controller's massive capacitors act as a dead short. Without the resistor limiting the inrush current, the resulting 800A+ spike will pit and eventually weld the solenoid contacts shut, causing a runaway cart.
Step 4: Voltage Reducer and 12V Accessory Panel
Tap into the main positive cable (post-fuse) with a 10 AWG wire routed to a 50A DC resettable breaker (e.g., Bussmann CB185-50). From the breaker, run 10 AWG to the input of your 48V-to-12V voltage reducer. The 12V output should feed directly into a marine-grade 12V accessory fuse panel. Never wire 12V accessories directly to a single 8V battery in a lead-acid bank; this causes severe cell imbalance and premature battery death.
Wire Gauge & Breaker Sizing Matrix
Proper wire sizing is non-negotiable in 48V DC systems. Refer to Engineering Toolbox AWG Wire Gauge Data for voltage drop calculations. The table below outlines the 2026 standard for 48V Club Car builds.
| Circuit Path | Max Amperage | Wire Gauge | OCPD Type & Rating | Est. Cost (2026) |
|---|---|---|---|---|
| Battery to Kill Switch | 400A Cont. | 2 AWG Welding | None (Switch rated 500A) | $45 - $60 |
| Kill Switch to Main Fuse | 400A Cont. | 2 AWG Welding | 400A Class T or ANL | $25 - $40 |
| Main Fuse to Solenoid | 400A Cont. | 2 AWG Welding | Protected by Main Fuse | N/A |
| Solenoid to Controller (B+) | 350A Peak | 4 AWG Flex | Protected by Main Fuse | N/A |
| Voltage Reducer Input | 30A Cont. | 10 AWG THHN | 50A DC Resettable Breaker | $18 - $25 |
| 12V Accessory Panel Feed | 40A Total | 10 AWG THHN | Protected by Reducer/Breaker | N/A |
Common Failure Modes and Edge Cases
Even with a perfect wiring diagram for 48 volt Club Car layouts, field conditions introduce edge cases. Here are the most common panel and breaker failures we diagnose:
- Voltage Reducer Meltdown: Caused by using 14 AWG wire on the 48V input side of the reducer while pulling 20A+ of 12V accessories (lightbars, coolers). The 14 AWG wire chokes the current, generating massive heat before the reducer's internal protection trips. Always use 10 AWG minimum.
- Solenoid Chatter: If the activation circuit (the small 18 AWG wires triggering the solenoid coil) is routed through too many micro-switches or a corroded ignition switch, the coil receives less than 44V. The solenoid will rapidly click (chatter) and burn out the coil. Use a heavy-duty relay to trigger the solenoid coil directly from the main pack.
- Accessory Panel Backfeed: When wiring USB chargers or LED lightbars, failing to use a blocking diode or a properly isolated breaker panel can allow regenerative braking voltage spikes (which can exceed 65V) to backfeed into 12V accessories, instantly frying sensitive electronics.
Expert Troubleshooting Tip: If your main DC breaker trips randomly during heavy acceleration but the cart runs fine on flat ground, do not immediately upsize the breaker. Instead, perform a voltage drop test across the battery interconnect cables. A loose 5/16" nut on battery #4 will create resistance, forcing the controller to pull higher amperage to meet the wattage demand, thereby tripping a perfectly sized 400A breaker.
Upgrading to Lithium (LiFePO4): Panel Adjustments
Transitioning from six 8V lead-acid batteries to a single 48V (51.2V nominal) lithium pack fundamentally changes your panel requirements. The internal Battery Management System (BMS) handles cell balancing and low-voltage cutoffs, but it relies on external fuses for catastrophic short-circuit protection. When updating your wiring diagram for a lithium 48V Club Car, remove the bulky battery interconnect cables and replace the OEM ANL fuse block with a Class T fuse block mounted directly to the battery's positive M8 terminal. Furthermore, ensure your 12V accessory breaker is rated for at least 60V DC, as standard 12V/24V automotive breakers will arc internally if exposed to the 58.4V max charge voltage of a LiFePO4 pack.
FAQ: Troubleshooting the 48V Panel
Why does my 48V Club Car solenoid click once but the cart won't move?
This usually indicates a tripped main breaker, a blown ANL/Class T fuse, or a failed pre-charge resistor. If the pre-charge resistor is burnt open, the motor controller capacitors cannot charge, and the solenoid's high-current contacts will arc and fail to pass voltage to the controller. Test the resistor with a multimeter; it should read close to 300 ohms.
Can I use an automotive circuit breaker for my 12V accessory panel?
No. While the output of the voltage reducer is 12V-14V, the physical environment of a golf cart is subject to heavy vibration and moisture. Use marine-rated (IP67 or higher) blade fuse panels with independent cover seals. Standard automotive ATC fuse boxes will corrode internally within a single season of outdoor use.
What is the correct torque for 48V lithium battery terminal connections?
Most 48V LiFePO4 golf cart batteries utilize M8 stainless steel studs with a busbar. The standard torque spec is 10 Nm to 12 Nm (approx. 88 to 106 in-lbs). Always use a calibrated inch-pound torque wrench and apply a thin layer of dielectric grease or NO-OX-ID A-Special to prevent galvanic corrosion between the copper lugs and steel studs.