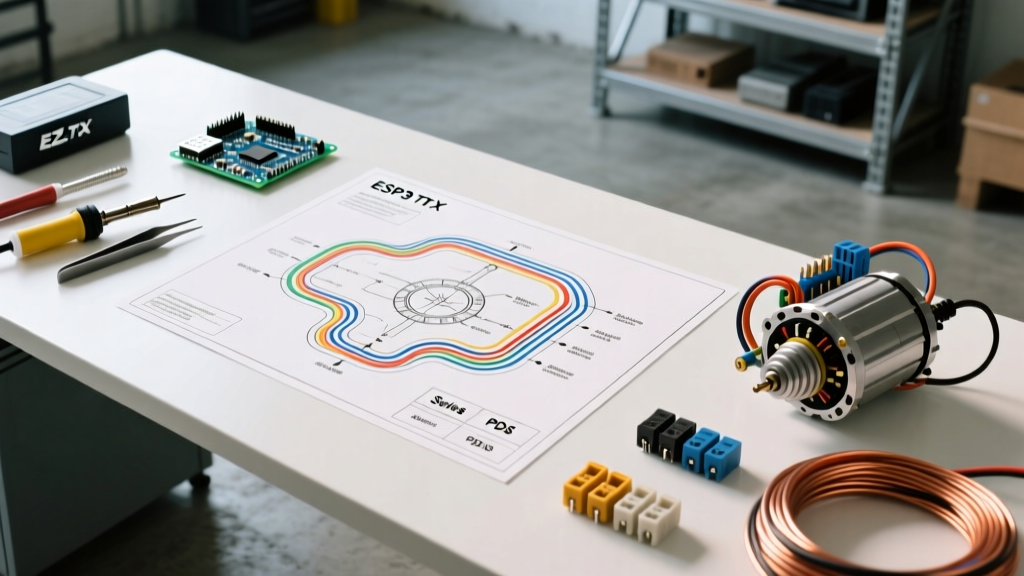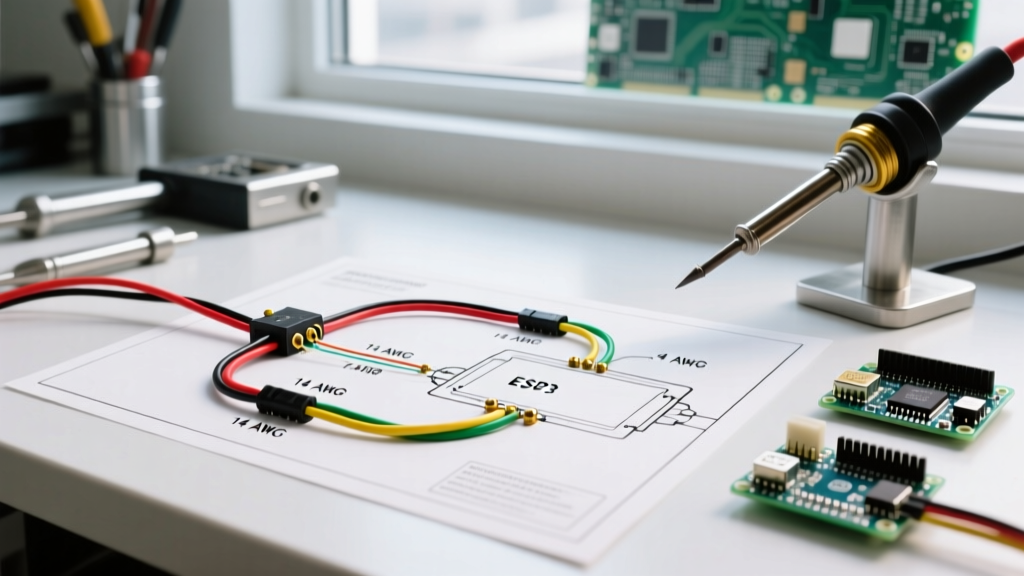

Introduction: Bridging Lighting and Motorized Loads
When approaching trailer electrical systems from a motor wiring and power distribution perspective, the standard 4-way flat connector is often misunderstood as merely a low-current lighting circuit. However, understanding the 4 flat wiring diagram for trailer applications requires the same rigor as wiring a 12V DC motor or industrial control panel. In 2026, with the mass adoption of high-draw LED arrays, auxiliary reverse lights, and the frequent misuse of lighting grounds for motorized winch returns, treating this simple connector with electrical discipline is critical for safety and compliance.
This guide deconstructs the 4-way flat pinout, analyzes voltage drop over long harness runs, and addresses the most dangerous edge case in trailer wiring: attempting to route motorized winch currents through a standard lighting ground.
The Standard 4 Flat Wiring Diagram for Trailer Pinouts
The 4-way flat connector is the industry standard for light-duty trailers (under 10,000 lbs GVWR). It handles three distinct lighting circuits and a shared chassis ground. Below is the definitive pinout matrix, including standard wire colors and maximum safe ampacity limits based on 16 AWG stranded copper.
| Pin Position | Wire Color | Function | Typical LED Draw | Max Safe Ampacity (16 AWG) |
|---|---|---|---|---|
| 1 (Ground) | White | Chassis Ground Return | N/A (Return Path) | 10A (Continuous) |
| 2 (Tail) | Brown | Running / Tail / Clearance Lights | 0.5A - 2A | 10A |
| 3 (Left) | Yellow | Left Turn / Stop / Brake | 1A - 3A | 10A |
| 4 (Right) | Green | Right Turn / Stop / Brake | 1A - 3A | 10A |
Expert Note: Never assume the white ground wire is bonded to the trailer tongue internally. According to etrailer's comprehensive wiring FAQ, the ground pin must be physically bonded to a clean, bare-metal surface on the trailer chassis using a ring terminal and a star washer to bite through paint and rust.
Wire Gauge, Voltage Drop, and the 25-Foot Rule
A common failure mode in trailer wiring is severe voltage drop at the rear tail lights, resulting in dim illumination or hyper-flashing turn signals. This is a pure Ohm's Law issue. Standard 16 AWG copper wire has a resistance of approximately 4.016 ohms per 1,000 feet.
Calculating the Drop
If your tow vehicle and trailer combined create a 30-foot run from the battery to the rear lights, the round-trip circuit length (positive and negative) is 60 feet. The resistance of 60 feet of 16 AWG wire is roughly 0.24 ohms. If you are running older incandescent halogen bulbs drawing 8 amps on the brown (tail) wire, the voltage drop is calculated as:
Voltage Drop = Current (I) x Resistance (R) = 8A x 0.24Ω = 1.92V
Starting with 13.8V at the alternator, your rear lights are only receiving 11.88V. While modern LEDs draw a fraction of this current (often under 1.5A total for the entire trailer), if you are adding high-draw auxiliary cargo lights, you must upgrade the main harness trunk to 14 AWG or even 12 AWG, stepping down to 16 AWG only for the final branch runs to individual lamps.
The Winch Motor Edge Case: Why the 4-Way Flat Fails
As a motor wiring specialist, the most catastrophic mistake I see in the field is DIYers attempting to use the 4-way flat connector to power a 12V DC trailer winch. Do not do this.
The Physics of Winch Inrush and Stall Current
A standard 3,500 lb ATV/UTV winch motor can draw between 120A and 250A under heavy load or stall conditions. The 16 AWG white ground wire on a standard 4-flat connector is rated for a maximum of 10A continuous. If you route 150A of winch return current through the lighting ground:
- The 16 AWG wire will act as a resistive heating element.
- The insulation will melt within 2 to 4 seconds.
- The resulting dead short will weld the winch contactor in the "ON" position, causing a runaway motor and a high probability of an electrical fire.
The Proper Motor Wiring Solution
Motorized accessories require a dedicated high-amperage quick-disconnect circuit completely isolated from the 4 flat wiring diagram for trailer lighting.
- Connector Selection: Use an Anderson Powerpole SB50 (rated for 50A continuous, 12V-600V) or the SB175 for larger winches.
- Wire Sizing: Run 2 AWG or 4 AWG stranded marine-grade tinned copper wire directly from the tow vehicle's battery (via a 150A Mega Fuse) to the front of the trailer.
- Grounding: The winch motor ground must be bolted directly to the trailer's main steel crossmember, bypassing the lighting harness entirely.
Step-by-Step Installation and Termination Protocol
When splicing a new 4-way harness (such as the highly reliable Curt 56146 T-Connector or a universal Hopkins 48115 pigtail), the termination method dictates the lifespan of the circuit. The days of using 3M Scotchlok piercing connectors are over; they allow moisture ingress and cause galvanic corrosion.
The 2026 Standard for Marine and Trailer Terminations
- Strip and Clean: Strip exactly 5/16" of insulation. Clean the exposed copper with isopropyl alcohol to remove factory anti-oxidant coatings.
- Crimp Selection: Use adhesive-lined, dual-wall heat shrink butt connectors (e.g., Glarks or Titan). The inner adhesive layer melts and seals the wire strands, preventing capillary action from drawing water up the wire jacket.
- Tooling: Use a ratcheting crimping tool with a dedicated heat-shrink die (like the Titan 11477). A ratcheting tool ensures the crimp barrel is fully compressed to the exact wire gauge before releasing.
- Heat Application: Apply heat with a dedicated heat gun (not a lighter) starting from the center of the barrel and moving outward until the adhesive extrudes slightly from both ends.
- Dielectric Grease: Pack the female receptacles of the 4-way flat connector with a heavy coat of silicone dielectric grease to prevent terminal oxidation.
Advanced Troubleshooting Matrix
When the lighting circuit fails, use a digital multimeter (DMM) to isolate the fault. Do not rely on cheap 12V test lights, as they can draw enough current to mask high-resistance ground faults.
| Symptom | Probable Failure Mode | DMM Test Protocol | Corrective Action |
|---|---|---|---|
| Turn signals hyper-flash | High resistance ground or blown bulb | Measure voltage drop between trailer chassis and tow vehicle battery negative while signaling. | If >0.5V drop, clean chassis ground point and install star washer. |
| Tail lights dim when brakes applied | Backfeeding / Short between Brown and Yellow/Green | Disconnect trailer. Measure continuity between Pin 2 (Brown) and Pin 3 (Yellow) on trailer side. | Locate pinched harness near the tongue hinge or corroded lamp housing bridging circuits. |
| Running lights completely dead | Blown tow vehicle fuse or open brown wire | Check for 12V+ at Pin 2 on the tow vehicle side with headlights ON. | Replace tow vehicle trailer-tow fuse (typically 10A or 15A mini-blade). |
Legal and Safety Compliance
Adhering to the correct 4 flat wiring diagram for trailer setups is not just a matter of functionality; it is a federal requirement. According to the Federal Motor Carrier Safety Administration (49 CFR Part 393, Subpart L), all trailers operating on public highways must meet specific photometric and visibility standards for stop lamps, turn signals, and tail lamps. Improper wiring that results in voltage drop can cause LED arrays to fall below the minimum candela requirements mandated by the Department of Transportation.
Furthermore, the Curt Manufacturing wiring support guidelines emphasize that modifying factory pigtails without maintaining the IP68 waterproof rating of the harness voids the warranty and compromises the safety of the braking and signaling circuits.
Conclusion
Mastering the 4-way flat connector means looking beyond the simple color-coded diagram. By calculating voltage drop, enforcing strict heat-shrink termination protocols, and keeping high-amperage motorized winch loads entirely isolated from the lighting ground return, you ensure a trailer electrical system that is robust, legal, and fire-safe. Treat your trailer harness with the same respect you would give a high-voltage motor control panel, and it will perform flawlessly in any environment.