
Decoding the 2008 Navigator Wiring Diagram for Soundsystem Upgrades
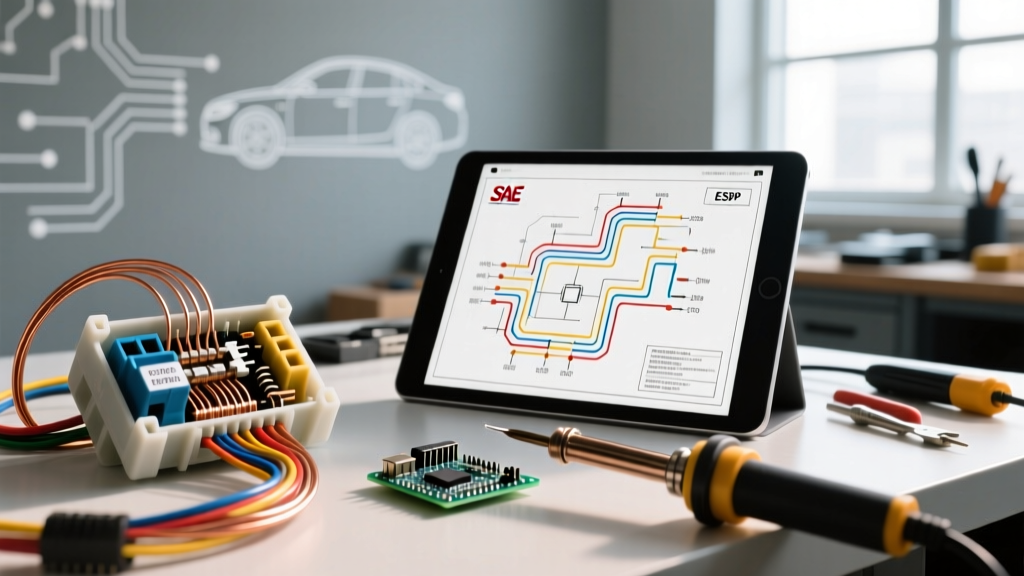
When upgrading the audio in a 2008 Lincoln Navigator (U326 platform), relying on a generic harness adapter is a recipe for electrical fires or destroyed control modules. The 2008 navigator wiring diagram for soundsystem integration reveals a complex multiplexed network, specifically the MS-CAN and HS-CAN bus lines that communicate with the factory THX II Digital Signal Processor (DSP). Unlike older vehicles where speaker wires carried amplified analog signals directly from the head unit, the 2008 Navigator utilizes a fiber-optic or high-speed digital data stream to the rear-mounted amplifier, which then distributes amplified audio to the 14 cabin speakers.
From a safety and code compliance perspective, tapping into this system requires strict adherence to automotive electrical standards. Misinterpreting the wiring diagram can lead to shorting the CAN-bus, which will instantly brick the Audio Control Module (ACM) and potentially trigger airbag fault codes due to shared ground architectures. This guide breaks down the exact safety protocols, wire gauge requirements, and overcurrent protection standards necessary for a compliant installation in 2026.
CRITICAL SAFETY WARNING: Before touching any wiring behind the 2008 Navigator's dashboard or rear quarter panels, disconnect the negative battery terminal and wait a minimum of 15 minutes. This allows the Restraints Control Module (RCM) backup capacitor to discharge, preventing accidental airbag deployment and protecting you from severe injury.
OEM vs. Aftermarket: SAE Wire Insulation Standards
A common and dangerous mistake in mobile electronics is using standard PVC-insulated copper wire for automotive power runs. PVC becomes brittle and melts at relatively low temperatures (around 105°C). For code-compliant installs, professionals adhere to the SAE J1128 standard, which mandates cross-linked polyethylene (XLPE) insulation, commonly known as GXL, TXL, or SGX wire.
The 2008 Navigator's engine bay and undercarriage can easily exceed 125°C near the exhaust manifolds. If you are running a new main power cable from the alternator or battery to an aftermarket amplifier, TXL (Thin-wall Cross-Linked) wire is mandatory. It withstands temperatures up to 125°C and resists chemical degradation from road salts and oil leaks.
Wire Gauge and Amperage Compliance Matrix
According to the Mobile Electronics Certification Program (MECP), wire gauge must be selected based on the maximum continuous amperage draw and the total length of the wire run (positive and negative combined). Below is the compliance chart for 12V DC automotive systems:
| Max Amperage | Wire Length (Under 10 ft) | Wire Length (10-20 ft) | Mandatory Inline Fuse |
|---|---|---|---|
| 20A | 14 AWG TXL | 12 AWG TXL | 20A ATO/ATC |
| 40A | 10 AWG TXL | 8 AWG TXL | 40A ANL / Maxi |
| 60A | 8 AWG TXL | 6 AWG TXL | 60A ANL |
| 100A+ | 4 AWG SGX | 2 AWG SGX or 1/0 AWG | 100A+ ANL / Class T |
Overcurrent Protection and Grounding Protocols
The most critical safety rule in automotive audio wiring is overcurrent protection. The main power fuse must be installed within 18 inches of the battery positive terminal. This ensures that if the wire chafes against the firewall or chassis before reaching the amplifier, the fuse blows immediately, preventing a catastrophic vehicle fire.
The 36-Inch Grounding Rule
A poor ground is the leading cause of alternator whine, clipping, and melted voice coils. The Mobile Electronics Certification Program (MECP) dictates that ground wires should never exceed 36 inches in length. For the 2008 Navigator, when grounding an aftermarket DSP or amplifier in the rear cargo area, do not simply bolt it to a seatbelt anchor. Seatbelt anchors are often isolated by thick paint and acoustic deadening. You must:
- Use a wire brush or 80-grit sandpaper to remove all paint, primer, and rust down to bare, shiny steel.
- Use a properly crimped, tinned copper ring terminal (never use spade or fork terminals for high-amperage grounds).
- Secure the terminal with a factory-grade metric bolt (usually M8 or M10 for the Navigator chassis).
- Coat the exposed metal and terminal with dielectric grease or a dedicated corrosion inhibitor to prevent galvanic corrosion, which increases resistance over time.
Step-by-Step Safe Integration of the THX II Amplifier
If your goal is to retain the factory THX II amplifier while adding an aftermarket subwoofer, you must tap into the amplified speaker outputs, not the low-level RCA inputs, as the 2008 Navigator head unit does not output traditional pre-amp signals. Here is the safe, code-compliant procedure:
- Step 1: Locate the THX II DSP. In the 2008 U326 platform, it is typically mounted behind the right rear quarter panel trim. Remove the trim carefully to avoid breaking the climate control ducting.
- Step 2: Identify the High-Level Outputs. Using a digital multimeter (DMM) set to AC Voltage, probe the speaker wires while playing a 50Hz test tone. Do not use a standard test light, as the voltage can spike and damage the DSP's output transistors.
- Step 3: Solder and Heat Shrink. Never use 'scotch locks' or twist-on crimp caps. These invite moisture and vibration-induced failures. Strip the wire, solder the connection using rosin-core solder, and seal it with marine-grade adhesive-lined heat shrink tubing. The adhesive melts and creates a waterproof seal, preventing copper oxidation.
- Step 4: Install a Line Output Converter (LOC). Use an active, load-matching LOC (like the AudioControl LC2i) to convert the high-level balanced signals to unbalanced RCA signals. The LOC must be securely zip-tied to the chassis to prevent rattling and wire fatigue.
Common Failure Modes and Code-Compliant Troubleshooting
Even with a perfect wiring diagram, edge cases occur. Understanding these failure modes separates DIY amateurs from certified professionals.
Parasitic Draw Violations
A compliant aftermarket audio system must not prevent the vehicle's CAN-bus from entering 'sleep mode.' If an amplifier's remote turn-on wire is wired to a constant 12V source instead of an ignition-switched or data-controlled wake-up signal, it will cause a parasitic draw. The 2008 Navigator's acceptable sleep-mode draw is under 50 milliamps (0.05A) after 45 minutes of the doors being locked. If your DMM reads 200mA+ in sleep mode, your battery will be dead in 48 hours. Always use a data-bus interface module or a dedicated 12V accessory fuse tap for the remote wire.
CAN-Bus Backfeeding
If you accidentally tap into the MS-CAN lines (often twisted pairs of white/white-blue or gray/gray-blue wires) thinking they are speaker wires, the AC audio signal will backfeed into the vehicle's data network. This causes the navigation screen to flicker, the power windows to auto-roll down, and the instrument cluster to throw a 'Steering Angle Sensor' fault. Always verify wire function with an oscilloscope or a CAN-bus safe logic probe before cutting.
Essential Tools and 2026 Material Costs
To execute this install safely and to code, you need professional-grade materials. As of early 2026, budget accordingly for the following essentials:
- True-RMS Digital Multimeter (e.g., Fluke 87V): ~$450. Essential for accurate parasitic draw testing and AC voltage speaker wire identification.
- TXL Primary Wire (10 AWG, 100ft spool): ~$75. Do not substitute with CCA (Copper Clad Aluminum) wire, which has 40% higher resistance and poses a severe fire risk at high amperages.
- Adhesive-Lined Heat Shrink Assortment: ~$35. Ensures IP67 waterproof connections.
- ANL Fuse Holder and 60A Fuse: ~$25. Mandatory for the main power line within 18 inches of the battery.
By respecting the complexities of the 2008 Navigator wiring diagram for soundsystem upgrades and adhering strictly to SAE and MECP safety codes, you ensure that your audio system delivers pristine sound without compromising the electrical integrity or safety of your vehicle.