
Planning Your 2006 Silverado Stereo Upgrade: The GMT800 Factor
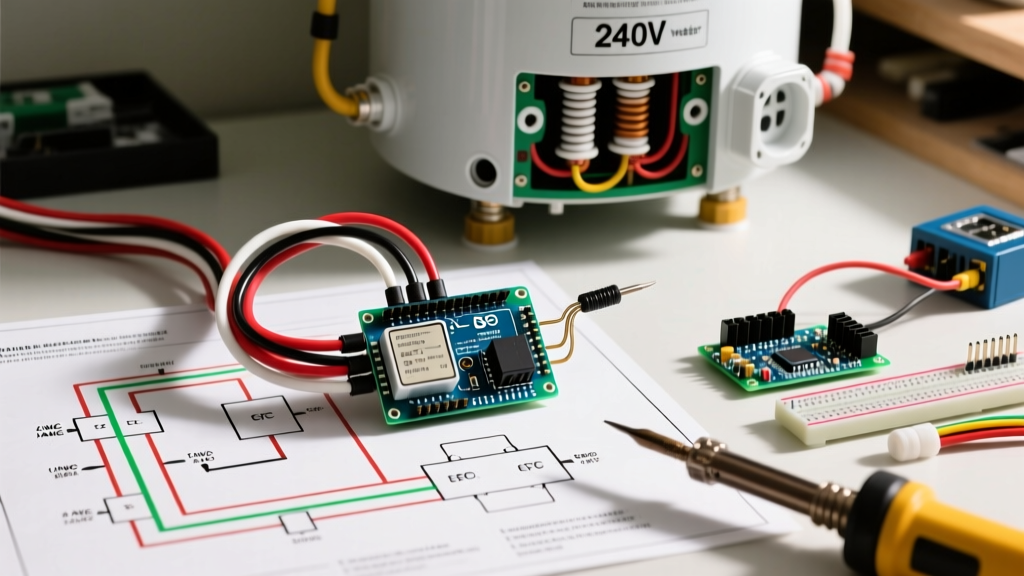
The 2006 Chevrolet Silverado represents the final model year of the legendary GMT800 platform before the transition to the GMT900 architecture. While this generation is beloved for its mechanical reliability, its electrical system presents unique challenges for aftermarket audio installations. Unlike older vehicles with simple 12V switched/constant power setups, the 2006 Silverado integrates the factory radio into the vehicle's Class 2 serial data bus. This means the radio is responsible for processing door chimes, retaining accessory power (RAP), and communicating with the Body Control Module (BCM).
If you simply cut and splice a standard $5 wiring harness, you risk losing your door chimes, draining your battery due to improper RAP shutdown, or triggering BCM fault codes. This installation planning guide and stereo wiring diagram for 2006 Chevy Silverado models will walk you through the exact pinouts, interface modules required, and physical execution steps to ensure a flawless, factory-integrated upgrade in 2026.
Essential Gear & 2026 Budget Breakdown
Before touching a wire stripper, you must procure the correct integration modules. The days of basic wire-to-wire connections are over for GM Class 2 data vehicles. Below is the recommended gear list and estimated 2026 pricing for a standard (non-Bose, non-OnStar) and a premium (Bose/OnStar) configuration.
| Component | Standard Audio Model | Bose/OnStar Model | Est. 2026 Cost |
|---|---|---|---|
| Dash Kit (Double-DIN) | Metra 95-2003 | Metra 95-2003 | $18 - $25 |
| Wiring Interface / Data Module | Metra GMRC-04 or Axxess GMRW-11 | Metra 70-2004 or Axxess GMOS-04 | $45 - $85 |
| Antenna Adapter | Metra 40-GM10 | Metra 40-GM10 | $12 - $15 |
| Steering Wheel Control (SWC) | PAC RP5-GM11 (Replaces GMRC-04) | PAC RP5-GM11 (Replaces 70-2004) | $75 - $95 |
Note: If your 2006 Silverado has steering wheel audio controls, bypass the standard data modules and purchase the PAC RP5-GM11. It handles the Class 2 data door chimes, RAP, and SWC retention in a single unit, saving you from daisy-chaining multiple modules behind the dash.
Stereo Wiring Diagram for 2006 Chevy Silverado: Pinout Matrix
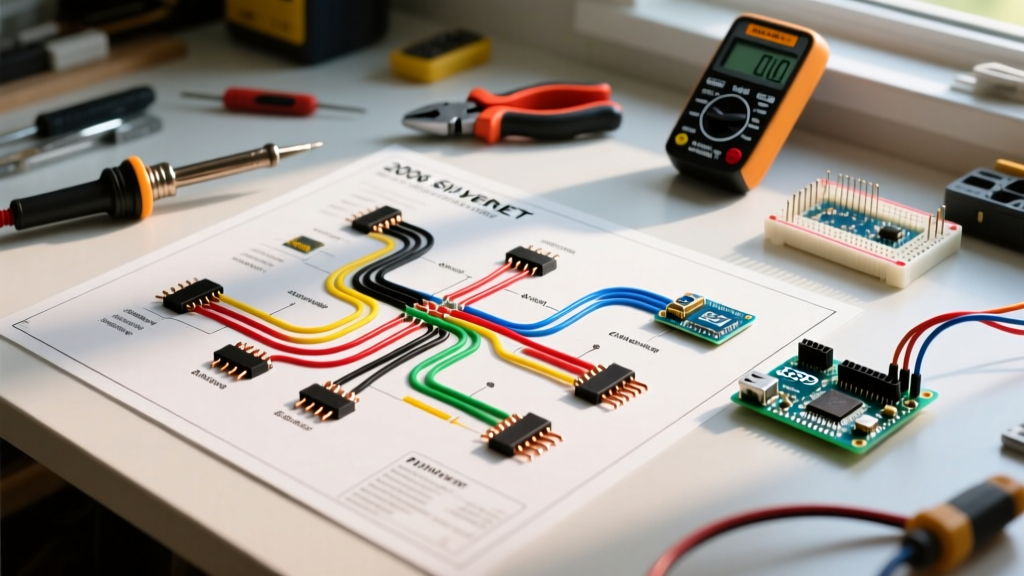
The 2006 Silverado utilizes a standard GM 24-pin (or sometimes split 16-pin + 8-pin) connector. Below is the exact wire color mapping for the standard speaker and power outputs. Always verify with a digital multimeter (DMM) before making final crimps, as mid-year production variations or previous owner modifications can alter factory colors.
Power, Ground, and Accessory
- Yellow (Pin 11): 12V Constant Battery Memory (B+)
- Red (Pin 12): 12V Switched Accessory (Note: On some Class 2 trims, this is triggered via the data module rather than a physical red wire. The interface module will output a red switched 12V lead for your aftermarket head unit).
- Black (Pin 13): Chassis Ground
- Orange (Pin 14): Illumination / Dash Dimmer Circuit
Speaker Outputs (Standard GM Color Code)
| Speaker Location | Positive (+) Wire | Negative (-) Wire |
|---|---|---|
| Front Left | Tan | Gray |
| Front Right | Light Green | Dark Green |
| Rear Left | Brown | Yellow |
| Rear Right | Dark Blue | Light Blue |
Critical Warning for Bose Equipped Trucks: If your Silverado has the factory Bose amplifier, the speaker wires listed above carry line-level signals to the factory amp, not amplified speaker-level signals. You must use a Bose bypass harness (like the Axxess GMOS-04) to convert your new head unit's speaker-level outputs to line-level, or bypass the factory amp entirely and run new 14 AWG speaker wire directly to the door pods.
Navigating the Class 2 Data & Door Chime Dilemma
The most common failure mode in GMT800 stereo installations is the loss of the door chime and the 'key-in-ignition' warning. In the 2006 Silverado, the BCM sends a digital signal over the Class 2 data line (usually a Brown wire on the harness) to the factory radio, which then synthesizes the chime through the left-front door speaker.
If you remove the factory radio without installing a data retention module like the Metra GMRC-04, the BCM loses its chime output node. The GMRC-04 intercepts the Class 2 data stream, extracts the chime command, and plays it through a built-in micro-speaker on the module itself. Furthermore, the module safely manages the Retained Accessory Power (RAP) feature, ensuring your new stereo turns off when the driver's door opens, preventing parasitic battery drain.
Step-by-Step Dash Disassembly & Execution
The physical removal of the 2006 Silverado dash bezel is straightforward but requires care to avoid snapping the aging 18-year-old plastic clips.
- Set the Parking Brake & Tilt Steering: Engage the emergency brake. Tilt the steering wheel all the way down to its lowest position and shift the transfer case into 4LO (if equipped) or Park.
- Remove the Bezel Screws: Use a 7mm socket to remove the two screws located at the top of the instrument cluster bezel, just above the gauge cluster.
- Pry the Bezel: Using a nylon plastic trim removal tool, gently pry along the bottom edge of the bezel near the ashtray. Work your way up the sides. The bezel is held in by tension clips; pull straight back toward the rear of the truck.
- Unbolt the Factory Radio: With the bezel removed, you will see four 7mm hex-head screws securing the factory radio bracket. Remove these and slide the radio outward.
- Disconnect Harnesses: Squeeze the locking tabs on the main wiring harness, the OnStar module (if equipped behind the dash), and the coaxial antenna cable. Pro-tip: Use a 90-degree pick to depress the antenna release tab to avoid snapping the brittle plastic connector.
- Bench-Wire the Harness: Never solder or crimp inside the dark cavity of the dash. Connect your aftermarket head unit to the Metra/Axxess interface harness on your workbench using solder and heat-shrink tubing or high-quality nylon crimp caps. Wrap the final bundle in Tesa cloth automotive tape to eliminate dash rattle.
Common Failure Modes & Troubleshooting Matrix
Even with the correct wiring diagram, edge cases arise. Use this diagnostic matrix if your 2006 Silverado exhibits post-installation anomalies.
| Symptom | Probable Cause | Verified Solution |
|---|---|---|
| Stereo stays on after removing key and opening door. | RAP circuit failure or missing data module. | Verify the GMRC-04 / RP5-GM11 module is receiving the Class 2 data signal (Brown wire). Check ground connection. |
| No audio, but head unit powers on (Bose models only). | Factory Bose amp not receiving turn-on signal. | Ensure the blue/white 'Amp Turn-On' wire from the head unit is connected to the corresponding blue wire on the Bose bypass harness. |
| Alternator whine / engine RPM noise in speakers. | Ground loop via the factory Bose amp or poor chassis ground. | Scrape away paint under the dash to bare metal for the black ground wire. Do not ground to a painted bracket. |
| OnStar button illuminates but no audio from mic. | OnStar bypass harness muted the mic line incorrectly. | OnStar requires a dedicated factory module bypass. If using GMOS-04, ensure the 3.5mm OnStar override jack is seated fully. |
Final Verification & Reassembly
Before snapping the dash bezel back into place, perform a full systems check. Turn the key to the 'Run' position and verify the head unit boots. Open the driver's door to confirm the RAP circuit kills the radio power and the door chime sounds. Test all four speaker zones for proper phase and fade. Finally, route the GPS antenna and USB extension cables into the center console or glovebox, secure the radio bracket with the four 7mm screws, and press the bezel firmly until all perimeter clips click into the dash frame.