
Pre-Installation Assessment: Identifying Your 2003 Explorer Audio System
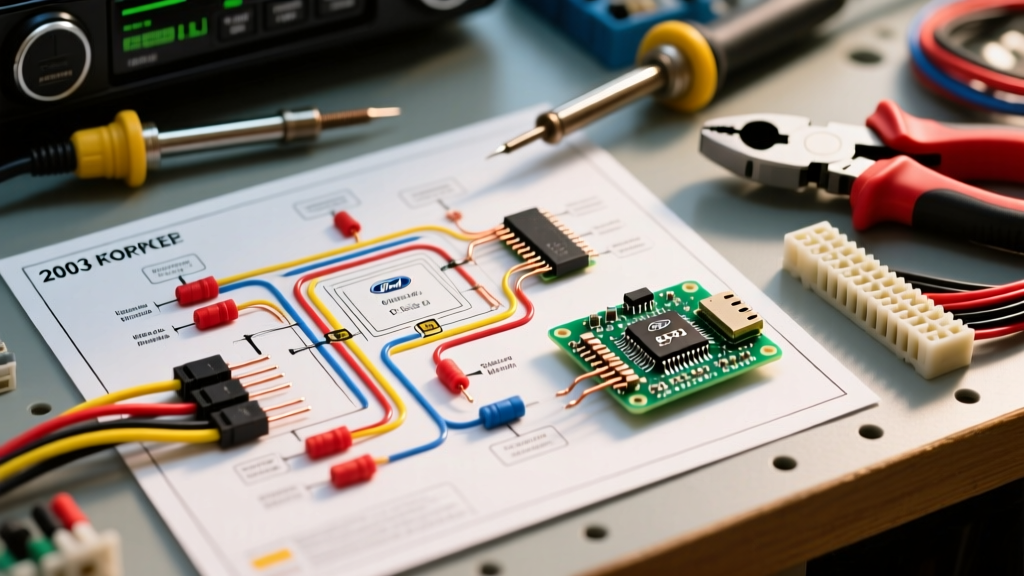
The 2003 Ford Explorer (part of the U251 platform generation) presents a unique set of challenges and opportunities for aftermarket car audio installations. Before you even touch a wire stripper, you must identify which factory audio system your specific trim level (XLT, Eddie Bauer, or Limited) is equipped with. When consulting the radio wiring diagram for 2003 Ford Explorer models, the wiring architecture changes drastically depending on whether you have the Base system or the Premium Mach Audio system.
Base System vs. Mach Audio System
- Base Audio System: Features a standard 4-speaker setup driven directly by the head unit's internal amplifier (typically 4 x 15W RMS). The wiring is straightforward, and a standard bypass harness will work perfectly.
- Premium Mach Audio System: Includes an external factory amplifier (usually located under the passenger seat or behind the rear quarter panel trim) and a dual-voice-coil (DVC) 2-ohm subwoofer. If you simply cut and splice standard speaker wires, you will bypass the factory amp and get zero sound output from the vehicle's speakers.
Expert Warning: Never attempt to tap into the steering column wiring harness to find a 12V switched ignition source in the 2003 Explorer. The column houses the Passive Anti-Theft System (PATS) transceiver ring. Piercing or damaging these wires can disable your vehicle's immobilizer, preventing the engine from starting. Always source your switched 12V and constant 12V directly from the radio harness or the fuse box using an add-a-circuit.
Decoding the Radio Wiring Diagram for 2003 Ford Explorer
To retain the factory wiring and ensure a reliable connection for modern 2026 head units (including wireless Apple CarPlay and Android Auto receivers), you should use an aftermarket wiring harness adapter. Below is the translation between the factory OEM 16-pin connector and the standard EIA color codes found on aftermarket adapters like the Metra 70-5511 or Axxess FDH-0001.
Factory OEM 16-Pin Connector Pinout
| Pin | Function | Factory Wire Color |
|---|---|---|
| 1 | Left Rear Speaker (+) | Orange/Light Green |
| 2 | Left Rear Speaker (-) | Orange/White |
| 3 | Left Front Speaker (+) | White |
| 4 | Right Front Speaker (+) | White/Purple |
| 5 | Right Rear Speaker (+) | Brown/White |
| 6 | Right Rear Speaker (-) | Brown/Yellow |
| 7 | 12V Switched (Ignition) | Light Green/Purple |
| 8 | Ground | Black/Light Green |
| 9 | Left Front Speaker (-) | White/Black |
| 10 | Right Front Speaker (-) | White/Yellow |
| 11 | 12V Constant (Battery) | Yellow/Light Green |
| 12 | Illumination | Light Blue/Red |
Aftermarket Adapter Standard EIA Colors
When you purchase a harness adapter, the complex Ford factory colors are translated into universal standard colors, making it significantly easier to match them to your new aftermarket head unit's pigtail.
- Yellow: 12V Constant (Memory)
- Red: 12V Switched (Accessory/Ignition)
- Black: Chassis Ground
- Blue/White: Amplifier Turn-On (Crucial for Mach Audio systems)
- White / White-Black: Left Front (+/-)
- Gray / Gray-Black: Right Front (+/-)
- Green / Green-Black: Left Rear (+/-)
- Purple / Purple-Black: Right Rear (+/-)
Essential Hardware and Dash Kit Selection
The 2003 Explorer features a 1.5-DIN factory radio opening. To install a modern Double-DIN (4-inch tall) multimedia receiver, you must use a specialized installation kit that replaces the center dashboard bezel and relocates the climate controls if necessary. According to Metra Online's vehicle fitment database, the following parts are the industry standard for this specific chassis:
| Component | Recommended Part Number | Purpose |
|---|---|---|
| Double DIN Dash Kit | Metra 95-5026G or Axxess 95-5026 | Provides a seamless 4-inch opening and matches the factory dashboard texture. |
| Standard Wiring Harness | Metra 70-5511 | Translates factory 16-pin to standard EIA colors for base audio systems. |
| Amp Retention Harness | Axxess XFD-04 or Metra 70-5510 | Provides a 5V to 12V step-up to turn on the factory Mach amplifier. |
| Antenna Adapter | Metra 40-FD10 | Adapts the proprietary Ford motorized antenna plug to a standard Motorola male plug. |
Step-by-Step Installation Planning & Execution
1. Bench Preparation and Soldering
Do not attempt to solder or crimp wires inside the dark, cramped cavity of the Explorer's dashboard. Connect your aftermarket harness adapter to your new head unit's pigtail on your workbench. For the most reliable connection that withstands automotive temperature fluctuations (-20°F to 140°F), use adhesive-lined marine-grade heat shrink and solder joints. If you prefer crimping, use closed-end nylon crimp caps with a ratcheting crimp tool, avoiding cheap twist-connectors which vibrate loose over time.
2. Dashboard Disassembly
The 2003 Explorer center console is held together by a combination of 7mm hex screws and friction clips. Use a nylon trim removal tool to gently pry the climate control bezel and the radio trim ring. Disconnect the hazard switch and 4x4 selector switch (if equipped) before fully removing the panel.
3. Harness Routing and Antenna Connection
Route the new antenna cable and the USB/Auxiliary pigtails down behind the climate control assembly and into the center console storage bin or glovebox. Ensure the antenna adapter is firmly seated, as the Ford motorized antenna plug can easily back out if not pushed until it clicks.
Troubleshooting Common 2003 Explorer Audio Failures
Even with the correct radio wiring diagram for 2003 Ford Explorer vehicles, installers frequently encounter specific edge cases. Here is how to diagnose them:
- Symptom: Head unit turns on, but zero sound from any speaker.
Diagnosis: You have a Mach Audio system but used a standard base harness. The factory amplifier is not receiving the turn-on signal. You must install an amp retention harness (like the Axxess XFD-04) that converts the head unit's 12V Blue/White remote wire into the specific 5V logic signal required by the Ford factory amp. - Symptom: Radio loses presets and clock every time the vehicle is turned off.
Diagnosis: The Yellow (Constant 12V) and Red (Switched 12V) wires are swapped. While some modern Chinese-market Android units can tolerate this, premium brands like Pioneer, Kenwood, and Alpine will drain the vehicle battery or fail to retain memory. Verify the Explorer's Yellow/Light Green wire with a multimeter to ensure it holds 12.6V with the keys out of the ignition. - Symptom: Alternator whine that increases with engine RPM.
Diagnosis: A ground loop. The 2003 Explorer's factory ground wire (Black/Light Green) relies on a chassis ground point behind the dash that may be corroded after two decades. Run a dedicated 16 AWG ground wire from your harness adapter directly to a clean, unpainted metal bolt under the dashboard steering column support.
Final Verification and Reassembly
Before snapping the dashboard trim back into place, reconnect the negative battery terminal and perform a full system test. Verify all four speaker channels using the head unit's balance and fader controls. Test the steering wheel audio controls (if equipped, requiring an additional interface module like the Axxess ASWC-1). Once verified, wrap the entire harness bundle in Tesa cloth automotive tape to prevent rattles against the metal dashboard support frame, and carefully guide the excess wiring into the deep cavity behind the climate control module.