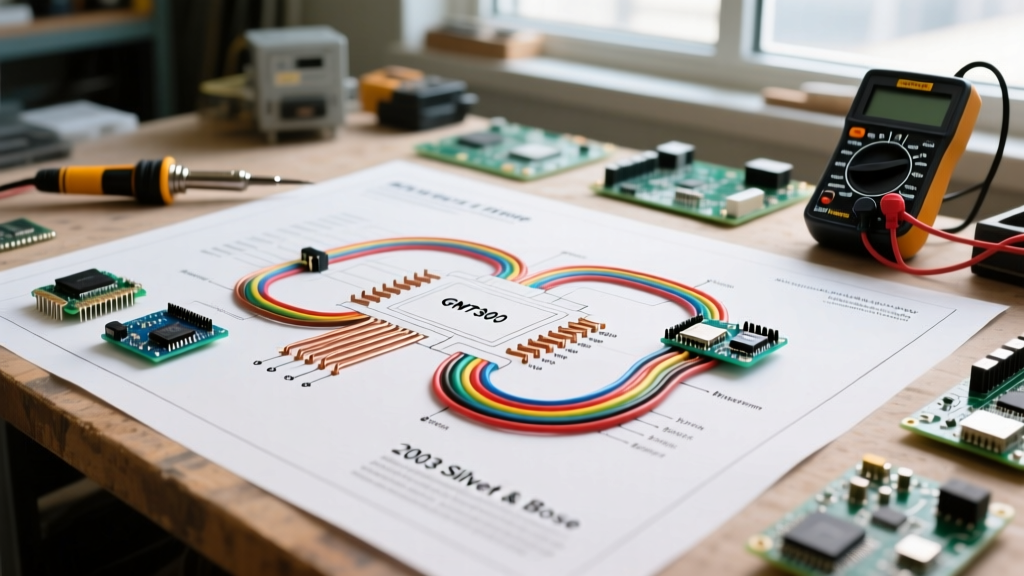

Introduction to the GMT800 Audio Architecture
Upgrading or replacing the factory stereo in a 2003 Chevrolet Silverado requires more than just matching positive and negative speaker wires. As part of General Motors' legendary GMT800 platform, the 2003 Silverado utilizes a sophisticated Class 2 Serial Data network to integrate the radio with the Body Control Module (BCM). This means your radio is responsible for far more than just playing music; it is the primary gateway for critical safety warnings, including door chimes, headlight warning buzzers, and airbag indicator signals.
Whether you are diagnosing a dead factory Delco unit, replacing a blown speaker, or installing a modern double-DIN touchscreen, understanding the exact radio wiring diagram for 2003 Chevy Silverado models is mandatory. Splicing the wrong wire or ignoring the data bus will result in a locked-out radio (due to GM's VIN-lock anti-theft protocol), a dead battery from parasitic draw, or worse, the loss of critical safety chimes.
Primary 12-Pin Radio Harness Pinout Diagram
The base and standard Bose-equipped 2003 Silverados utilize a primary 12-pin connector for power, ground, and speaker outputs. Below is the definitive pinout matrix based on GM's factory service documentation. Note: Always verify with a digital multimeter (DMM) before cutting or splicing, as previous owners may have altered the harness.
| Pin | Wire Color | Function | Voltage / Signal Type |
|---|---|---|---|
| A1 | Orange | Battery Positive (B+) | Constant 12V+ |
| A2 | Yellow | Left Rear Speaker (+) | Audio Signal / Line-Out (Bose) |
| A3 | Light Green | Left Rear Speaker (-) | Audio Signal / Line-Out (Bose) |
| A4 | Black | Chassis Ground | 0V (Continuity to Chassis) |
| A5 | Dark Blue | Right Rear Speaker (+) | Audio Signal / Line-Out (Bose) |
| A6 | Light Blue | Right Rear Speaker (-) | Audio Signal / Line-Out (Bose) |
| A7 | Dark Green | Right Front Speaker (+) | Audio Signal / Line-Out (Bose) |
| A8 | Light Green w/ Black Stripe | Right Front Speaker (-) | Audio Signal / Line-Out (Bose) |
| A9 | Tan | Left Front Speaker (+) | Audio Signal / Line-Out (Bose) |
| A10 | Gray | Left Front Speaker (-) | Audio Signal / Line-Out (Bose) |
| A11 | Brown | Ignition Switched Power | 12V+ (Only in Run/Start) |
| A12 | Pink | Accessory / Amp Turn-On | 12V+ (Used to wake Bose Amp) |
The Class 2 Data Bus: Why You Cannot Hardwire Directly
In older vehicles, the ignition wire told the radio when to turn on. In the 2003 Silverado, the Brown wire (Pin A11) provides switched power, but the radio's microprocessor relies on the Class 2 Serial Data Link to verify the VIN and authorize operation. According to SAE International's J1850 standard, this Variable Pulse Width (VPW) network operates at 10.4 kbps over a single wire.
If you install an aftermarket radio using a cheap, generic wiring harness that only connects power and speakers, you will lose your door chimes. In many jurisdictions, driving a vehicle without functional safety warning chimes is a violation of federal motor vehicle safety standards. Furthermore, the BCM will fail to register the radio going to 'sleep,' resulting in a parasitic battery drain that will kill your truck's battery overnight.
Comparing Aftermarket Integration Modules
To retain chimes, OnStar audio, and steering wheel controls, you must use a Class 2 data bus translation module. Here is how the two industry-standard solutions compare for the 2003 GMT800 platform:
| Feature | Axxess GMOS-04 | PAC GMR-42 |
|---|---|---|
| Retains Factory Chimes | Yes (Adjustable Volume) | Yes (Fixed Volume) |
| OnStar Integration | Requires Separate Adapter | Built-in OnStar Retention |
| Amp Turn-On Signal | Provides 12V Remote | Provides 12V Remote |
| Approx. Cost (2026) | $65 - $85 | $90 - $120 |
| Best For | Base Audio Systems | Trucks with Active OnStar |
Expert Tip: If your 2003 Silverado has the factory Bose amplifier, you must select the GMOS-04A or a PAC equivalent specifically tuned for low-level line outputs, otherwise, you will send high-level speaker signals into the Bose amp's RCA-style inputs, causing severe clipping and potential blowout of the door drivers.
Step-by-Step Dash Disassembly & Harness Extraction
Accessing the radio harness in the 2003 Silverado is straightforward but requires care to avoid snapping the aging 20-year-old plastic clips. You will need a 7mm socket, a trim removal tool, and a Phillips head screwdriver.
- Disconnect the Battery: Always drop the negative terminal on the battery. The Class 2 data bus is sensitive to voltage spikes, and dropping a tool across the live harness can fry the BCM.
- Remove the Dash Bezel: Tilt the steering wheel all the way down and put the truck in 1st gear (or Low 1). Gently pry the large plastic dash bezel surrounding the radio and climate controls. It is held entirely by tension clips.
- Unbolt the Radio: You will see four 7mm hex-head bolts securing the radio to the metal sub-frame. Remove all four.
- Extract and Disconnect: Slide the radio forward. Press the release tab on the primary 12-pin harness and the secondary antenna cable. If equipped with a 6-disc CD changer, there may be a secondary data ribbon cable to unclip.
Real-World Troubleshooting & Edge Cases
When working on the GMT800 electrical system, you will inevitably run into a few common failure modes. Here is how to diagnose them using your multimeter and wiring diagram:
1. The 'Battery Drain' Parasitic Draw
If your Silverado battery dies after sitting for 48 hours, the radio or its adapter harness is likely failing to enter sleep mode.
- The Test: Set your DMM to the 10A setting, place it in series with the negative battery terminal, and wait 20 minutes for the BCM to enter sleep mode.
- The Baseline: A healthy 2003 Silverado should draw under 30mA (0.03A) when asleep.
- The Fix: If the draw remains above 150mA, unplug the radio harness. If the draw drops, your aftermarket interface module is defective or wired to a constant 12V source instead of the Brown ignition wire.
2. Bose Amplifier 'Pop' and Fade
Owners of the premium Bose system often report a loud 'pop' from the doors upon startup, followed by audio that fades in and out. This is rarely a bad speaker. Instead, it is usually a failing Pink wire (Pin A12) connection. The Bose amplifier requires a clean 12V turn-on signal. If the Pink wire is spliced into an accessory circuit that fluctuates (like the windshield wiper power feed), the amp will rapidly cycle on and off. Always use a dedicated interface module to generate a clean remote turn-on signal.
3. OnStar Static and Muting
If you retain the factory radio but experience sudden muting or heavy static from the front speakers, the OnStar module (located behind the dash or under the passenger seat) may be failing and back-feeding voltage into the speaker lines. According to diagnostic bulletins referenced by Axxess Interfaces, bypassing the OnStar audio feed at the radio harness using an OnStar delete adapter (like the PAC OS-3) will instantly resolve the static issue without disabling the rest of the audio system.
Final Wiring Best Practices
Never use 'Scotch-Loks' or T-Taps on the GMT800 harness. The copper wire gauge used in the 2003 Silverado dash is relatively thin (18-20 AWG for speakers). T-taps cut through the protective enamel and expose the copper to humidity, leading to green corrosion and high-resistance connections within 12 months. Always use crimp-and-seal heat shrink butt connectors or solder-and-shrink methods for a permanent, weatherproof repair.
For further technical specifications regarding GM's retention modules and harness compatibility, consult the vehicle-specific databases at PAC Audio or reference your factory GM service manual for the exact BCM pinout matrices.