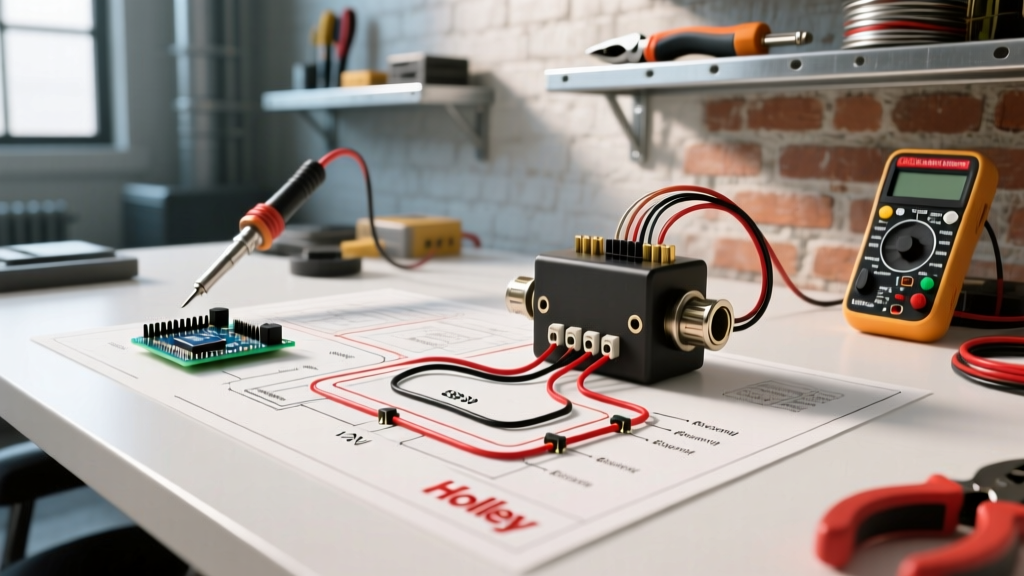

Why Upgrade to a Holley Electric Choke?
As of 2026, with the rising cost and complexity of modern EFI swaps (often exceeding $2,500 for a complete throttle-body system), optimizing your existing Holley 4150 or 4160 carburetor remains one of the most cost-effective ways to improve cold-start drivability. The original divorced choke setups (which relied on a heat tube routed to the exhaust manifold) or manual cable chokes are notoriously unreliable, prone to sticking, and highly sensitive to ambient under-hood temperatures. Upgrading to an electric choke using a kit like the Holley 45-226 Electric Choke Conversion Kit (retailing around $55) provides consistent, repeatable cold starts regardless of the weather.
This comprehensive walkthrough will guide you through the exact Holley electric choke wiring diagram, detailing power source selection, proper fusing, grounding protocols, and the critical bi-metallic spring adjustment procedure.
Prerequisites and Tool List
Before cutting into your vehicle’s wiring harness, gather the following specific tools and materials. Using the correct wire gauge and termination methods is critical to preventing voltage drop, which is the number one cause of electric choke failure.
- Wire: 14 AWG primary automotive wire (GXL or SXL cross-linked insulation for high-heat engine bay resistance).
- Fuse: 10A ATC inline fuse holder with spade terminals.
- Terminals: 1/4-inch female spade connectors (fully insulated) and ring terminals for grounding.
- Tools: Wire strippers, heat gun, ratcheting crimper, digital multimeter, and a set of Torx/Phillips screwdrivers for the choke cap.
- Hardware: Star washers (essential for biting through anodized or painted intake manifolds to establish a ground).
Understanding the Holley Electric Choke Circuit
The Holley electric choke operates on a remarkably simple but precise thermal-electric principle. Inside the black phenolic choke cap is a bi-metallic coil spring. When 12 volts is applied to the circuit, the internal heating element warms the bi-metallic spring. As the spring heats up, it relaxes and unwinds, gradually pulling the choke plate open via a linkage rod.
Expert Insight: The choke requires a switched 12V source. It must only receive power when the ignition key is in the "Run" or "Start" positions. If wired to an "Accessory" circuit, the choke will slowly open while you are listening to the radio with the engine off, resulting in a flooded engine upon startup and a drained battery.
Step-by-Step Wiring Walkthrough
Step 1: Identifying a True 12V "Run" Source
Locate a 12V power source that is active only during engine cranking and running. The best location is an unused fused slot in your vehicle’s interior fuse panel labeled "IGN" or "RUN". Avoid the old-school method of tapping the alternator's stator terminal; modern 1-wire alternators (like the popular Powermaster 17294) do not feature a stator post, and tapping the main output post will leave the choke energized permanently, burning out the heating coil within hours.
Step 2: Fusing and Routing the Power Wire
- Cut a length of 14 AWG red primary wire long enough to reach from your chosen ignition-switched fuse panel to the carburetor, adding 12 inches of slack for engine movement.
- Install the 10A inline ATC fuse holder within 6 inches of the power source connection. This protects the wiring harness from a dead short in the event the choke cap melts or the wire chafes against the intake manifold.
- Route the wire along the factory wiring harness, securing it with high-temperature silicone wire loom and zip ties. Keep the wire at least 4 inches away from the exhaust headers to prevent the insulation from melting.
Step 3: Terminating at the Choke Cap
Depending on your specific Holley model year, the choke cap will either have a bayonet-style push-on connector or a screw terminal. Crimp a fully insulated 1/4-inch female spade connector onto the end of your 14 AWG wire. Push it firmly onto the male spade protruding from the center of the black choke cap. Ensure the connection is tight; a loose connection will cause arcing, leading to intermittent choke operation.
Step 4: Securing a Bulletproof Ground
The choke valve housing must complete the circuit by grounding to the engine block. This is where 90% of DIY installations fail. The choke housing mounts to the main carburetor body or an intake spacer. If you are using an anodized aluminum intake manifold (like an Edelbrock Performer RPM) or a composite phenolic carburetor spacer, the housing will not ground through the mounting screws.
The Fix: Run a dedicated 14 AWG black ground wire. Attach a ring terminal to one of the three choke cap mounting screws (using a star washer to bite into the metal), and route the other end to a clean, bare-metal bolt on the engine block or cylinder head.
Power Source Comparison Matrix
Choosing the wrong power source is the most common wiring error. Use this matrix to evaluate your vehicle's electrical layout.
| Power Source | Voltage Profile | Viability for Choke | Common Failure Mode |
|---|---|---|---|
| Ignition Switch (RUN) | 12V+ in Run/Start; 0V in Off/Acc | Highly Recommended | None, provided circuit isn't overloaded. |
| Alternator Stator Post | Pulses only when alternator spins | Acceptable (Vintage Vehicles) | Incompatible with modern 1-wire alternators. |
| Ignition Coil (+) | ~9V during Run; 12V during Start | Do Not Use | 9V is insufficient to heat the coil; choke stays closed. |
| Accessory (ACC) Fuse | 12V when key is Off/ACC; 0V in Start | Do Not Use | Battery drain; choke opens before engine starts. |
Calibrating the Bi-Metallic Spring
Wiring the choke correctly is only half the battle; adjusting the index mark is what actually tunes the cold-start enrichment. According to Holley's official technical documentation, the adjustment must be performed on a stone-cold engine (sitting overnight).
- Remove the air cleaner assembly and visually inspect the primary choke plate (the front butterfly valve).
- Loosen the three Torx or Phillips screws securing the black electric choke cap just enough to allow the cap to rotate with slight friction.
- Rotate the cap counter-clockwise (against the spring tension) until the choke plate snaps completely shut.
- From the fully closed position, rotate the cap clockwise exactly one-quarter to one-half turn. This provides just enough clearance to prevent the plate from binding in the bore when the engine vibrates.
- Tighten the three screws evenly. Align the scribe mark on the cap with the index mark on the aluminum housing.
Advanced Troubleshooting & Failure Modes
If your Holley carburetor is still stumbling on cold mornings or hanging at a high idle after warming up, perform these multimeter diagnostics to isolate the fault.
1. The Voltage Drop Test
Set your digital multimeter to DC Volts. Place the red probe on the spade terminal of the choke cap and the black probe on the negative battery terminal. Start the engine. You should read between 13.2V and 14.4V. If your reading is below 11.5V, you have excessive resistance in the power wire or a poor connection at the fuse panel. The bi-metallic spring will not generate enough heat to open the choke plate at low voltages.
2. The Ground Continuity Check
With the engine off and the key removed, set the multimeter to Ohms (Resistance). Place one probe on the metal base of the choke housing and the other on the negative battery terminal. A reading of anything higher than 0.5 ohms indicates a bad ground. Clean the mounting surface with a wire wheel and reinstall using star washers.
3. Thermal Timeframe Verification
A properly wired and adjusted Holley electric choke should take approximately 3 to 4 minutes to fully open the choke plate in 70°F (21°C) ambient air. If it opens in under 60 seconds, your voltage is likely too high or the bi-metallic spring has fatigued and requires replacement. If it takes longer than 6 minutes, the heating element inside the cap has likely suffered an internal open-circuit failure, requiring a complete cap replacement.
By strictly adhering to this Holley electric choke wiring diagram and utilizing proper 14 AWG wiring with a dedicated ground, you will eliminate cold-start hesitations and ensure your classic carbureted engine runs reliably in any 2026 climate.