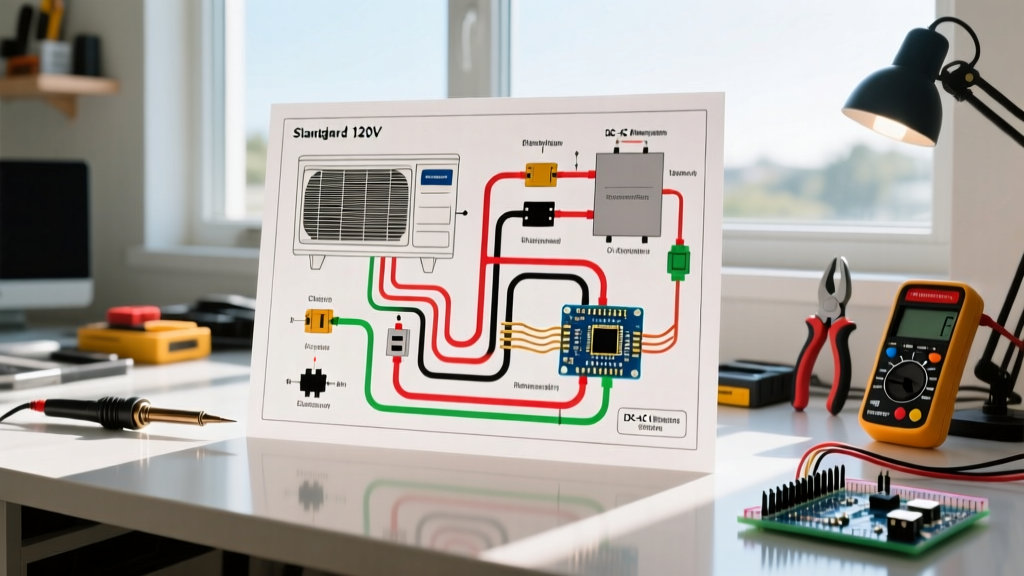

Introduction: Beyond the Standard 7-Pin Harness
When upgrading a skid steer to run complex attachments like cold planers, multi-motor sweepers, or forestry mulchers, the standard 7-pin electrical kit quickly falls short. These heavy-duty implements require independent hydraulic solenoids, case drains, and high-amperage 12V DC sweep motors. This is where the industry-standard 14-pin harness becomes mandatory. However, when searching for a reliable 14 pin connector for skid steer wiring diagram, most DIY mechanics and heavy equipment technicians run into a critical roadblock: misunderstanding the amperage limits of the machine's Electronic Control Module (ECM).
In this comprehensive motor wiring tutorial, we will break down the exact pinout architecture, explain the critical difference between ECM signal outputs and direct motor power, and provide a step-by-step guide to wiring a 40A 12V DC attachment motor without frying your skid steer's main controller.
The Golden Rule: ECM Signal vs. Motor Power
The most common and costly mistake in skid steer attachment wiring is routing high-amperage motor current directly through the cab's 14-pin connector. Modern skid steers (including Bobcat, CAT, and John Deere) utilize Delphi or Bosch ECMs to manage attachment controls.
CRITICAL WARNING: The auxiliary output pins on a skid steer's 14-pin ECM are typically rated for a maximum of 1.5A to 3.0A. They are designed to trigger low-amperage hydraulic solenoid coils, NOT to power electric motors. A standard 12V DC sweeper motor draws 35A to 50A on startup. Wiring this motor directly to an Aux pin will instantly destroy the ECM's internal driver, resulting in a $2,500+ controller replacement.
To wire a motor correctly, you must use the 14-pin connector strictly as a signal trigger. The ECM pin will activate a heavy-duty contactor (relay), which then switches dedicated battery power directly to the motor. For deeper insights into OEM electrical tolerances, always consult the official Bobcat operator and service manuals for your specific machine's Attachment Control Option (ACO) settings.
Standard 14-Pin Skid Steer Pinout Reference
While exact layouts can vary slightly by OEM and model year, the following table represents the industry-standard 14-pin configuration (often utilizing a rectangular Deutsch DT-style or proprietary Bobcat 14-pin housing) used for complex motor and hydraulic attachments.
| Pin | Function | Wire Gauge | Notes & Application |
|---|---|---|---|
| A | 12V Switched Power | 12 AWG | Hot only when ignition is ON. Used to power contactor coils. |
| B | Chassis Ground | 12 AWG | Main return path to the skid steer battery negative. |
| C | Aux 1 (Front/Switch) | 16 AWG | ECM low-side driver. Triggers primary motor contactor. |
| D | Aux 2 (Rear/Proportional) | 16 AWG | ECM driver for secondary motors or diverter solenoids. |
| E | 2-Speed / High Flow | 16 AWG | Activates high-flow hydraulic pumps or 2-speed travel motors. |
| F | CAN-H (J1939) | 18 AWG | Data link for smart attachments (e.g., grade control systems). |
| G | CAN-L (J1939) | 18 AWG | Data link return. |
| H | Proportional Control 1 | 16 AWG | PWM signal for variable speed motor controllers. |
| I | Proportional Control 2 | 16 AWG | PWM signal for secondary variable functions. |
| J | Attachment ID | 18 AWG | Resistor network to tell the ECM which attachment is connected. |
| K | Case Drain Sense | 16 AWG | Monitors hydraulic case drain pressure to prevent motor seal blowout. |
| L | Lighting / Spare 1 | 14 AWG | Switched 12V for work lights. |
| M | Lighting / Spare 2 | 14 AWG | Switched 12V for beacon or secondary lights. |
| N | Shield / Drain | N/A | Wire braid shield ground for CAN bus noise reduction. |
Step-by-Step Motor Wiring Tutorial
For this tutorial, we are wiring a 40A 12V DC hydraulic sweep motor using Pin C (Aux 1) as our trigger signal. We will use a heavy-duty contactor to handle the actual motor load.
Step 1: Prepare the Heavy-Duty Contactor
Mount a Gigavac GX14BAB (or equivalent 150A continuous duty contactor) securely to the attachment frame, away from direct hydraulic spray. The Gigavac is preferred over standard automotive Bosch relays because its contacts are hermetically sealed and rated for the high inductive inrush currents of hydraulic pump motors.
Step 2: Wire the High-Amperage Motor Circuit
- Run 8 AWG or 10 AWG stranded copper wire (rated for SAE J1128) from the skid steer's main 12V battery terminal (or a dedicated high-amp auxiliary lug) to the contactor's primary input stud.
- Run another 10 AWG wire from the contactor's output stud directly to the positive terminal of the sweep motor.
- Ground the motor's negative terminal directly to the attachment frame using a minimum 10 AWG wire and a star washer to ensure bare-metal contact.
Step 3: Wire the ECM Signal and Contactor Coil
- Using 16 AWG wire, connect the contactor's positive coil terminal to Pin A (12V Switched) on the 14-pin connector. This ensures the contactor only has power when the skid steer is turned on.
- Connect the contactor's negative coil terminal to Pin C (Aux 1). When the operator presses the Aux button in the cab, the ECM completes the ground path, energizing the contactor coil and sending 12V battery power to the motor.
Step 4: Install the Flyback Diode (Crucial Edge Case Protection)
Electric motors are highly inductive loads. When the ECM cuts power to the contactor coil, the collapsing magnetic field generates a massive reverse voltage spike (inductive kickback) that can travel back through Pin C and fry the ECM's low-side driver.
- Solder a 1N5408 flyback diode across the contactor's coil terminals.
- Orientation matters: The diode's cathode (the end with the silver stripe) must point toward the positive 12V side (Pin A), and the anode must point toward the ECM ground side (Pin C). This safely recirculates the voltage spike back into the coil until it dissipates.
Step 5: Crimp and Seal the 14-Pin Connector
For the attachment side of the harness, use a TE Connectivity DT14-00PA receptacle housing. According to TE Connectivity's official crimp specifications, you must use solid-core Deutsch pins and a dedicated ratcheting crimp tool (such as the Hozan P-706). Never use pliers. Insert the wedge lock after all 14 pins are seated to prevent them from backing out under heavy equipment vibration.
Bill of Materials (BOM) & Pricing Estimates
Building a reliable, commercial-grade 14-pin motor harness requires specific components. Here is what you should budget for a professional build:
- OEM 14-Pin Cab Harness Kit (e.g., Bobcat #6672532 equivalent): $285 - $340
- TE Connectivity DT14-00PA Receptacle & Pins: $22 - $35
- Gigavac GX14BAB Contactor: $65 - $85
- 1N5408 Flyback Diode & Heat Shrink: $5 - $10
- 10 AWG & 16 AWG SAE J1128 Primary Wire (50ft spools): $40 - $60
- Total Estimated Cost: $417 - $530
Troubleshooting & Edge Cases
Issue: The motor stutters or the solenoid 'chatters' rapidly.
Diagnosis: Voltage drop. If you used 14 AWG wire for a 40A motor, the wire resistance is causing the voltage at the motor to drop below 10V under load, causing the internal thermal breaker to trip and reset rapidly. Fix: Upgrade to 8 AWG wire for the main power circuit.
Issue: The skid steer throws an 'Aux Output Short' or 'Open Circuit' fault code on the LCD.
Diagnosis: Modern ECMs monitor the amperage draw of the Aux pins. If the contactor coil draws too little current (under 0.5A), the ECM thinks the wire is broken. Fix: Install a 10-ohm, 5-watt dummy load resistor in parallel with the contactor coil to trick the ECM into reading a normal solenoid load.
Expert FAQ
Can I use a standard 40A automotive relay instead of a Gigavac contactor?
While a standard $15 Bosch-style 40A relay will work on paper, it is not recommended for skid steer environments. Automotive relays are not sealed against the high-pressure water and caustic fertilizers used in agriculture and landscaping. The contacts will corrode, weld shut, and cause your attachment motor to run continuously even when the machine is off. Always use hermetically sealed contactors for heavy equipment.
How do I configure the skid steer ECM to recognize the 14-pin motor?
You must enter the machine's Admin Panel (often requiring a passcode or dealer laptop) and set the Aux 1 output to 'Momentary' or 'Latch' depending on your preference, and ensure the maximum amperage limit is set to match your contactor coil draw (usually 2A). For detailed navigation steps, refer to the SAE International J1939 network standards and your specific OEM diagnostic manual.
What is the purpose of the CAN-H and CAN-L pins on the 14-pin connector?
These pins are reserved for 'smart' attachments that require digital communication with the skid steer's main display. Examples include GPS-guided dozer blades, automated trenchers with depth sensors, and advanced forestry mulchers that auto-adjust hydraulic pressure based on rotor RPM. Standard 12V sweep motors do not use these pins.