
Decoding the 110 Electrical Wiring Diagram for Modern Appliances
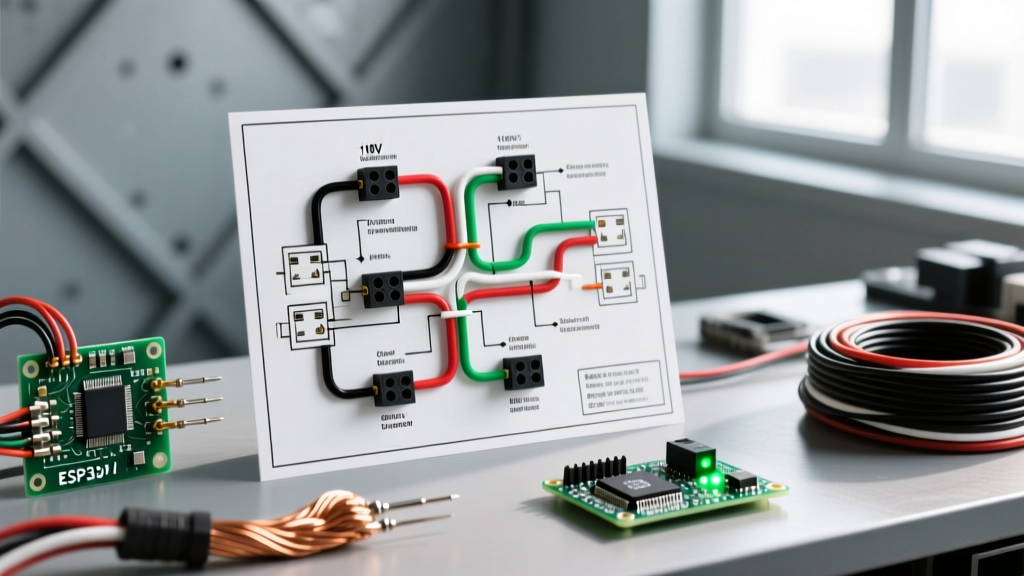
When homeowners and DIY enthusiasts search for a 110 electrical wiring diagram, they are usually looking to install a dedicated circuit for a major household appliance. However, before pulling any wire, it is critical to address a pervasive industry misnomer: in North America, standard residential single-phase power is nominally 120V, not 110V. While older texts and colloquial DIY forums still reference '110V', the modern electrical grid delivers 120V to your receptacles. Understanding this distinction is the first step in safely interpreting any 110 electrical wiring diagram and selecting the correct components for your appliance circuit.
Wiring a dedicated 120V appliance circuit—whether for a high-draw window air conditioner, a garage refrigerator, or a hardwired garbage disposal—requires strict adherence to the National Electrical Code (NEC). A poorly executed circuit can lead to voltage drop, thermal creep at terminals, and catastrophic arc faults. This guide provides a deep-dive tutorial on sizing, routing, and terminating a dedicated 20-Amp 120V appliance circuit, complete with real-world 2026 material costs and exact torque specifications.
Safety Warning: Always de-energize the main panel before working on branch circuits. Use a non-contact voltage tester (such as the Fluke 2AC-II) and a multimeter to verify zero potential at the bus bar before making physical contact with any conductors.
Appliance Load Calculation and Circuit Sizing
The foundation of any accurate 110 electrical wiring diagram is proper load calculation. The NEC requires that continuous loads (appliances expected to run for 3 hours or more) be derated to 80% of the circuit breaker's capacity. Therefore, a 20-Amp breaker can only safely handle a continuous load of 16 Amps (1,920 Watts at 120V).
Below is a reference matrix for common 120V appliances, detailing their typical wattage, required breaker size, and the minimum copper wire gauge mandated by the National Fire Protection Association (NFPA).
| Appliance Type | Typical Wattage | Max Amp Draw | Required Breaker | Min. Wire Gauge (Copper) |
|---|---|---|---|---|
| Standard Refrigerator | 400W - 800W | 6.5A | 15A or 20A | 14 AWG (12 AWG preferred) |
| Large Window AC (12,000 BTU) | 1,200W - 1,500W | 12.5A | 20A | 12 AWG |
| Countertop Microwave | 1,000W - 1,800W | 15.0A | 20A | 12 AWG |
| Hardwired Garbage Disposal | 750W - 1,200W | 10.0A | 15A or 20A | 14 AWG (12 AWG preferred) |
| Portable Space Heater | 1,500W | 12.5A | 20A | 12 AWG |
Note: While 14 AWG is legally permitted for 15A circuits, most professional electricians in 2026 exclusively pull 12 AWG (12/2 NM-B) for all 120V appliance receptacles to minimize voltage drop and future-proof the circuit for higher-draw devices.
Tools and Materials for a 20A Appliance Circuit
To execute this wiring tutorial, you will need commercial-grade components. Avoid big-box store contractor packs; opt for spec-grade devices that feature heavy-duty brass contacts and glass-filled nylon bodies.
- Wire: Southwire 12/2 NM-B (Romex) with ground. 2026 Pricing: ~$0.85 per foot.
- Breaker: Siemens 20A Single-Pole (Model Q120) or Eaton BR120, depending on your panel brand. Cost: ~$7.50.
- Receptacle: Leviton 20A Tamper-Resistant Duplex (Model R62-05320-000). Cost: ~$4.25.
- Tools: Klein Tools 11055 wire strippers, Milwaukee M18 drill with 3/4-inch spade bit, and a CDI torque screwdriver.
Step-by-Step: Wiring a Dedicated 20A 120V Appliance Receptacle
Step 1: Panel Preparation and Breaker Installation
Shut off the main breaker. Identify an empty slot on the 120V bus bar. Strip 3/4 inch of insulation from the black (hot) conductor of your 12/2 NM-B cable. Insert the wire into the terminal of the Siemens Q120 breaker and tighten the set screw. Critical E-E-A-T Detail: Do not just hand-tighten. Use a torque screwdriver set to 14 in-lbs (the standard specification for most 20A residential breakers). Under-torqued connections cause thermal expansion and contraction cycles, leading to arcing and eventual breaker failure.
Step 2: Routing and Securing the 12/2 NM-B Cable
Drill through the framing members using a 3/4-inch spade bit, keeping holes at least 1.25 inches from the edge of the stud to prevent drywall screw punctures. Run the 12/2 cable from the panel to the appliance location. According to NEC Article 334.30, NM-B cable must be secured within 8 inches of the panel and every 4.5 feet thereafter using approved cable staples. Do not overtighten the staples, as crushing the PVC jacket compromises the dielectric strength of the insulation.
Step 3: Terminating the Leviton 20A Receptacle
At the receptacle box, leave at least 6 inches of working conductor length. Strip the outer PVC jacket, being careful not to nick the inner wire insulation. Strip exactly 3/4 inch of insulation from the black, white, and bare copper wires.
- Ground: Loop the bare copper wire clockwise around the green grounding screw and tighten to 14 in-lbs.
- Neutral: Connect the white wire to the silver terminal screw. Never use the back-stab (push-in) connectors on the back of the receptacle. Back-stabs rely on a tiny spring-loaded brass clip that loses tension over time, causing high-resistance faults.
- Hot: Connect the black wire to the brass terminal screw. Ensure no bare copper is exposed outside the terminal cup, and no insulation is trapped under the screw head.
For high-draw appliances like window AC units, you can also 'pigtail' the wires using Wago 221 3-conductor lever nuts to keep the box uncluttered and ensure a robust mechanical connection.
Common Wiring Mistakes and Failure Modes
When interpreting a 110 electrical wiring diagram, DIYers frequently make errors that pass initial inspection but fail under load. According to data from the Occupational Safety and Health Administration (OSHA), electrical failures are a leading cause of residential fires. Watch out for these specific failure modes:
- Reverse Polarity: Swapping the black (hot) and white (neutral) wires. This leaves the appliance energized even when switched off, posing a severe shock hazard during maintenance.
- Shared Neutrals (Multi-Wire Branch Circuits): Accidentally tying the neutral of your new appliance circuit to an existing kitchen circuit. If the hot legs are on the same phase, the shared neutral will carry the combined amperage, overheating the 12 AWG wire and risking a fire.
- Bootleg Grounds: Jumpering the neutral terminal to the ground screw on a 2-prong to 3-prong retrofit. This is a severe code violation that will energize the appliance chassis if the neutral fails.
2026 NEC Code Requirements for Appliance Circuits
The NEC is updated every three years, and local jurisdictions adopt these codes on varying timelines. As of the 2023 and 2026 code cycles, standard overcurrent protection is no longer sufficient for many appliance circuits.
If your 110 electrical wiring diagram is for an appliance located in a kitchen, laundry area, bathroom, or garage, you are legally required to install combination-type AFCI/GFCI protection. This can be achieved by installing a Dual Function (DF) breaker at the panel (such as the Siemens Q120DF, costing approximately $55) or by using a GFCI receptacle at the first outlet on the run paired with an AFCI breaker. Always consult your local Authority Having Jurisdiction (AHJ) before finalizing your circuit design, as local amendments frequently supersede national baselines.
Frequently Asked Questions
Can I use 14 AWG wire on a 20A appliance circuit?
No. NEC Article 240.4(D) strictly limits 14 AWG copper wire to a maximum 15A overcurrent device. If you are installing a 20A breaker for a high-draw appliance, you must use a minimum of 12 AWG wire. Using 14 AWG on a 20A breaker creates a severe fire hazard, as the wire will melt before the breaker trips.
Why does my appliance plug have one prong turned sideways?
That is a NEMA 5-20P plug configuration. The horizontal blade indicates a 20-Amp rating. It is designed this way so that 20A appliances cannot be plugged into standard 15A (NEMA 5-15R) receptacles, preventing circuit overloads. However, a 20A Leviton receptacle features a T-shaped neutral slot that accepts both 15A and 20A plugs.
How do I calculate voltage drop for a long appliance run?
For runs exceeding 50 feet from the panel to the appliance, voltage drop becomes a factor. The U.S. Department of Energy notes that motors (like those in AC units and refrigerators) suffer reduced efficiency and increased heat generation when subjected to low voltage. For a 100-foot run powering a 12A window AC, you should upgrade from 12 AWG to 10 AWG wire to keep the voltage drop below the recommended 3% threshold.