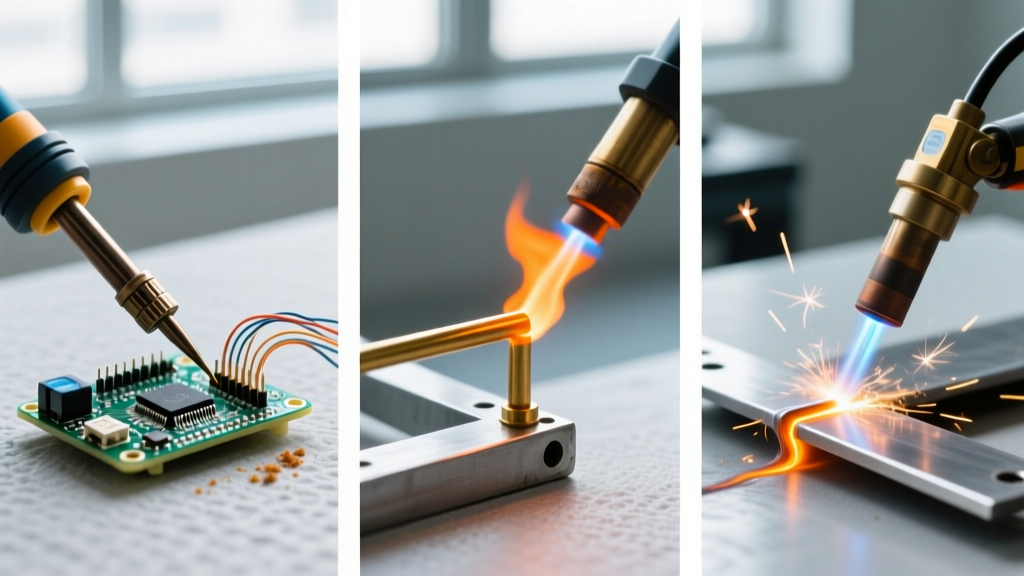

The Physics of a Failed Sweat Joint
When soldering pipes, specifically Type L or Type M copper, the process relies entirely on capillary action. The molten solder is drawn into the microscopic gap between the pipe and the fitting by surface tension. However, when a joint fails—manifesting as a pinhole leak, a weeping seam, or a brittle cold joint—the root cause almost always traces back to thermal mismanagement or surface contamination. According to the Copper Development Association, improper heating and failure to clean the oxidation layer are responsible for over 85% of field solder failures.
This troubleshooting guide bypasses basic 'how-to' advice and dives directly into the metallurgical and thermodynamic failure modes of copper pipe soldering, providing actionable repair protocols for DIYers and junior plumbers alike.
Diagnostic Matrix: Symptom to Root Cause
Before cutting out a failed joint, diagnose the exact failure mode. Use this matrix to identify why your soldering pipes attempt failed.
| Visual Symptom | Root Cause | Immediate Fix Strategy |
|---|---|---|
| Solder balls up and refuses to wick into the fitting | Water in the line acting as a heat sink; pipe temp never reaches 450°F. | Drain line completely; use water-soluble pipe plugs or a wet-vac. |
| Solder coats the outside but joint leaks under pressure | Cold joint; flux burnt off before solder was applied, breaking capillary action. | Cut out joint, re-clean with 120-grit, apply fresh water-soluble flux. |
| Green/white crust forming around joint weeks later | Acid flux residue left on pipe; micro-leak weeping water. | Neutralize with baking soda; if weeping persists, cut and re-solder. |
| Solder drips down the pipe in thick 'icicles' | Overheating the fitting; applying solder directly to the torch flame. | Reduce heat time; apply solder to the opposite side of the flame contact. |
Failure Mode 1: The Latent Heat Sink (Water in the Line)
The single most common reason for failure when soldering pipes in an existing home is residual water. Even a few drops of water trapped in the elbow or tee will ruin the joint. Water boils at 212°F (100°C). As it turns to steam, it absorbs massive amounts of latent heat, preventing the copper from reaching the 450°F+ required to melt lead-free solder. Furthermore, the expanding steam creates positive pressure inside the fitting, literally blowing the molten solder out of the capillary space.
The 'Bread Trick' vs. Professional Pipe Plugs
Many internet forums recommend stuffing white bread into the pipe to block water, claiming the bread will dissolve when the water is turned back on. Do not do this. While it may dissolve eventually, bread fragments frequently clog aerators, ruin washing machine solenoid valves, and block cartridge faucets. Instead, use professional water-soluble pipe plugs (like Oatey Caps) or a rigid shop-vac suction method.
Pro-Tip: If you cannot drain the line below the joint, open the highest and lowest faucets in the house to create a vacuum break, then use a wet/dry vac on the open pipe end to pull residual moisture out before applying the torch.
Failure Mode 2: Burnt Flux and Cold Solder Joints
Flux is a chemical cleaning agent designed to dissolve copper oxide and prevent new oxidation while the metal is hot. Standard paste flux (like Harris Stay-Clean or Oatey No. 5) is designed to activate between 350°F and 450°F. If you apply too much heat—pushing the copper past 800°F—the flux carbonizes, turning into a hard, black, glassy resin. Once flux burns, capillary action is dead. The solder will melt and stick to the outside of the pipe, but it will not wick inside the fitting, resulting in a 'cold joint' that will fail the moment municipal water pressure (typically 60-80 PSI) hits it.
How to Fix a Burnt Flux Joint
- Do not just add more solder. The joint must be disassembled.
- Heat the fitting evenly until the old solder melts, then pull the pipe out with channel-lock pliers.
- While hot, wipe the fitting clean with a heavy cotton rag.
- Let the copper cool, then aggressively sand both the pipe exterior and fitting interior with 120-grit sandpaper or a dedicated copper wire brush until it shines like a new penny.
- Apply a thin, even layer of tinning flux (which contains microscopic solder particles to aid beginners) before reassembling.
Failure Mode 3: Solder Bridging and Overfeeding
When soldering pipes, beginners often suffer from 'solder anxiety,' fearing the joint hasn't taken enough material. They feed the solder wire continuously, resulting in massive blobs or 'icicles' on the bottom of the joint. This is not just messy; it indicates that the joint is likely overfilled, which can restrict water flow in 1/2-inch lines, causing turbulence and eventual pinhole leaks from water hammer effects.
The Measurement Rule: For standard 95/5 Tin-Antimony lead-free solder, a properly heated 1/2-inch copper joint will wick exactly 3/4 of an inch of solder wire. A 3/4-inch joint will wick exactly 1 inch. When you see a continuous, shiny silver ring form entirely around the seam (the 'fillet'), stop feeding immediately.
Step-by-Step Joint Excision and Repair Protocol
If a joint is actively leaking or has failed a pressure test, you cannot simply melt it and add more solder. The internal oxidation and trapped water guarantee a second failure. You must excise and replace.
- Step 1: Cut Out the Failure. Use a mini tube cutter (not a hacksaw, which leaves burrs and non-square edges) to cut the pipe at least 2 inches away from the failed fitting on both sides.
- Step 2: Prep the Replacement. Measure the gap. Cut a new piece of Type L copper pipe and two slip couplings. Deburr the inside and outside of all cuts using a reaming tool. A left-over internal burr restricts flow and causes localized erosion-corrosion.
- Step 3: Dry Fit and Mark. Assemble the new pipe and couplings without flux. Use a Sharpie to draw a line across the joint so you know exactly how deep the pipe seats inside the coupling (usually 3/4-inch for standard fittings).
- Step 4: Flux, Assemble, and Heat. Apply flux to the marked depth. Push together, give a quarter-turn to spread the flux, and heat the fitting, not the pipe. Apply the torch to the middle of the coupling, keeping the flame moving.
- Step 5: The Touch Test. Remove the flame and touch the 95/5 solder to the joint seam. If it melts instantly and wicks inward, the temperature is correct. If it sticks like gum, apply heat for 3 more seconds.
Tooling Up: Modern Torch and Solder Recommendations
The days of relying solely on standard propane are fading for professional plumbing repairs, especially in tight spaces or when working near framing where heat shields are mandatory.
| Equipment | Model Recommendation | Estimated Cost (2026) | Best Use Case |
|---|---|---|---|
| High-Heat Torch | Bernzomatic TS8000 (MAP-Pro Gas) | $60 - $75 | Soldering 3/4' to 1-1/4' pipes; fast heat recovery in cold basements. |
| Standard Torch | Bernzomatic TS4000 (Propane) | $35 - $45 | 1/2' residential branch lines; tight joist bays. |
| Lead-Free Solder | Oatey Safe-Flo 95/5 Silver Bearing | $35 - $42 (8oz spool) | Potable water lines. Meets all EPA lead-free plumbing standards. |
| Flux | Oatey H-2O 5 Water-Soluble | $8 - $12 (8oz tub) | Standard sweating; washes clean with water to prevent copper pitting. |
A Note on Induction Heating
If you are doing extensive repiping or working in high-fire-risk areas (like inside walls with drywall paper exposed), consider investing in a flameless induction soldering tool. These devices use electromagnetic fields to heat only the copper fitting, leaving the surrounding wood and insulation completely cool. While the upfront cost is high ($300+), the elimination of fire-watch protocols and drywall scorching makes it invaluable for high-end remodels.
Final Pressure Testing Protocol
Never assume a repaired joint is secure just because it looks shiny. After the copper has cooled to ambient temperature (do not quench with water, as thermal shock can micro-fracture the solder crystalline structure), turn the main water valve back on slowly. Open the highest faucet in the house to bleed trapped air, which can cause destructive water hammer when the valve is finally closed. Inspect the joint with a dry paper towel; even a microscopic weep will show up instantly as a dark spot on the paper.