
Setting the Scene: The Visual Approach to Soldering Copper Wire
Welcome to the director's cut of electrical assembly. When it comes to soldering copper wire, reading a manual is never quite enough. You need to see the flux activate, watch the solder flow via capillary action, and understand the visual cues of a perfect metallurgical bond. This guide is structured as a visual walkthrough—complete with camera cues, macro-level details, and precise thermal metrics—to help you master the art of the copper solder joint.
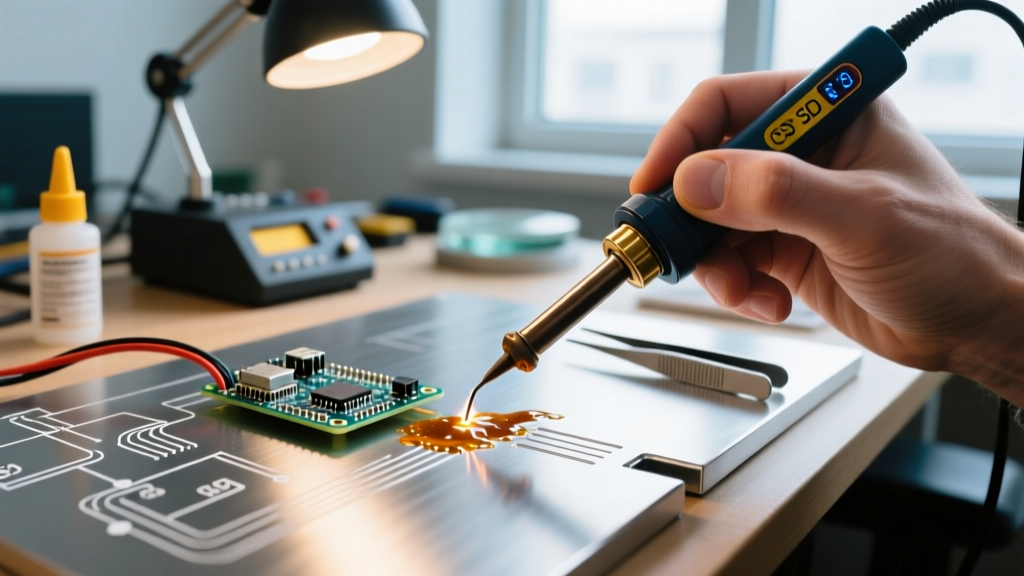
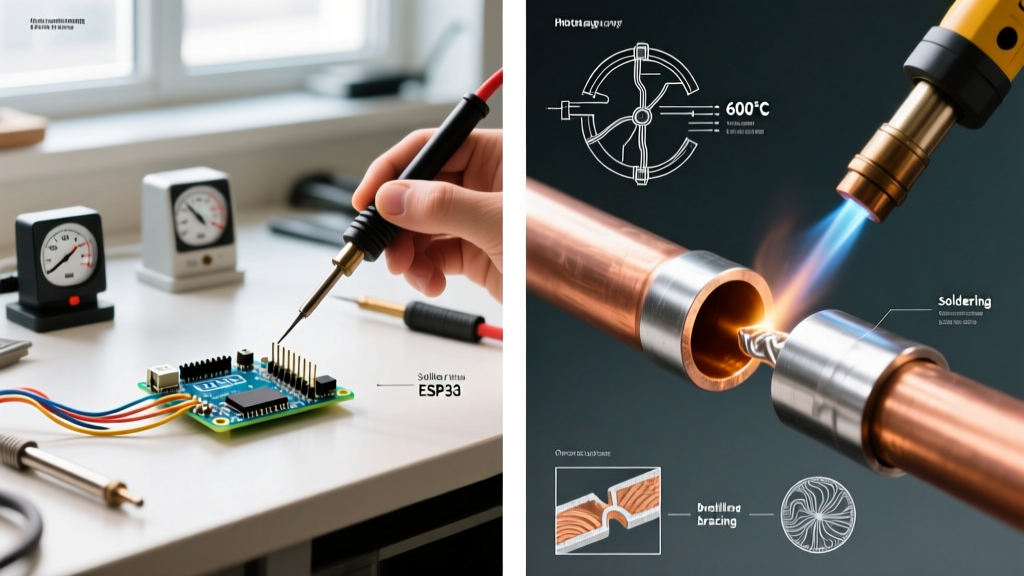
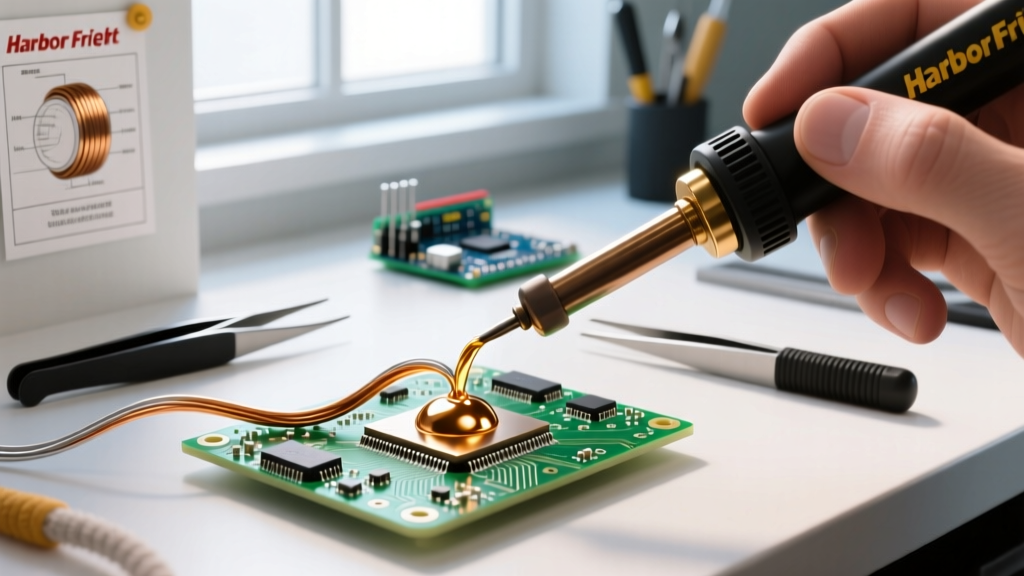
🎥 Camera Cue: Wide shot of the workbench. The lighting is bright and diffused. In the center sits a digital soldering station, a spool of rosin-core solder, and a bundle of stripped copper wire. The camera slowly pushes in to a macro view of the iron tip.
The Gear Setup: 2026 Workbench Standards
Before we call "action," we need to ensure our tools are calibrated for modern electronics. Using outdated or underpowered equipment is the leading cause of cold joints and damaged wire insulation.
| Equipment | Recommended Model (2026) | Specs & Settings | Approx. Cost |
|---|---|---|---|
| Soldering Station | Weller WE1010NA | 70W, Set to 315°C (600°F) for 63/37 alloy | $125 |
| Solder Wire | Kester 44 Rosin-Core | 63/37 Sn/Pb Eutectic, 0.031" (0.8mm) diameter | $38 / lb |
| Flux (Supplemental) | MG Chemicals 8341 | No-Clean, Tacky Flux in 10cc Syringe | $18 |
| Copper Wire | Standard Hook-Up Wire | 18 AWG Stranded & 22 AWG Solid, PVC Jacket | $0.15 / ft |
Scene 1: Stripping and Prepping the Copper
The foundation of a reliable joint starts before the iron even heats up. Copper oxidizes rapidly when exposed to air, and mechanical damage during stripping compromises the wire's tensile strength.
Visual Checkpoint: The Strip Length
For standard PCB through-holes or terminal blocks, strip exactly 6mm (1/4 inch) of insulation. Stripping too much leaves exposed, uninsulated copper that can cause short circuits; stripping too little results in insulation getting trapped in the solder joint, creating a high-resistance failure point.
🎥 Camera Cue: Extreme close-up (Macro). The wire stripper jaws close around the 18 AWG wire. The camera focuses on the copper strands as the insulation slides off. Notice that not a single copper strand is nicked or scraped.
Solid vs. Stranded: A Visual Comparison
- Solid Copper Wire (e.g., 22 AWG): Rigid and holds its shape. Requires minimal prep. Do not scrape the surface with a knife, as this creates grooves where the wire can easily snap under vibration.
- Stranded Copper Wire (e.g., 18 AWG): Flexible but prone to fraying. Must be tinned immediately after stripping to bind the strands together before insertion into a terminal.
Scene 2: Tinning the Wire (The Thermal Bridge)
Tinning is the process of pre-coating the bare copper with a thin layer of solder. This prevents oxidation and ensures a rapid thermal connection when making the final joint.
- Apply Heat, Not Solder: Touch the flat face of the iron tip to the bare copper wire. Hold for 1 to 1.5 seconds. You are heating the copper, not the iron.
- Feed the Solder: Bring the Kester 44 solder wire to the opposite side of the copper wire, directly where the iron tip is transferring heat through the metal.
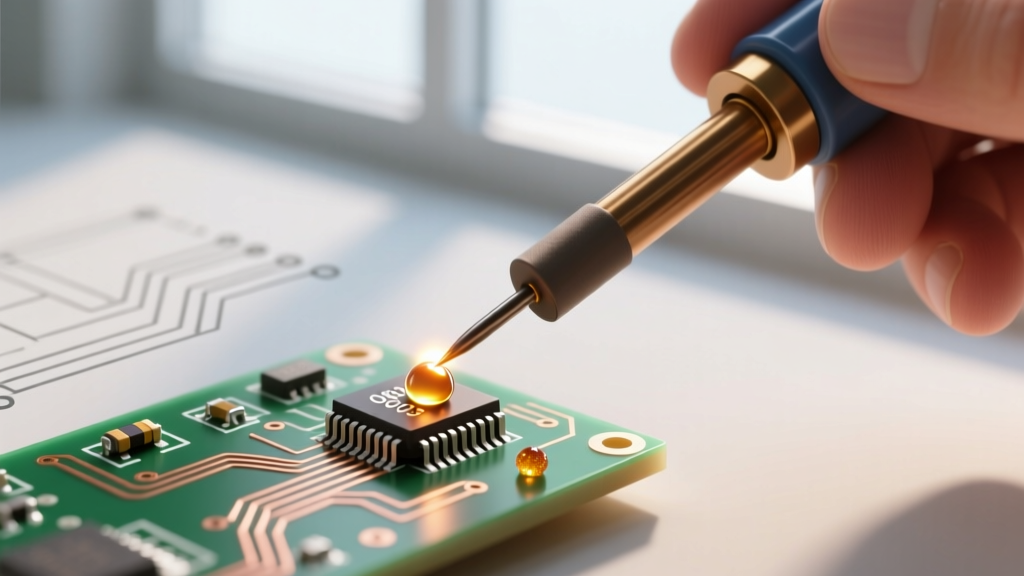
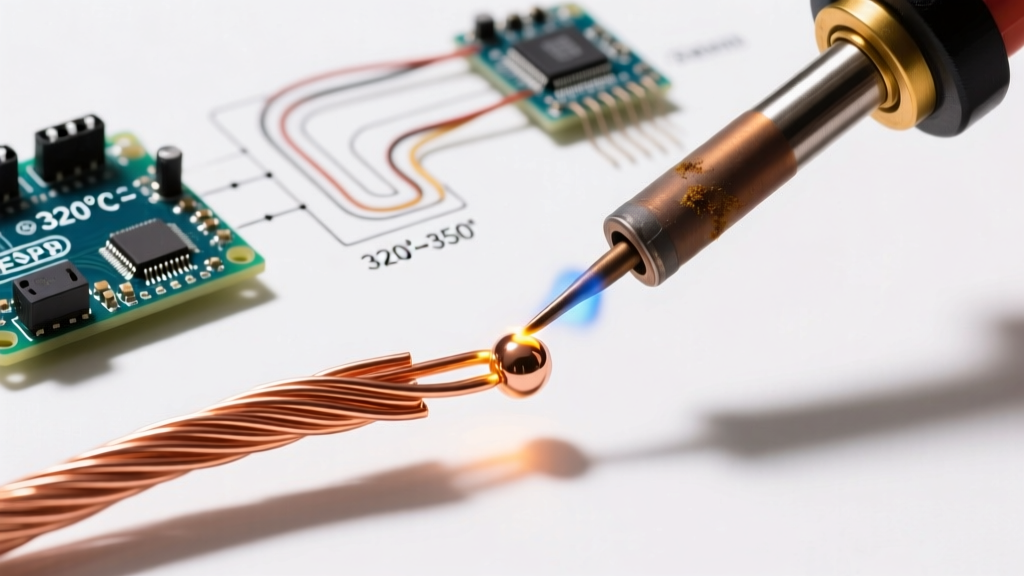
- Watch the Flux: As the copper reaches ~183°C (the melting point of 63/37 solder), the rosin flux will bubble and clean the copper oxide. The solder will instantly wick into the stranded wire via capillary action.
🎥 Camera Cue: Slow-motion playback. The silver solder touches the copper. A tiny wisp of white smoke (flux activation) rises. The dull, peach-colored copper instantly transforms into a shiny, silver-coated wire. The solder stops exactly at the edge of the PVC insulation, aided by the heat-sink effect of the jacket.
Scene 3: Making the Final Connection
Whether you are soldering copper wire to a PCB pad, a brass terminal, or splicing two wires together, the thermal mechanics remain identical. The goal is to achieve a metallurgical intermetallic layer between the copper and the tin/lead alloy.
The "Heat Both" Technique
The most common beginner mistake is melting the solder on the iron tip and attempting to "paint" it onto the copper wire. This creates a cold joint. Solder only flows toward the heat source.
Director's Note on Thermal Mass:If you are soldering a thick 14 AWG copper wire to a large ground plane, the copper will act as a massive heat sink. You must increase your iron temperature to 345°C (650°F) or use a larger chisel tip (like the Weller ETA) to increase the surface area contact. A standard 0.031" solder wire will freeze instantly if the thermal mass of the copper isn't properly saturated with heat.
Scene 4: Inspection and the Perfect Fillet
How do you know if your joint is structurally and electrically sound? We look to the IPC J-STD-001 standard, the globally recognized benchmark for soldered electrical assemblies. A perfect joint tells a visual story of proper wetting.
| Visual Trait | Target / Acceptable (IPC Class 2) | Defect / Reject |
|---|---|---|
| Wetting Angle | Less than 90°. The solder slopes gently down to the copper/pad like a concave volcano. | Greater than 90°. The solder balls up like water on a waxed car (dewetting). |
| Surface Finish | Smooth, shiny, and concave (for 63/37 eutectic alloys). | Dull, grainy, or matte (indicates a disturbed joint during cooling). |
| Contour | The outline of the copper wire is clearly visible beneath the solder fillet. | Excessive solder completely buries the wire in a massive, convex blob. |
| Flux Residue | Clear, amber, or lightly browned (if not cleaned). | Black, charred, or carbonized (indicates severe overheating). |
Troubleshooting: When the Visuals Go Wrong
Even seasoned technicians encounter bad takes. Here is how to diagnose and fix the most common visual defects when soldering copper wire.
1. The Disturbed (Grainy) Joint
The Visual: The solder looks frosty, cracked, or matte gray instead of shiny.
The Cause: The copper wire moved while the solder was transitioning from its liquidus to solidus state (the "plastic" phase). Because 63/37 is a eutectic alloy, this phase is very brief, but even a micro-millimeter of vibration will fracture the crystalline structure.
The Fix: Reheat the joint completely until the solder is fully liquid, hold the wire absolutely still with tweezers or a "helping hands" tool, and let it cool naturally for 3 seconds.
2. Dewetting (The Retracted Solder)
The Visual: The solder pulls back from the edges of the copper, forming a thick bead that looks ready to snap off.
The Cause: Severe oxidation on the copper wire, or the flux was burned off before the copper reached soldering temperature.
The Fix: Do not just add more solder. Clean the joint with isopropyl alcohol (IPA) and a brass brush, apply fresh MG Chemicals 8341 tacky flux, and reheat.
Safety and Fume Extraction
While the visual focus is on the copper and solder, the invisible byproduct of the process requires equal attention. The rosin flux in Kester 44 releases colophony fumes when heated, which are known respiratory sensitizers. Furthermore, if you are working with leaded alloys, proper hygiene is non-negotiable.
🎥 Camera Cue: Pan up from the soldering iron to the articulated fume extractor arm positioned exactly 15cm (6 inches) away from the joint, pulling the white smoke upward and away from the operator's breathing zone.
According to guidelines published by CDC NIOSH, local exhaust ventilation (LEV) is critical to prevent occupational asthma and respiratory irritation associated with soldering flux fumes. Always use a HEPA and activated carbon filter fan, and never blow on a joint to cool it down, as this disperses particulates and can cause micro-fractures in the cooling alloy.
Final Cut: Mastering the Craft
Soldering copper wire is a dance of thermodynamics, metallurgy, and timing. By treating your workbench like a macro-photography studio—paying intense visual attention to the flux activation, the wetting angle, and the thermal mass of your specific wire gauge—you transition from simply "sticking wires together" to engineering reliable, IPC-compliant electrical connections. Keep your tip tinned, your copper clean, and let the heat do the work.