
The Metallurgical Barrier: Why Stainless Steel Resists Solder
Soldering copper to stainless steel is a notorious rite of passage for DIY electronics fabricators, custom sensor builders, and RC hobbyists. While copper is highly receptive to standard rosin-core solder, stainless steel (SS) presents a unique metallurgical barrier. The corrosion resistance that makes stainless steel so valuable is the exact same property that makes it difficult to solder: the passive chromium oxide layer. This microscopic layer forms instantly when the metal is exposed to oxygen, preventing molten solder from wetting the surface.
Standard electronics fluxes (R, RMA, or RA rosin) are simply not aggressive enough to penetrate this oxide layer. To successfully join copper to stainless steel, beginners must pivot to specialized active acid fluxes and precise thermal management. This walkthrough will guide you through the exact materials, temperatures, and techniques required to achieve a bulletproof, electrically conductive, and mechanically sound joint in 2026.
Essential Gear & Materials Matrix
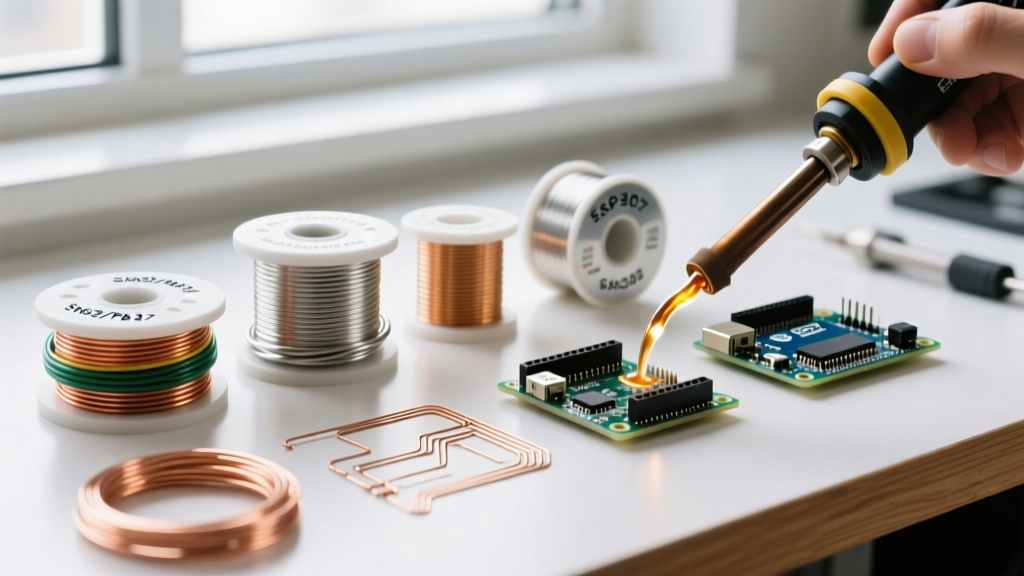
Using the wrong solder or flux is the number one reason beginners fail at this specific material combination. Below is the recommended loadout for structural and electromechanical DIY projects (such as custom thermocouple housings or heavy-duty battery tab connections).
| Category | Recommended Product (2026 Specs) | Estimated Cost | Purpose |
|---|---|---|---|
| Soldering Station | Weller WE1010NA (70W Digital) | $125.00 | Provides rapid thermal recovery needed for high-mass joints. |
| Solder Alloy | Kester Sn96.5/Ag3.5 (0.031" Wire) | $55.00 / lb | Lead-free, high-tensile strength, excellent wetting on SS. |
| Flux | Harris Stay-Clean Liquid Flux | $14.00 | Zinc-chloride acid flux to dissolve chromium oxide. |
| Abrasive | 220-Grit Silicon Carbide Paper | $8.00 / pack | Mechanical removal of the passive oxide layer. |
Step-by-Step Walkthrough: Achieving a Bulletproof Joint
Step 1: Mechanical Preparation (The Golden Rule)
Before any chemical flux touches the metal, you must mechanically disrupt the chromium oxide layer on the stainless steel. Use your 220-grit silicon carbide sandpaper to scuff the joint area until it has a uniform, dull, matte finish. Do the same for the copper, though copper only requires removing surface tarnish.
Expert Warning: Never use standard steel wool or carbon-steel wire brushes on stainless steel. Doing so will embed microscopic free-iron particles into the SS surface. Over time, these iron particles will oxidize, causing galvanic corrosion and rust spots that compromise the integrity of your joint. Always use silicon carbide, aluminum oxide, or a dedicated brass brush.
Step 2: Chemical Activation
Apply a thin, even coat of Harris Stay-Clean (or a comparable zinc-chloride based liquid flux) to both the sanded stainless steel and the copper. According to The Harris Products Group, zinc-chloride fluxes become highly active at temperatures exceeding 180°C, effectively dissolving the remaining oxide barriers that sanding missed.
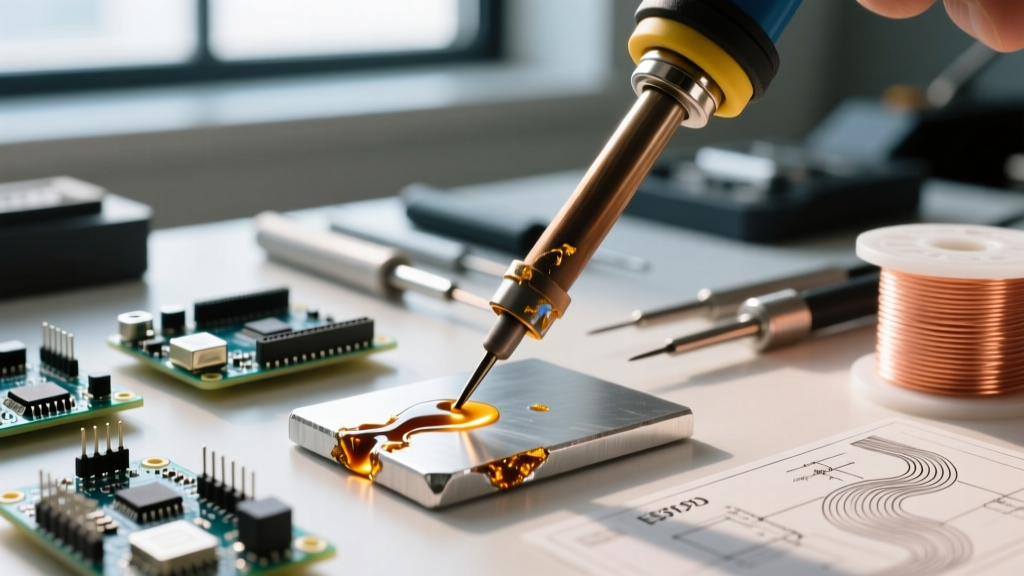
Step 3: Tinning the Stainless Steel (The Crucial Hurdle)
This is where most beginners fail. You cannot simply hold the two metals together and apply solder. You must "tin" (pre-coat) the stainless steel first.
- Set your Weller WE1010NA station to 260°C (500°F). This is the optimal working temperature for Sn96.5/Ag3.5 solder, which has a melting point of 221°C.
- Press the flat face of your iron tip directly onto the fluxed stainless steel.
- Wait 3 to 5 seconds for the metal to reach thermal equilibrium.
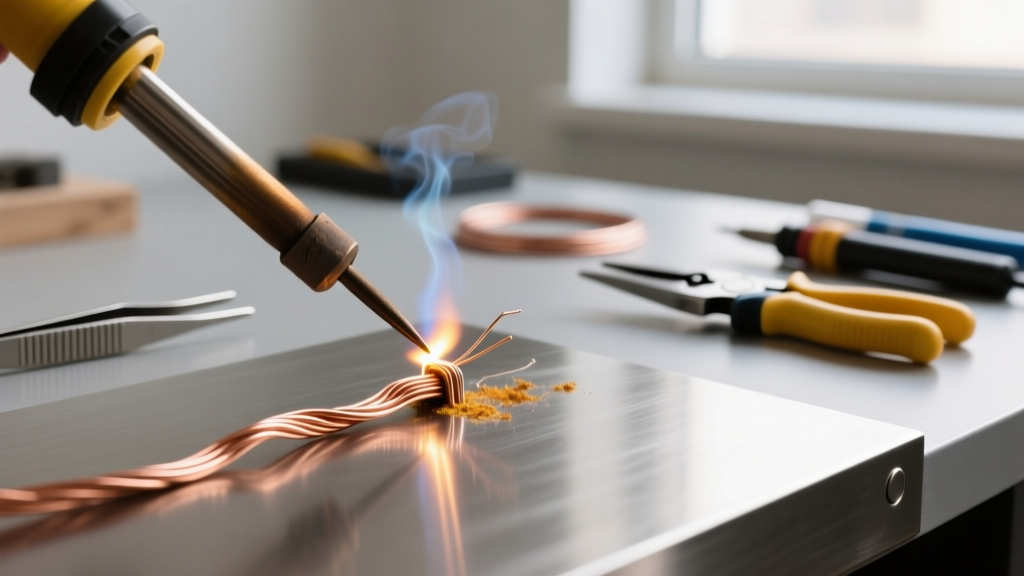
- Feed the Kester solder wire into the junction of the tip and the steel. The flux will bubble and smoke—this is normal.
- Once the solder flows and creates a shiny, silver puddle on the steel, remove the iron and let it cool. If the solder beads up like water on a waxed car, your oxide layer was not fully removed. Re-sand and repeat.
Step 4: Tinning the Copper
Copper is highly thermally conductive and easily accepts solder. Apply a small amount of your acid flux (or standard rosin, if you prefer to keep acid away from the copper side, though using the same flux is fine for this mechanical joint) and tin the copper wire or tab. Ensure a smooth, shiny coat of solder covers the mating surface.
Step 5: Sweating the Joint
Now that both surfaces are pre-tinned, you will "sweat" them together. Place the tinned copper directly against the tinned stainless steel. Apply the soldering iron tip to the copper side of the joint. Because copper has a thermal conductivity of roughly 400 W/m·K compared to stainless steel's 15 W/m·K, heating the copper allows it to act as a thermal bridge, transferring heat evenly into the SS joint without burning the flux on the steel side. As the existing solder on both pieces melts, capillary action will draw the metals together. Hold perfectly still for 4 seconds until the solder solidifies into a dull, satin finish.
Troubleshooting Matrix: Diagnosing Joint Failures
Even with the right tools, environmental variables can cause issues. Use this matrix to diagnose your joint if it fails visual inspection.
| Failure Mode | Visual Symptom | Root Cause | Corrective Action |
|---|---|---|---|
| De-wetting / Beading | Solder rolls off the SS in discrete spheres. | Chromium oxide layer remains intact; flux was insufficient or expired. | Re-abrade with SiC paper, apply fresh acid flux, and increase dwell time by 2 seconds. |
| Flux Charring | Thick, black, crusty residue that won't wipe away. | Iron temperature exceeded 300°C, or the tip was held on the joint for >10 seconds. | Lower station temp to 250°C. Clean with isopropyl alcohol and re-flow with fresh solder. |
| Cold Joint | Joint looks dull, grainy, or cracked at the edges. | Movement occurred during the liquidus-to-solidus cooling phase, or insufficient thermal mass. | Re-heat the joint until the solder is fully liquid, hold completely still, and remove heat. |
Post-Solder Cleanup & Safety Protocols
Unlike standard electronics rosin flux, the zinc-chloride acid flux required for stainless steel is highly corrosive and electrically conductive when exposed to ambient humidity. If left on the joint, it will rapidly eat through the copper and degrade the connection over a matter of weeks.
According to guidelines from NASA's Electronic Parts and Packaging (NEPP) Program, aggressive flux residues must be neutralized and removed immediately after soldering. To do this:
- Mix a solution of baking soda (sodium bicarbonate) and warm water.
- Apply the solution to the joint using a stiff nylon brush. You will see it fizz as the alkaline baking soda neutralizes the acidic zinc chloride.
- Rinse thoroughly with distilled water.
- Dry the joint completely with compressed air or a lint-free cloth.
For applications requiring extreme environmental resistance, consider applying a conformal coating or marine-grade heat shrink over the finished, cleaned joint. When selecting alloys for harsh environments, always consult Kester's solder wire specifications to ensure the silver-bearing alloy you chose matches the mechanical stress requirements of your specific project.
Final Thoughts for Beginners
Soldering copper to stainless steel bridges the gap between standard electronics work and light metal fabrication. By respecting the metallurgy—specifically the chromium oxide barrier—and utilizing the thermal conductivity differences between the two metals, you can create joints that are as strong as they are conductive. Patience during the mechanical prep and tinning phases will save you hours of frustration and ensure your custom fabrications stand the test of time.