
The Crucial Shift: Electronics vs. Precious Metals
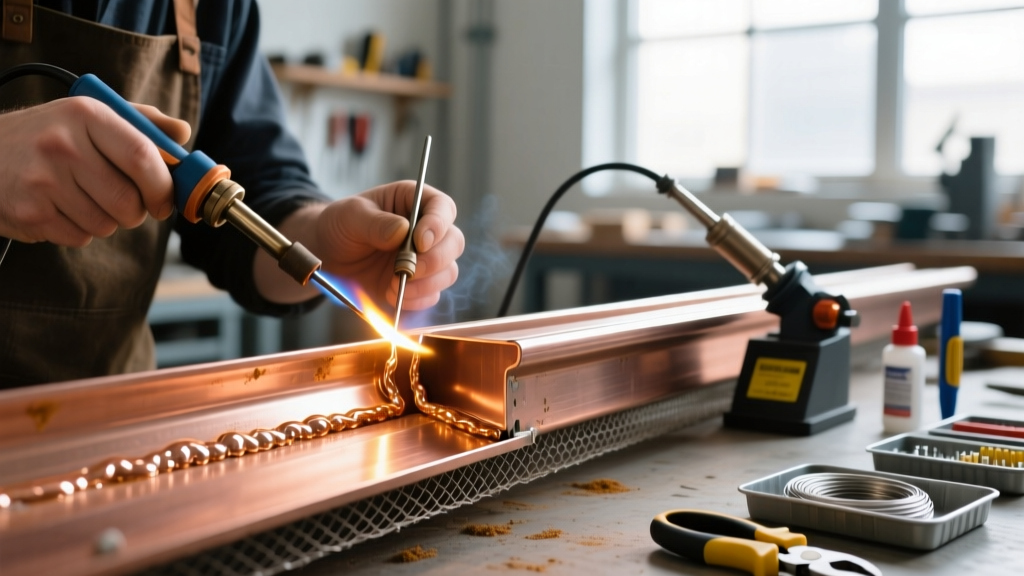
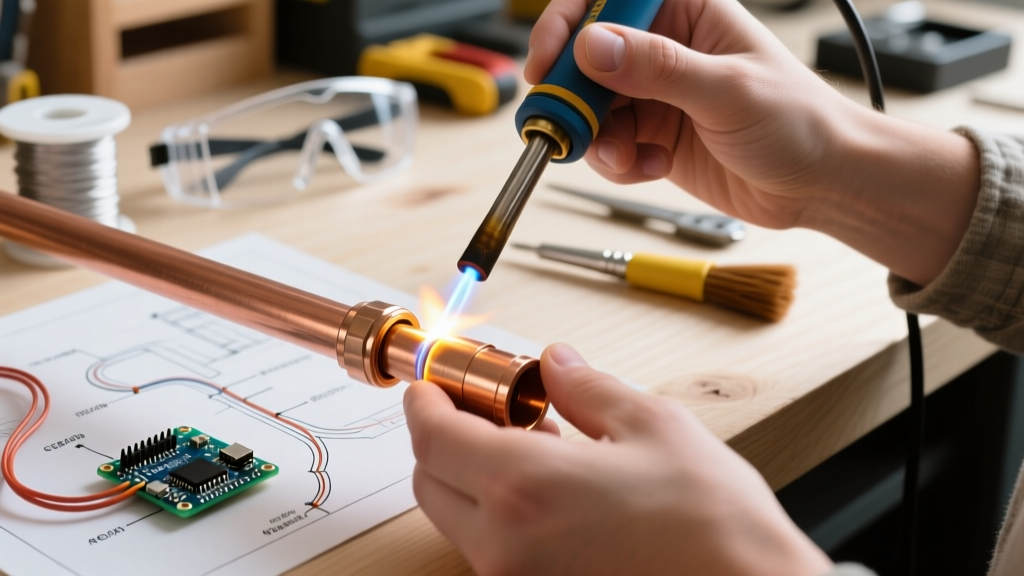
When electrical engineers, makers, and DIYers transition to soldering jewelry for beginners, the most frequent point of failure is treating precious metals like copper traces on a printed circuit board. Jewelry soldering is technically a form of brazing. Unlike electronics soldering, which relies on low-temperature tin/lead or SAC305 alloys to create electrical and mechanical bonds, jewelry soldering uses high-temperature silver or gold alloys that must flow via capillary action into perfectly flush joints.
Making the wrong assumptions about heat, flux, and joint preparation will result in melted gemstones, brittle joints, and ruined silver. Below, we break down the five most costly mistakes beginners make and provide actionable, professional-grade solutions.
| Parameter | Electronics Soldering | Jewelry Soldering (Silver/Gold) |
|---|---|---|
| Alloy Base | Tin/Lead (Sn60/Pb40) or Tin/Silver/Copper (SAC305) | Silver/Copper/Zinc (Ag/Cu/Zn) or Gold alloys |
| Melting Point | 360°F – 430°F (182°C – 221°C) | 1300°F – 1450°F (704°C – 788°C) |
| Flux Chemistry | Rosin (RMA) or No-Clean organic acids | Borax, Fluoride, or Boric Acid based |
| Joint Tolerance | Can bridge gaps (fillet creation) | Requires flush fit (max 0.003" gap for capillary action) |
Mistake 1: Using Electronics Solder on Precious Metals
The Failure Mode
Beginners often attempt to repair a broken silver chain or ring using a standard 60W electronics iron and 60/40 rosin-core solder. Not only will the iron fail to reach the necessary thermal mass to heat the silver, but the tin/lead solder will alloy poorly with the silver, creating a weak, brittle joint that will snap under minimal tension. Furthermore, lead contamination ruins the precious metal's purity, making it nearly impossible to properly re-solder or cast later.
The Expert Solution
You must use graded sterling silver solder. Silver solder is categorized by its flow temperature, allowing you to make multiple joints on a single piece without melting the previous ones. According to industry standards detailed by Rio Grande, a leading precious metals supplier, you should sequence your solder as follows:
- Hard Solder (1450°F / 788°C): Used for the very first joint (e.g., sizing a ring or closing a bezel).
- Medium Solder (1390°F / 754°C): Used for the second joint (e.g., attaching a bezel to a backplate).
- Easy Solder (1325°F / 718°C): Used for final attachments (e.g., adding jump rings or earring posts) and quick repairs.
Mistake 2: Misunderstanding Flux Burnout and Application
The Failure Mode
In electronics, flux is often built into the solder wire core. In jewelry, solder comes in bare sheets, wires, or pallions (pre-cut chips). Beginners frequently apply too little borax-based flux, or they hold the torch flame on the flux until it boils off completely before the metal reaches flow temperature. When the flux burns out, the silver instantly oxidizes, creating a black scale that physically blocks the solder from flowing.
The Expert Solution
Use a dedicated jewelry flux like Stay-Silv White Flux or Handy Flux. Apply a generous coating to the entire piece, not just the joint. Watch the flux's visual cues during heating:
- Boiling Phase: The flux bubbles as water evaporates. Keep the flame moving.
- Crusty Phase: The flux turns white and crusty. The metal is roughly 800°F.
- Glassy Phase: The flux melts into a clear, glassy liquid. This means the metal is near 1100°F and ready for the solder to flow at 1300°F+.
Pro Tip: If the flux turns dark brown or black before the solder flows, it has burned out and absorbed too much carbon from a reducing flame. Quench the piece, re-pickle it to strip the oxidation, and start over with fresh flux.
Mistake 3: Poor Joint Preparation and Gap Tolerance
The Failure Mode
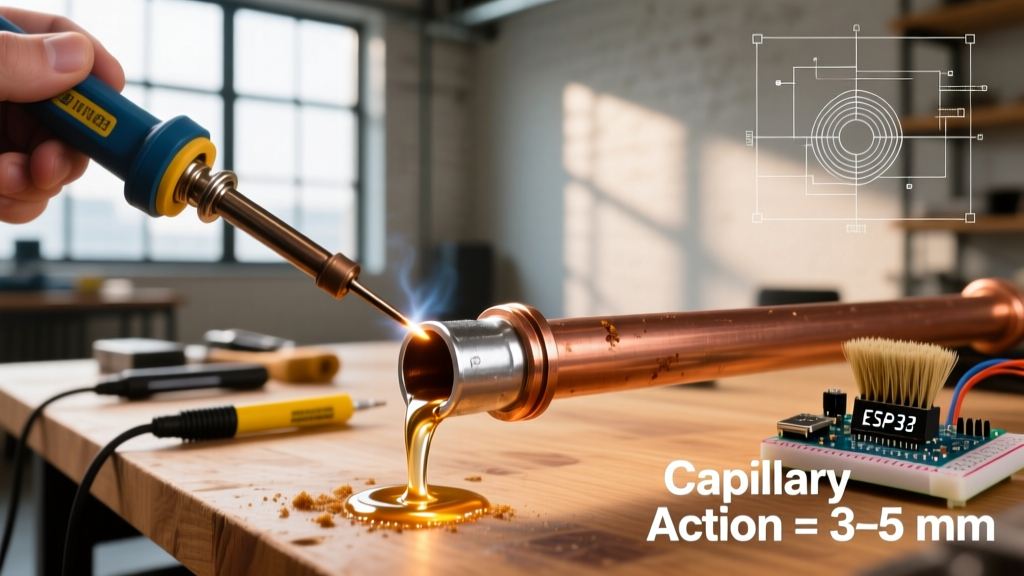
Electronics solder is designed to fill gaps and create structural fillets. Silver solder will not bridge gaps. It relies entirely on capillary action, meaning it is drawn into the joint only if the two pieces of metal are virtually touching. Beginners often leave a 1mm gap between a jump ring and a pendant, resulting in the solder balling up on the surface rather than flowing through the seam.
The Expert Solution
The maximum allowable gap for silver solder capillary action is 0.001 to 0.003 inches. Before applying flux, use a jewelers' saw and flat needle files to ensure both mating surfaces are perfectly flush. When viewed against a light source, you should see zero light passing through the seam. Use annealed iron binding wire or cross-locking tweezers to hold the pieces tightly together during heating, as metal expands and can push joints apart when exposed to 1400°F.
Mistake 4: Ignoring Heat Sinking and Gemstone Sensitivity
The Failure Mode
Applying a torch directly to a silver ring set with a gemstone is a catastrophic error. While diamonds, rubies, and sapphires can withstand high heat, they are highly susceptible to thermal shock (rapid temperature changes that cause internal fracturing). Softer, porous stones like turquoise, opals, emeralds, and pearls will dehydrate, crack, or turn completely black at temperatures as low as 200°F to 400°F. The Gemological Institute of America (GIA) frequently documents irreversible thermal damage to gems caused by improper bench techniques.
The Expert Solution
Whenever possible, remove stones before soldering. If removal is impossible (e.g., a bezel repair on a channel-set ring), you must use aggressive heat-sinking methods:
- Thermal Compounds: Submerge the stone in a heat-absorbing gel like Rio Chill Gel (approx. $18 per jar in 2026). This keeps the stone below 150°F even while the adjacent silver reaches 1300°F.
- Heat Sinks: Use aluminum or copper tweezers to clamp the shank of the ring, drawing heat away from the setting.
- Targeted Heating: Use a micro-torch tip (like the #000 or #0 tip on a Smith Little Torch) to apply heat strictly to the joint, never sweeping the flame over the stone.
Mistake 5: Thermal Shock During Quenching and Pickling
The Failure Mode
After the solder flows, beginners often grab the glowing red-hot silver with tweezers and immediately plunge it into cold water or a cold pickle pot. This rapid quench causes severe thermal shock. It can warp thin sheet metal, crack delicate bezels, and shatter any heat-resistant stones (like sapphires) that survived the soldering process.
The Expert Solution
Allow the piece to air-cool on a charcoal block or ceramic soldering board until the red glow completely fades and the metal turns dark gray/black. Only then should you quench it in water.
Next, place the piece in a pickle pot to remove the borax flux and copper oxidation (firescale). Use Sparex #2 (sodium bisulfate), mixed at a ratio of 1 cup per gallon of distilled water. Keep the pickle pot warm—between 120°F and 140°F—using a dedicated slow cooker. Never use steel tweezers in the pickle pot; the acid will strip the steel and plate iron onto your silver, creating a stubborn pinkish coating. Always use copper, brass, or wooden tweezers.
2026 Essential Starter Kit & Pricing Matrix
To execute these techniques correctly, you need the right thermal and chemical tools. Here is a realistic breakdown of a professional-grade beginner setup based on current 2026 market pricing:
| Equipment | Recommended Model / Brand | Estimated Cost (2026) |
|---|---|---|
| Torch System | Smith Little Torch (Model 23-1001C) with Acetylene/Air | $165 - $185 |
| Soldering Surface | Hagen & Harte Charcoal Block (Natural) | $25 - $35 |
| Pickle Compound | Sparex #2 (5 lb bucket) | $35 - $45 |
| Pickle Pot | Mini Slow Cooker (1.5 Quart, Ceramic insert only) | $20 - $30 |
| Solder & Flux | Rio Grande Hard/Med/Easy Wire + Handy Flux | $60 - $80 |
| Handling Tools | Cross-locking Tweezers & Titanium Solder Pick | $30 - $45 |
Frequently Asked Questions (FAQ)
Can I use a butane culinary torch for jewelry soldering?
For very small, thin items like jump rings or 24-gauge wire, a high-quality butane torch (like the Blazer Big Shot) can reach the 1325°F needed for Easy solder. However, for anything thicker than 18-gauge wire or items with high thermal mass (like a heavy ring shank), butane lacks the necessary BTU output and flame concentration. You will overheat the surrounding area and burn out your flux before the joint reaches flow temperature. Invest in an oxy-propane or acetylene-air micro-torch for reliable results.
Why does my silver solder look lumpy and refuse to flatten?
Lumpy solder indicates a 'cold joint' in jewelry terms. The silver base metal did not reach the proper temperature before the solder melted. Because silver solder relies on capillary action, the base metal must be hot enough to alloy with the solder. Heat the metal surrounding the joint, not the solder pallion itself. Let the ambient heat of the silver draw the solder into the seam.
How do I clean up excess solder that flowed where I didn't want it?
Unlike electronics solder, you cannot use a solder sucker or desoldering braid. Excess jewelry solder must be removed mechanically. Use a sharp scalpel, a needle file, or high-speed silicone polishing wheels on a rotary tool (like a Foredom flex shaft) to carefully carve and buff away the excess alloy without scratching the surrounding silver.