
Welcome to the Visual Masterclass: Torch Soldering Jewelry
Soldering precious metals is as much about visual feedback as it is about metallurgical science. When you are torch soldering jewelry, you are relying on the color of the metal, the behavior of the flux, and the fluid dynamics of the solder alloy to dictate your next move. This guide is structured as a video-style visual walkthrough. We will break down the process into distinct 'scenes,' focusing on the macro-level visual cues that separate amateur joints from professional, seamless bonds. Whether you are working with sterling silver or karat gold, understanding these visual triggers is critical for success in 2026's competitive jewelry market.
Director's Note on Safety: Always work in a ventilated area. Flux fumes (especially boron-based compounds) and heavy metal vapors require proper extraction. Wear ANSI Z87.1 certified shade 5 didymium safety glasses to filter out the blinding sodium flare from the flux.Scene 1: The Gear Pan (Equipment & 2026 Pricing)
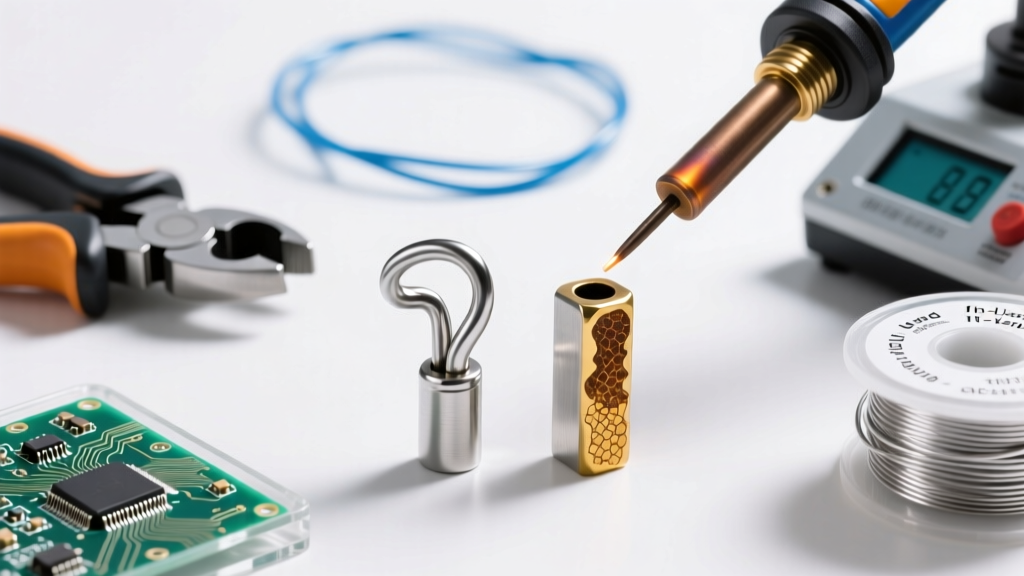
[Camera Focus: Slow Pan across the workbench]
Before we ignite the torch, let us review the essential gear. The jewelry industry standard remains the oxy-acetylene or oxy-propane micro-torch. In 2026, the Smith Little Torch (Model 23-1001C) continues to dominate the market, retailing around $145 to $160. Its interchangeable tips (sizes #00 to #5) allow for pinpoint heat control on 28-gauge wire or broad heating for heavy cast bezels. For gas, acetylene provides a hotter, more concentrated flame, while propane is safer and highly effective for silver.
The Solder & Flux Matrix
When torch soldering jewelry, you must use graded solders to prevent previously soldered joints from melting during subsequent steps. Below is the visual reference chart for sterling silver solder grades and their corresponding flux pairings.
| Solder Grade | Flow Temp (°F / °C) | Visual State Before Flow | Recommended Flux | Approx. 2026 Cost (per oz) |
|---|---|---|---|---|
| Hard | 1450°F / 788°C | Glows dull cherry red | Stay-Silv White (Boron-based) | $35 - $42 |
| Medium | 1300°F / 704°C | Glows dark red | Handy Flux (Boron-based) | $30 - $38 |
| Easy | 1200°F / 649°C | Glows faint red / dark grey | Handy Flux or My-T-Flux | $28 - $35 |
Scene 2: Metal Prep & Fluxing (Time-Lapse)
[Camera Focus: Overhead Time-Lapse]
Solder will not flow on dirty metal. The prep phase is non-negotiable. We begin by sanding the joint surfaces with 400-grit sandpaper to remove oxidation and create a microscopically rough surface for capillary action. After sanding, the piece is ultrasonically cleaned or scrubbed with pumice powder to remove skin oils.
[Action: Applying the Flux]
Using a natural hair brush (sable or camel hair), we paint a 50/50 mixture of Handy Flux and distilled water over the entire piece, not just the joint. Visual Cue: As the flux dries, it should look like a thin, even coat of frosted glass. If it bubbles or crusts heavily, your mixture is too thick, which will cause the solder to ball up later. The flux acts as a chemical sponge, dissolving copper oxides that form the moment the metal hits 800°F.
Scene 3: Flame Dynamics (Slow-Motion Breakdown)
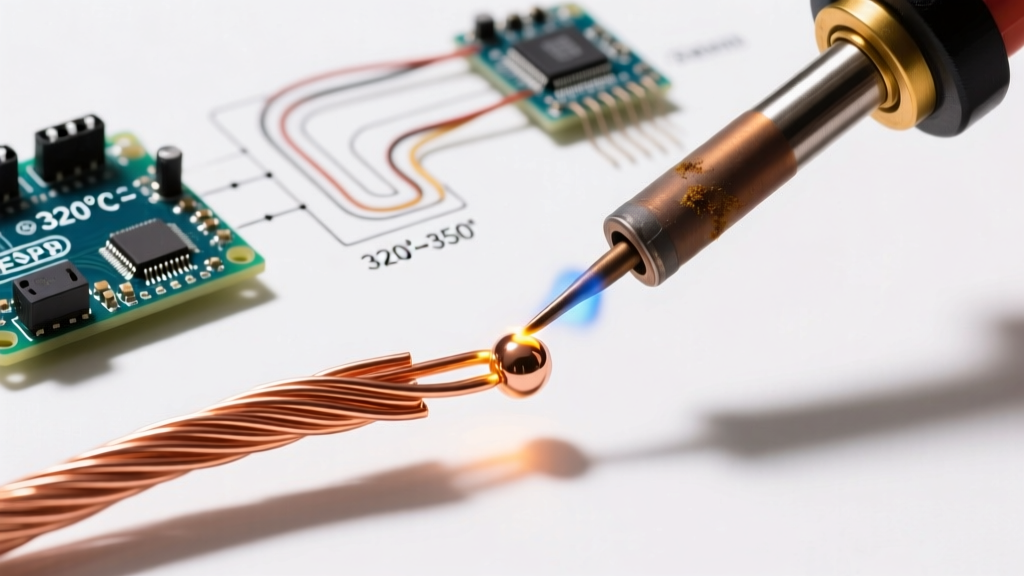
[Camera Focus: Extreme Close-Up on the Torch Tip]
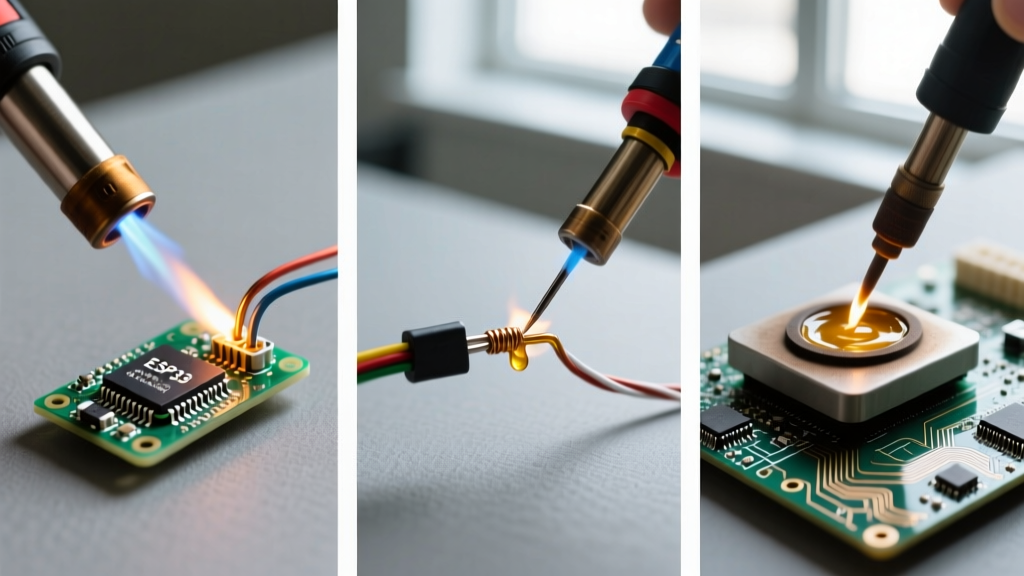
Ignite the torch. According to the Ganoksin Soldering Basics guide, mastering the flame envelope is the most critical skill in jewelry fabrication. An oxy-acetylene flame has three distinct visual zones:
- The Inner Cone (Cool Zone): The dark blue, unburned gas envelope immediately surrounding the tip. Never touch the metal with this zone; it will cause soot and carbon embrittlement.
- The Reducing Flame (Sweet Spot): Just beyond the inner cone. This is a slightly feathered, hissing zone. It is oxygen-starved, which actively prevents the silver or gold from oxidizing while heating.
- The Oxidizing Flame (Outer Envelope): The pale blue, roaring outer tip. This zone is oxygen-rich and will instantly fire-scale sterling silver if used exclusively.
[Action: Heating the Metal]
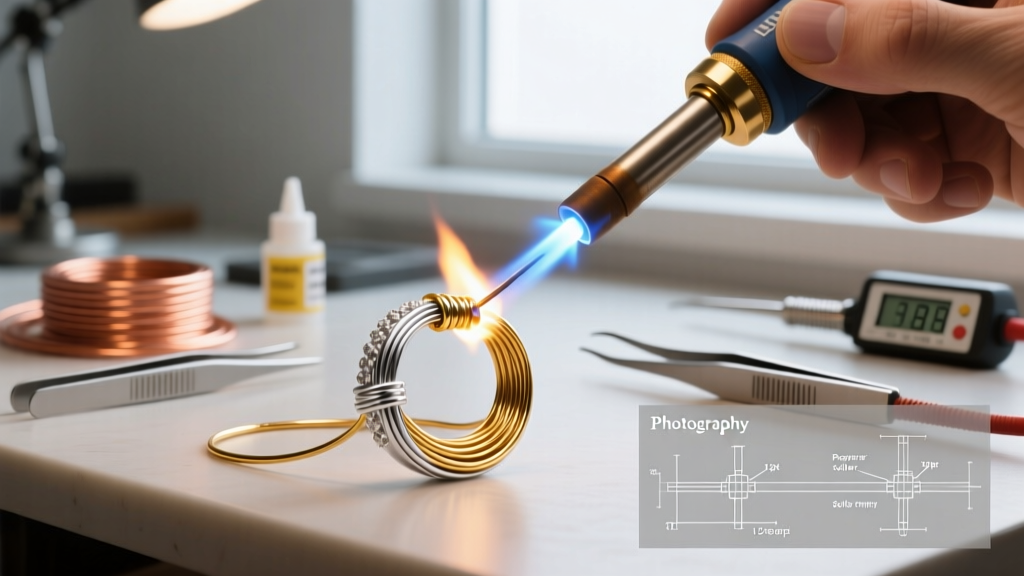
Keep the reducing flame moving in broad, circular patterns. Visual Cue: Watch the flux. It will first boil (water evaporating), then turn into a white, crusty powder (flux drying), and finally melt into a clear, glassy liquid. The moment the flux turns clear and glassy, the metal has reached approximately 1100°F. It is time to introduce the solder.
Scene 4: The Solder Flow (Macro Focus)
[Camera Focus: Macro Lens, Shallow Depth of Field]
This is where the magic happens. Using a titanium or tungsten solder pick, place a small pallion (a 1mm x 1mm chip) of solder exactly at the seam.
CRITICAL E-E-A-T Insight: Capillary Action vs. GravitySolder does not fall into the joint; it is pulled into the joint. Solder flows toward the hottest point of the clean, fluxed metal. If you heat the solder directly, it will melt into a useless ball. You must heat the metal components until they reach the solder's flow temperature. The solder should flash and instantly disappear into the seam via capillary action.
[Action: The Flash]
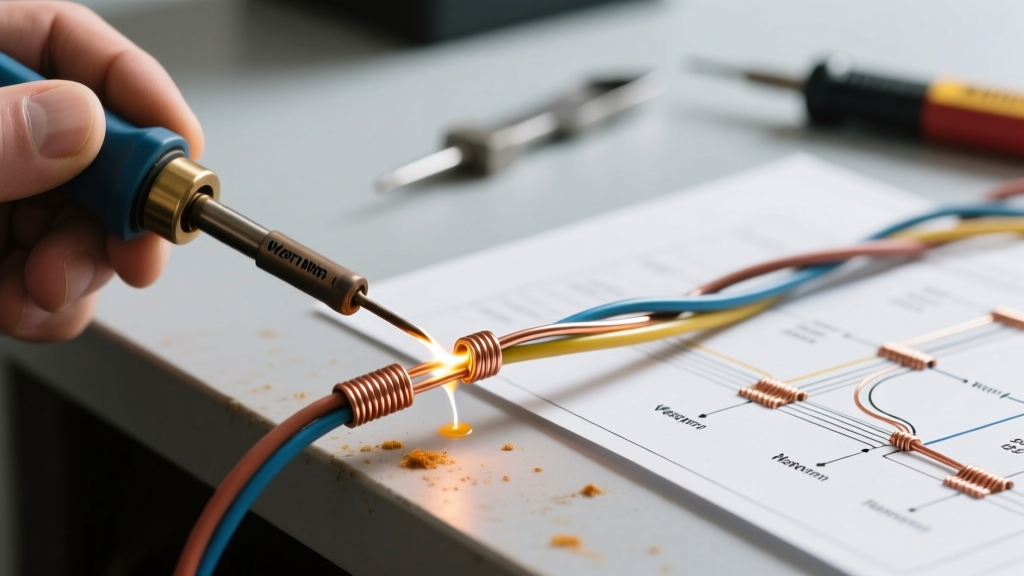
As the metal reaches 1450°F (for Hard solder), the sterling silver will glow a dull, hazy cherry red. The moment the metal hits the exact eutectic temperature, the solder pallion will 'flash'—a rapid, liquid snap where it instantly wicks into the seam. Visual Cue: A bright silver line will suddenly appear along the dark red seam. The second you see this flash, pull the torch away immediately. Lingering heat will cause the solder to alloy too deeply with the base metal, creating a brittle joint and potential pitting.
Scene 5: Quench, Pickle, & Finish (Overhead Shot)
[Camera Focus: Overhead, Steam Rising]
Allow the piece to cool until the red glow completely fades to black. Quenching red-hot sterling silver in water will cause severe thermal shock, warping the metal and creating micro-fractures in the solder joint. Once cool to the touch, drop the piece into the pickle pot.
In 2026, most professional jewelers have moved away from toxic sulfuric acid or Sparex #2 (sodium bisulfate) in favor of food-grade Citric Acid pickles. Mix citric acid powder with distilled water at a 5:1 ratio. Heat the pickle to exactly 150°F (65°C). Visual Cue: The piece will emerge with a stark, frosty white finish. This is pure, un-oxidized silver left behind after the copper oxides were stripped away. If the solder joint appears dark or grey after pickling, the joint failed (often called a 'cold joint') and must be re-soldered.
Director's Cut: Troubleshooting Matrix
Even master jewelers encounter visual anomalies during torch soldering jewelry. Use this diagnostic matrix to read the visual feedback of your failed joints and correct them.
| Visual Failure Mode | Root Cause Analysis | Corrective Action Protocol |
|---|---|---|
| Balling / Beading (Solder forms a sphere and ignores the joint) |
Metal did not reach flow temp; solder melted first. Surface tension overpowered capillary action due to a cold joint or dirty metal. | Remove heat. Let cool. Re-pickle to strip burnt flux. Re-flux. Heat the metal broadly, not the solder chip. |
| Pitting / Porosity (Tiny black holes in the solder line) |
Overheating the joint caused the zinc/cadmium in the solder alloy to vaporize, leaving voids. Or, flux burned off before flow. | Use a larger torch tip to heat the piece faster, reducing overall time in the flame. Apply a secondary coat of flux if working on large masses. |
| Creeping / Flooding (Solder flows all over the piece, ignoring the seam) |
Uneven heating. The solder flowed toward a localized 'hot spot' away from the actual joint. | Ensure the entire piece is heated evenly. Use a solder stop (yellow ochre mixed with water) to paint areas where you do not want solder to flow. |
| Fire Scale (Deep purple/grey shadow under the metal surface) |
Copper in the sterling silver oxidized deep into the grain structure due to prolonged heating in an oxygen-rich flame. | Use the reducing flame. Minimize heat time. For severe cases, electro-strip or use a specialized depletion gilding process. |
Final Fade Out: Mastering the Visual Language
Torch soldering jewelry is a dialogue between heat, chemistry, and gravity. By training your eye to recognize the exact visual cues—the glassy melt of the flux, the dull cherry glow of the silver, and the liquid flash of the solder—you transition from merely following instructions to truly mastering the craft. For further reading on advanced metallurgical behaviors and alloy compositions, consult the Smith Equipment Jewelry Torch manuals and industry-standard gemological resources. Keep your flux fresh, your tips clean, and your eyes on the metal.