
The Thermodynamics of a Perfect Solder Joint
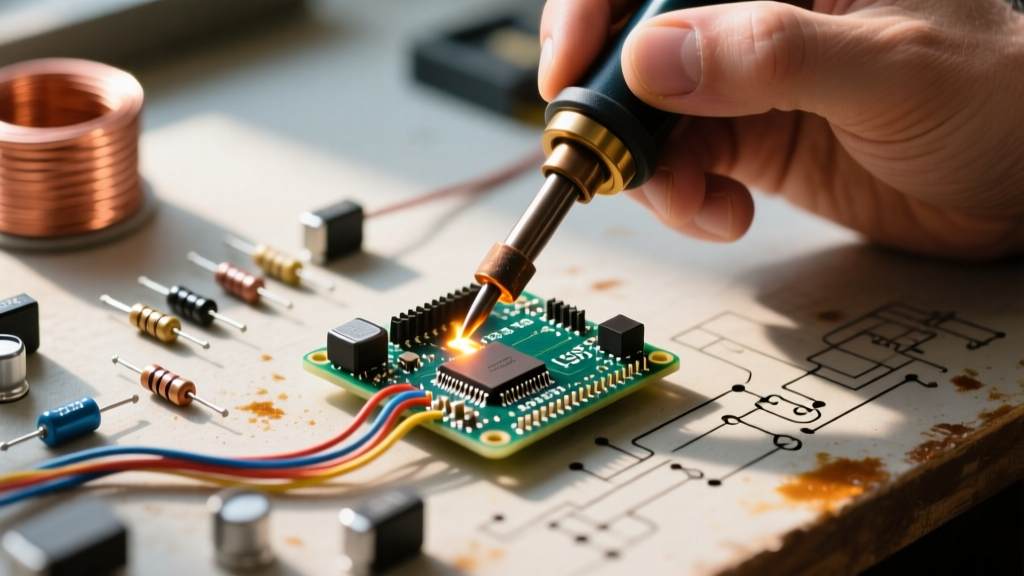
Many beginners approach learning how to solder with the misconception that the soldering iron is essentially a hot glue gun. In reality, soldering is a metallurgical process governed by thermodynamics and capillary action. Your iron does not melt the solder directly onto the joint; rather, it transfers thermal energy into the component lead and the printed circuit board (PCB) pad. Once the copper surfaces reach the alloy's melting point, the solder flows via capillary action, creating an intermetallic bond.
For 63/37 leaded solder (a eutectic alloy), this phase transition occurs sharply at 183°C (361°F). Unlike non-eutectic lead-free alloys (like SAC305), which pass through a plastic, semi-solid state, eutectic solder transitions instantly from solid to liquid. Understanding this distinction is critical for avoiding disturbed joints, a common failure mode when components shift during the cooling phase.
Essential 2026 Beginner Loadout
Investing in the right tools prevents immense frustration. The market has shifted significantly, with smart irons offering advanced temperature control at entry-level price points. Below is a curated, cost-effective loadout for through-hole and basic surface-mount work.
| Equipment Category | Recommended Model (2026) | Approx. Cost | Why It Matters |
|---|---|---|---|
| Soldering Iron | Pinecil V2 (RISC-V) or Hakko FX-888D | $26 / $115 | Pinecil offers rapid 9-second heat-up and USB-C PD power; Hakko provides legendary analog reliability. |
| Solder Wire | Kester 44 (63/37 Leaded, 0.8mm) | $35 / lb | Rosin-core flux and eutectic composition guarantee smooth flow and shiny, reliable joints. |
| Tip Shape | Hakko T18-D24 (Chisel) or TS100-D24 | $12 | Chisel tips maximize surface area contact for efficient thermal transfer. Avoid conical tips for beginners. |
| Flux | Amtech NC-559-V2-TF (Tacky Flux) | $18 | No-clean, high-tack flux holds components in place and prevents oxidation during prolonged heating. |
| Tip Cleaner | Brass Wire Sponge (with base) | $6 | Brass shavings clean oxidation without dropping the tip temperature like wet cellulose sponges do. |
The 4-Step Execution Protocol
According to SparkFun's comprehensive soldering guidelines, mastering the physical technique requires a repeatable, standardized motion. Follow this exact sequence for every single joint.
Step 1: Mechanical Preparation and Tinning
Before applying heat to the PCB, ensure your iron's tip is pristine. Wipe it on the brass sponge, then apply a tiny amount of fresh solder to the tip—a process called "tinning." This creates a thermal bridge. A tinned tip transfers heat up to 50 times faster than a dry, oxidized tip. Simultaneously, ensure the component leads are free of corrosion; if they look dull, scrape them gently with a fiberglass pen or apply a dab of liquid flux.
Step 2: Thermal Bridging (The 45-Degree Rule)
Place the chisel tip flat against the PCB pad and the component lead simultaneously. The flat underside of the chisel should rest on the copper pad, while the angled edge touches the vertical wire. Hold the iron at a 45-degree angle. Do not touch the solder to the iron yet. Allow the iron to heat the copper surfaces for exactly 1.5 to 2.5 seconds. If you apply solder directly to the iron and try to "paint" it onto the joint, the flux will boil off prematurely, resulting in a dry, high-resistance connection.
Step 3: Feeding the Solder (Capillary Action)
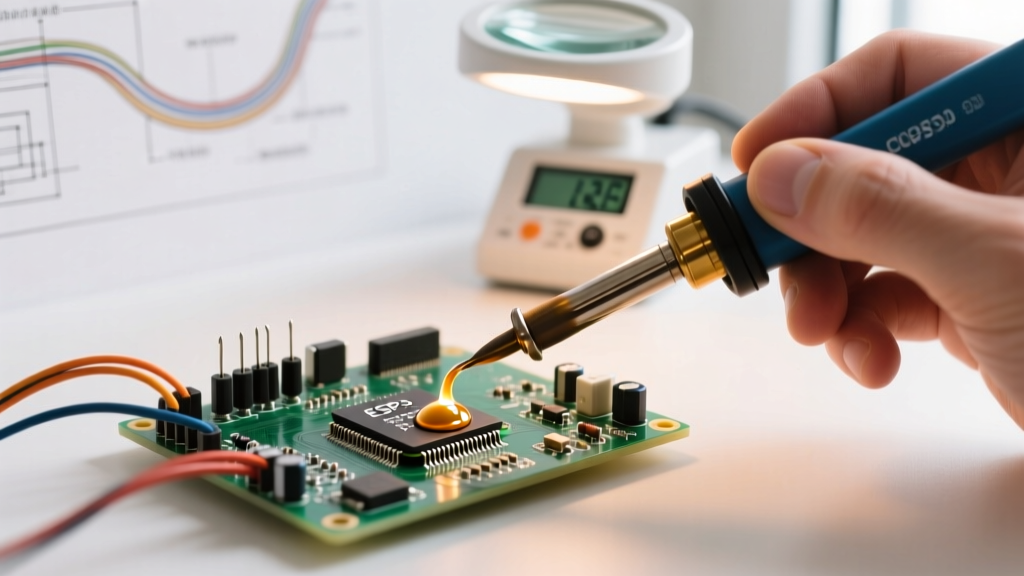
Feed the solder wire into the opposite side of the joint, directly where the component lead meets the pad. If the copper is hot enough, the solder will instantly melt and wick up the lead, forming a smooth, concave fillet. Stop feeding the moment the solder reaches the top of the pad and forms a slight volcano shape. For standard through-hole pads, this requires roughly 2 to 4 millimeters of 0.8mm wire.
Step 4: The Critical Cool-Down Phase
Remove the solder wire first, then pull the iron away at a sharp angle to avoid leaving a solder spike. Hold the component perfectly still for 3 to 5 seconds. As the Adafruit Guide to Excellent Soldering emphasizes, blowing on the joint or moving the board while the alloy is transitioning from liquid to solid will fracture the internal crystalline structure. This creates a "disturbed joint," which appears grainy and is prone to micro-cracking under thermal stress.
Diagnostic Matrix: Identifying Joint Failures
Even with perfect technique, environmental factors and material defects can cause issues. Use this diagnostic matrix to troubleshoot your work under a magnifying lamp.
- Cold Joint: Appears dull, grainy, and bulbous rather than concave. Cause: Insufficient heat transferred to the pad, or the iron tip was oxidized. Fix: Apply fresh flux, reheat the pad thoroughly, and add a touch of new solder.
- Overheated Pad: The copper pad lifts off the fiberglass substrate or the solder mask turns brown. Cause: Iron temperature set too high (above 380°C) or dwelling on the pad for more than 4 seconds. Fix: Lower your iron to 315°C for leaded solder and use a larger chisel tip to transfer heat faster.
- Starved Joint: The solder barely covers the hole and does not wick up the lead. Cause: Removing the solder wire too early or using a solder diameter that is too thin. Fix: Reheat and feed more solder until the fillet is fully formed.
- Solder Bridging (Shorts): Solder flows across two adjacent pads. Cause: Excessive solder volume or lack of flux. Fix: Apply generous liquid flux, use a clean iron tip to drag the excess solder away, or use copper solder wick (desoldering braid) to absorb the overflow.
Expert Insight: Flux is the unsung hero of electronics assembly. As noted in Hakko's official soldering methodology, the rosin core inside your solder wire is consumed rapidly upon melting. When reworking a joint or attempting to fix a bridge, always add external liquid or tacky flux. Attempting to reflow old solder without adding fresh flux will almost always result in a brittle, oxidized connection.
Safety, Flux Fumes, and Ventilation
Soldering generates volatile organic compounds (VOCs) and particulate matter, primarily from the vaporization of the rosin flux core, not the metal alloy itself. Prolonged exposure to colophony (rosin) fumes is a known respiratory sensitizer and can trigger occupational asthma.
For a beginner home lab in 2026, a dedicated fume extractor with an activated carbon and HEPA filter (such as the Hakko FA-400 or a DIY PC fan setup with charcoal mats) is mandatory. Never solder in a stagnant room; ensure cross-ventilation. Furthermore, always wash your hands with cold water and soap after handling 63/37 leaded solder to prevent accidental ingestion of lead particulates, and reserve a specific set of wire cutters and pliers exclusively for electronics work to avoid cross-contaminating your household tools.