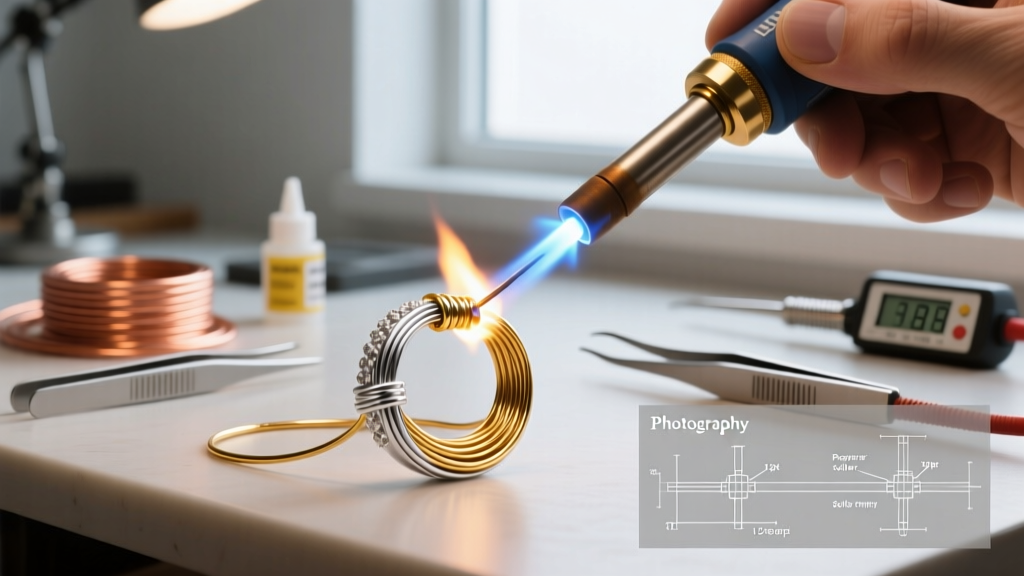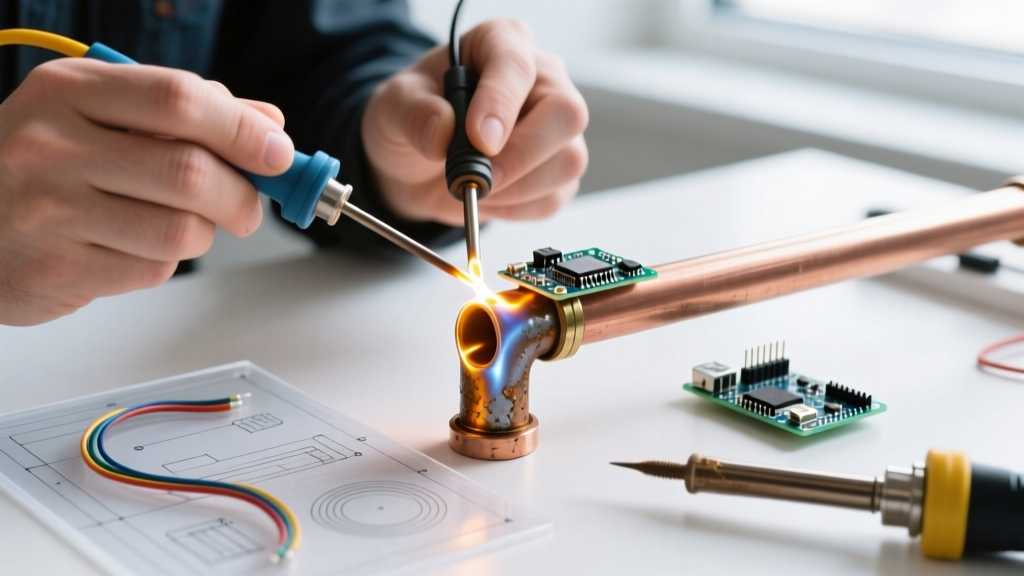

The Anatomy of a Failed Soldering Pipe Joint
Whether you are sweating copper lines for residential plumbing, assembling HVAC refrigerant linesets, or establishing a continuous metallic water pipe grounding electrode system for electrical bonding, the metallurgy of capillary soldering remains unforgiving. A successful joint relies on precise thermal management, chemical cleaning, and exact mechanical clearances. When soldering pipe connections fail, they rarely do so immediately; instead, they manifest as slow pinhole leaks, high-resistance electrical bonds, or catastrophic blowouts under pressure.
This 2026 troubleshooting guide bypasses generic advice to deliver deep-dive diagnostic frameworks for the most common pipe soldering defects, specifically addressing the nuances of modern lead-free solder alloys and high-BTU torch profiling.
Diagnostic Matrix: Identifying Your Pipe Solder Failure
Before applying the torch, visually and physically inspect the failed joint. Use this matrix to pinpoint the root cause of your soldering pipe defect.
| Symptom / Visual Cue | Root Cause | Immediate Fix Strategy |
|---|---|---|
| Solder beads up and rolls off the fitting | Oxidation or insufficient flux application | Disassemble, re-emery, apply water-soluble paste flux |
| Dull, grainy, or frosted joint appearance | Vibration during cooling or lead-free alloy normal state | Reheat and allow to cool undisturbed; verify alloy type |
| Pinhole leak or 'spitting' during heating | Trapped water turning to steam inside the pipe | Use dissolvable pipe plugs or the white bread trick |
| Green crust (verdigris) around the joint | Acid flux burn or incomplete post-solder cleaning | Neutralize with baking soda, scrub, and apply dielectric grease |
| Solder only penetrates 1/8" into the fitting | Insufficient heat mass or out-of-round pipe | Switch to MAP-Pro gas; use tinning flux for 3/4"+ pipes |
Step-by-Step Fixes for Common Soldering Pipe Defects
1. The 'Cold Joint' and Capillary Failure
Capillary action in copper pipe fittings requires a microscopic clearance between the pipe OD (outside diameter) and the fitting ID (inside diameter). The optimal gap is between 0.001" and 0.005". If the pipe is out-of-round from improper cutting or storage, the solder will not draw into the joint cup, resulting in a cold joint that lacks structural and electrical continuity.
- The Fix: Cut out the defective joint using a tubing cutter (never a hacksaw, which leaves burrs that ruin capillary draw). Use a calibrated reamer to remove the internal burr. If the pipe is slightly out-of-round, use a Go/No-Go gauge or gently roll it on a flat steel surface to true it up before reapplying 120-grit emery cloth.
- Pro-Tip for Large Diameters: When soldering pipe diameters of 1" or larger, standard paste flux often burns off before the massive thermal mass of the copper reaches the 450°F+ melting point of lead-free solder. Switch to a Tinning Flux (which contains powdered solder suspended in the flux) to guarantee capillary bridging.
2. Pinhole Leaks & The Steam Blowout Effect
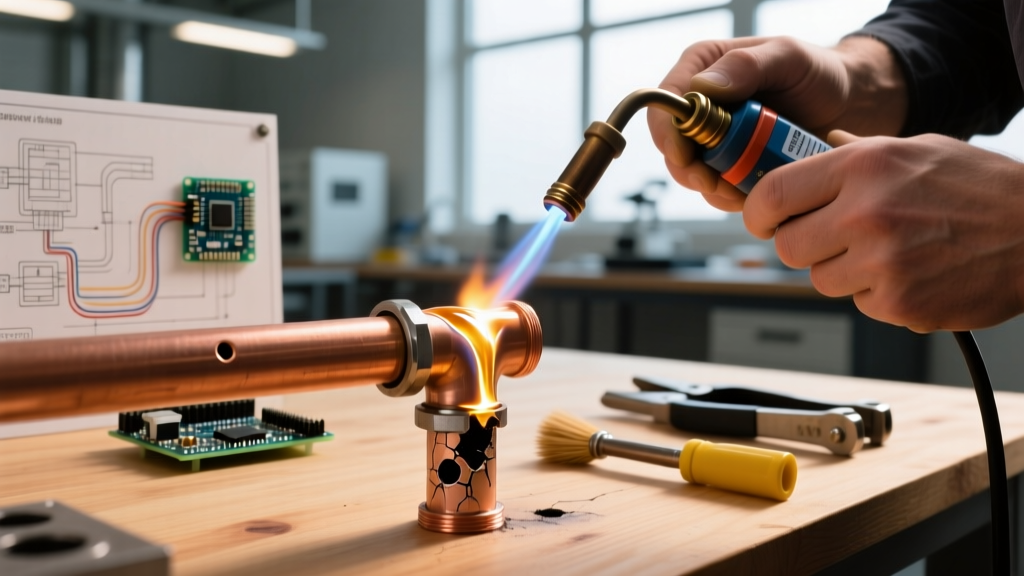
The number one reason for pinhole leaks when sweating copper is trapped water. Even a few drops of water remaining in the line will flash into steam when heated. The expanding steam pressure (reaching over 100 PSI locally) will literally blow the molten solder out of the capillary space, leaving microscopic channels that leak under system pressure.
Expert Insight: Never rely solely on draining the system. Gravity is insufficient for horizontal runs with slight sags. Always use a physical water barrier upstream of your soldering pipe joint.
- The Bread Method: Push a tight ball of plain white bread (no crusts, no seeds) into the pipe 6 inches upstream. The bread blocks the water, vaporizes safely under heat, and flushes out completely when the system is pressurized.
- The Professional Method: Use a water-soluble pipe plug, such as Oatey Safe-Sol. These dissolvable dams guarantee a dry joint and eliminate the risk of clogging aerators or solenoid valves downstream.
3. Flux Burn & Green Corrosion (Verdigris)
Acid-based and highly active petroleum fluxes are necessary to strip copper oxide, but if left unneutralized, they eat through the copper and create high-resistance electrical paths—a critical failure if this pipe is part of an electrical grounding electrode system.
- The Fix: While the joint is still warm (but not molten), wipe it with a damp rag to remove bulk flux. Once cooled, scrub the joint with a Scotch-Brite pad and a solution of water and baking soda to neutralize residual acids. For electrical bonding joints, apply a thin layer of dielectric antioxidant grease (like Noalox) over the cooled, cleaned joint to prevent atmospheric oxidation.
The Lead-Free Solder Illusion: Dull vs. Shiny Joints
One of the most pervasive myths in DIY pipe soldering is that a 'good' joint must be shiny. Historically, 50/50 tin-lead solder cooled to a bright, mirror-like finish. However, the EPA's Safe Drinking Water Act mandates the use of lead-free solder (typically 95/5 Tin-Antimony or SAC alloys) for all potable water lines.
Crucial Troubleshooting Note: Lead-free solders naturally cool to a dull, matte, or slightly frosted finish. Many DIYers mistakenly diagnose this normal matte appearance as a 'cold joint' and overheat the fitting, burning the flux and ruining the joint. If the solder has fully drawn into the capillary space and forms a smooth, continuous fillet at the edge of the fitting, the joint is structurally sound, regardless of the lack of shine.
Thermal Profiling: Selecting the Right Torch Gas
When troubleshooting a joint that simply won't take solder, your fuel gas is likely the bottleneck. Standard propane lacks the BTU output to overcome the heat-sink effect of larger copper pipes or ambient cold-weather conditions.
| Fuel Gas | Flame Temp (Air) | Best Use Case | Troubleshooting Application |
|---|---|---|---|
| Propane (Yellow/Blue) | ~3,600°F | 1/2" copper, low-mass joints | Basic repairs; fails on 3/4"+ pipes in cold environments |
| MAP-Pro (Yellow) | ~3,730°F | 3/4" to 1" copper, HVAC lines | Fixing cold joints where propane heat dissipates too fast |
| Acetylene (Oxy-Fuel) | ~5,700°F | 1.5"+ mains, industrial, wet lines | Overcoming massive thermal sinks; rapid localized heating |
Electrical Context: Soldering Pipe for Grounding Systems
For electrical DIYers and professionals, metallic underground water piping is frequently utilized as a Grounding Electrode under NEC Article 250.52(A)(1). While the grounding electrode conductor (GEC) is typically attached via a listed UL 467 clamp, the continuity of the water pipe itself—and any soldered bonding jumpers installed across dielectric unions or water meters—is critical for fault current dissipation.
A poorly soldered pipe joint in a grounding path introduces unnecessary impedance. If you are sweating a bonding jumper across a dielectric fitting, ensure you are using a high-tin, high-conductivity solder alloy and that the joint is completely free of flux residue, which can act as a dielectric barrier over time. Always verify continuity across the soldered pipe joint using a micro-ohmmeter; resistance should read near zero.
Expert FAQ: Soldering Pipe Troubleshooting
Why does my solder keep melting on the pipe but not entering the fitting?
You are heating the pipe instead of the fitting. The capillary action requires the inside of the fitting to reach the melting temperature of the solder. Apply the torch flame to the base of the fitting, not the pipe, and touch the solder to the opposite side of the joint. When the fitting is hot enough, it will instantly wick the solder inward.
Can I re-solder a leaking joint without cutting it out?
Generally, no. Once a joint has been pressurized with water, microscopic oxidation and mineral deposits form inside the capillary space. Reheating and adding more solder will only result in a superficial 'band-aid' that will fail under thermal expansion. The only reliable fix for a leaking soldered pipe joint is to cut it out, clean the ends, and install a new coupling.
What is the safest way to clean copper pipe before soldering?
Use a dedicated copper tubing brush for the inside of the fitting and 120-grit emery cloth or a specialized abrasive pad (like Scotch-Brite Pro) for the outside of the pipe. Avoid steel wool, as tiny steel fibers can embed in the soft copper and create galvanic corrosion cells that will eventually cause pinhole leaks.