
Bridging the Gap: Electronics to Plumbing Thermal Mass
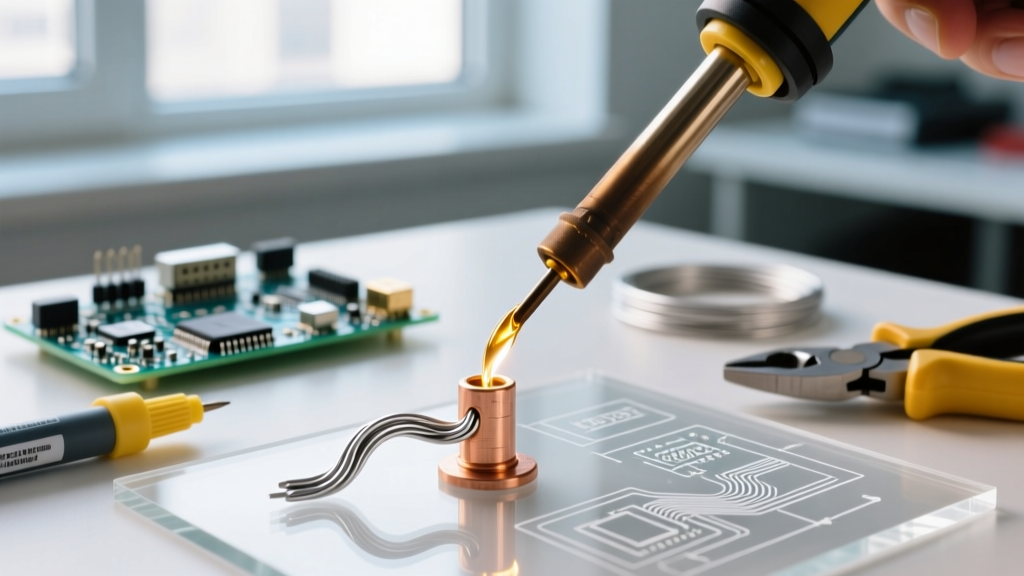
For electrical DIYers and microcontroller enthusiasts, transitioning from soldering delicate PCB traces to soldering copper water lines requires a fundamental shift in thermal management. A standard 60W Hakko FX-888D or Weller WE1010NA is engineered for localized, low-thermal-mass joints. Copper plumbing, however, acts as a massive heat sink. A single 3/4-inch copper coupling possesses roughly 400 times the thermal mass of a standard 14 AWG wire terminal. To achieve proper capillary action and a watertight seal, you must pair high-BTU output tools with specific metallurgical fillers and aggressive chemical fluxes.
In 2026, modern plumbing codes strictly enforce lead-free mandates and water-safe chemical compositions. This guide breaks down the exact tool and technique pairings required to execute flawless, code-compliant sweat joints without burning the flux or starving the capillary gap.
The Core Matrix: Matching Torches to Pipe Diameters
Selecting the correct heat source is the most common failure point for beginners. Using an underpowered torch leads to 'cold joints' where the solder merely rings the outside of the fitting without wicking inside. Conversely, an overly aggressive torch on small-diameter pipes will instantly vaporize the flux, causing oxidation and solder rejection.
| Pipe Diameter & Type | Thermal Mass | Recommended Torch Model | Fuel Type | Target Heat Time |
|---|---|---|---|---|
| 1/2' Type M / L | Low | Bernzomatic TS4000 | Propane | 8 - 12 Seconds |
| 3/4' Type L | Medium | Bernzomatic TS8000 | MAP-Pro | 10 - 15 Seconds |
| 1' Type K / L | High | Worthington Cyclone | MAP-Pro / Propylene | 15 - 25 Seconds |
| 1.25'+ or Valves | Very High | TurboTorch T-4 Swirl | Acetylene | 20 - 30 Seconds |
Note: The Bernzomatic TS8000 (retailing around $55 in 2026) is the undisputed workhorse for residential 3/4' lines. Its swirl combustion chamber concentrates heat, whereas standard pencil-flame torches dissipate heat into the surrounding air.
Flux and Filler Metal Pairings: The Chemistry of the Joint
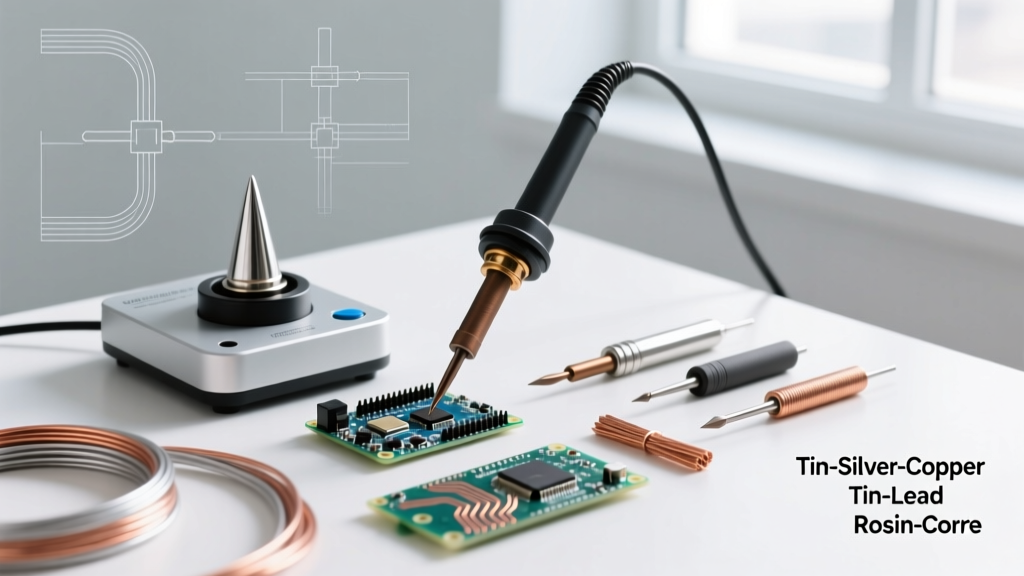
Never use rosin-core solder or electronics flux on water lines. Rosin is non-corrosive and incapable of breaking down the heavy copper oxide layers found on plumbing pipes. Furthermore, electronics solder contains lead, which is highly toxic and strictly prohibited in potable water systems.
1. The Flux: Water-Soluble vs. Petrolatum
Plumbing fluxes rely on zinc chloride or organic acid bases to chemically strip oxidation at high temperatures. For standard residential soldering, a petrolatum-based paste like Oatey #5 Paste Flux ($8 for 1.7oz) provides excellent adherence and prevents re-oxidation during the heating phase. For tight spaces or vertical runs, a water-soluble liquid flux like LA-CO Solder-It reduces the risk of trapped flux residue, which can cause pinhole corrosion over decades.
2. The Filler: Lead-Free Alloys (NSF/ANSI 61 Certified)
Under the EPA's Lead-Free Plumbing requirements, all solder used in potable water lines must contain no more than 0.2% lead. The two dominant alloys in 2026 are:
- 95/5 Tin-Antimony (Sn/Sb): Melts at 452°F (234°C). This is the standard for residential water lines. It offers a wide plastic range, making it forgiving for beginners. A 1lb spool of Oatey Safe Flo costs approximately $35.
- 96/4 Tin-Silver (Sn/Ag): Melts at 430°F (221°C). Often marketed as 'Silver-Bearing,' this alloy is harder, more brittle, and primarily reserved for high-pressure HVAC refrigerant lines or medical gas systems. It is overkill and unnecessarily expensive ($60+ per pound) for standard domestic water lines.
Step-by-Step Technique: The 'Heat Sink & Sweep' Method
Proper technique relies on capillary action—the physical phenomenon where liquid solder is drawn into the 0.005-inch annular space between the pipe and the fitting. This only occurs when the base metals are hot enough to melt the solder on contact, and the flux has reduced the surface tension.
- Mechanical Preparation: Use a specialized fitting brush (e.g., Milwaukee 48-28-2100) and emery cloth to clean the outside of the pipe and the inside of the fitting until both shine like a new penny. Do not touch the cleaned metal with bare hands; skin oils will inhibit flux adhesion.
- Flux Application: Apply a thin, even coat of paste flux to the pipe. Insert the pipe into the fitting and give it a 1/4 twist to distribute the flux evenly and eliminate air pockets. Wipe away any excess flux on the exterior with a rag.
- Heat Sink Protection: If soldering within 12 inches of a ball valve, PEX transition, or existing soldered joint, wrap a wet rag tightly around the vulnerable component. This prevents the internal Teflon seals from melting and stops existing joints from de-soldering.
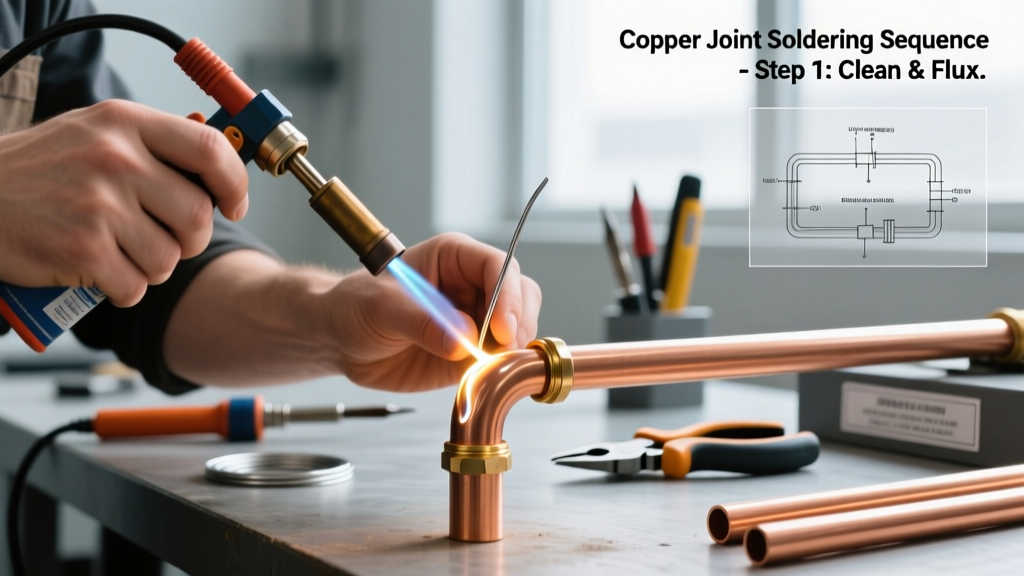
- Directional Heating: Ignite your TS8000 torch. Apply the inner blue cone of the flame to the fitting, not the pipe. The fitting has more mass and requires more energy. Keep the flame moving in a circular pattern to distribute heat evenly.
- The Solder Test: After 8-12 seconds, remove the flame and touch the solder wire to the joint opposite the side you heated. If it melts instantly and is sucked into the joint, the temperature is correct. If it bends or balls up, apply heat for another 3 seconds.
- The Sweep: Feed the solder continuously around the joint until a continuous silver bead appears at the edge of the fitting. For a 1/2' joint, this requires roughly 1/2 inch of solder wire. For 3/4', expect to use 3/4 inch.
Pro-Tip for 2026 Smart Homes: When installing smart water shutoff valves (like the Moen Flo or Phyn Plus) which feature internal electronic sensors and rubber O-rings, always use a wet rag heat sink. Alternatively, use press-fit (ProPress) technology for these specific connections to eliminate thermal damage risks entirely.
Troubleshooting Common Failure Modes
Even with the right tools, environmental factors and technique errors can cause joint failures. Here is how to diagnose and correct the most common issues:
Solder Balling and Rejection
Symptom: The solder melts but forms beads that roll off the copper instead of wicking into the joint.
Cause: The flux has burned off. This happens when the torch is applied for too long before introducing the solder, or the flame is held too close, exceeding 800°F and carbonizing the flux.
Fix: Let the joint cool completely. Disassemble if possible, re-clean, re-flux, and try again with a faster heat application.
Capillary Starvation (The 'Ring' Joint)
Symptom: A bead of solder is visible around the outside rim, but the joint leaks under pressure.
Cause: The fitting was not hot enough. The solder melted against the exterior pipe but lacked the thermal energy to wick deep into the fitting cup.
Fix: You must reheat the joint. Apply flux to the exterior rim to help draw the new solder in, heat the fitting heavily, and feed additional solder until you are certain the internal gap is filled.
Thermal Shock Cracking
Symptom: Micro-fractures in the copper or fitting immediately after soldering.
Cause: Quenching the hot joint with a cold, wet rag or water spray immediately after soldering.
Fix: Always allow the joint to cool naturally to ambient temperature. Quenching alters the crystalline structure of the brass fittings and can induce stress fractures that fail months later.
Expert Sourcing & Code Compliance
When executing plumbing modifications, adherence to local codes is non-negotiable. The Uniform Plumbing Code (UPC) published by IAPMO dictates the acceptable materials and practices for soldered joints. Always verify that your solder spool explicitly displays the NSF/ANSI 61 certification mark, which guarantees the alloy is safe for human consumption and meets current federal and state lead-free mandates.
For comprehensive technical data sheets on specific flux chemistries and melting points, manufacturers like Oatey provide extensive documentation that bridges the gap between metallurgical theory and practical field application.
By respecting the thermal mass of copper and pairing the correct high-BTU torch with NSF-certified 95/5 solder and aggressive plumbing flux, you can transition your precision soldering skills from the workbench to the plumbing rough-in with confidence and zero leaks.