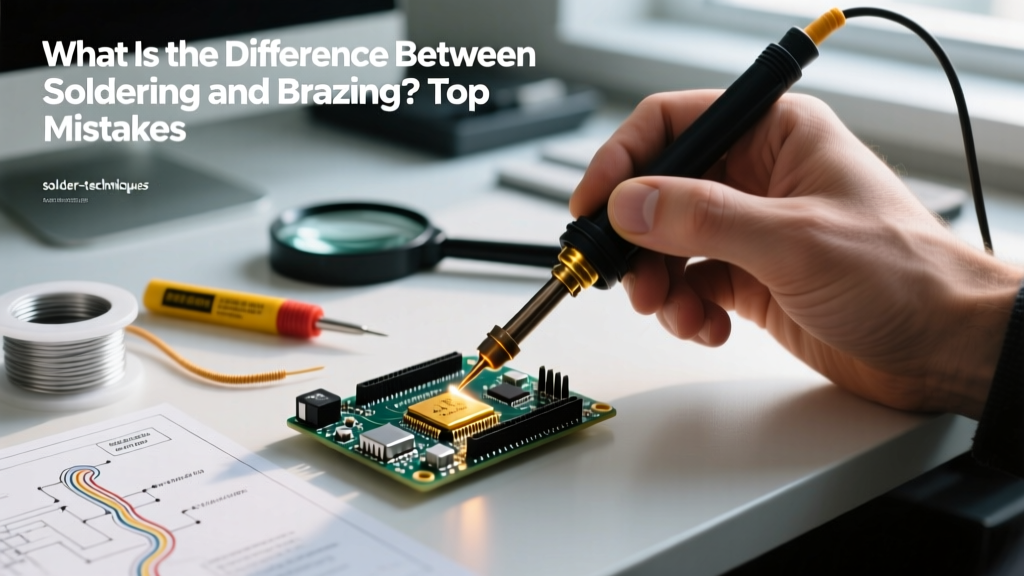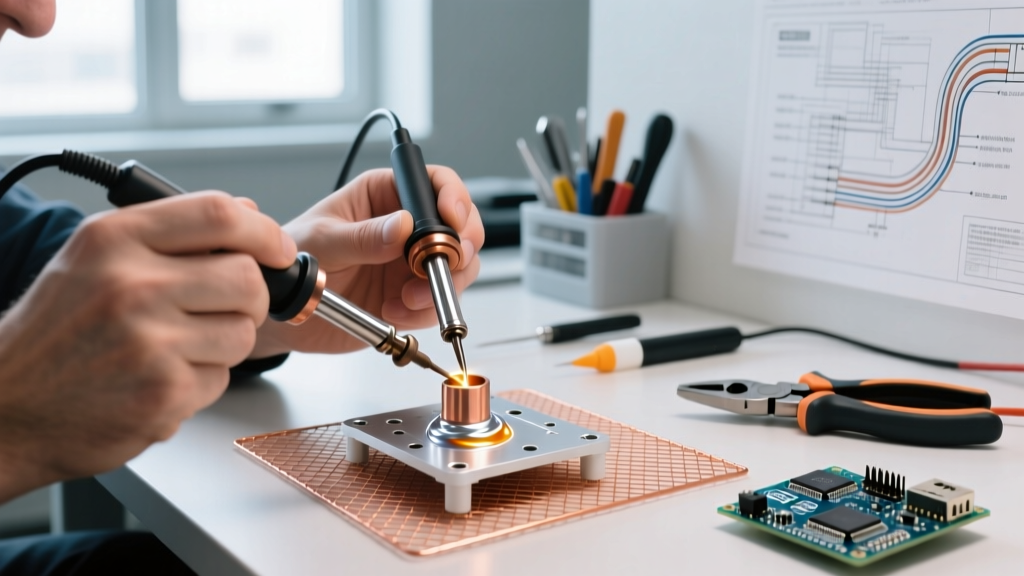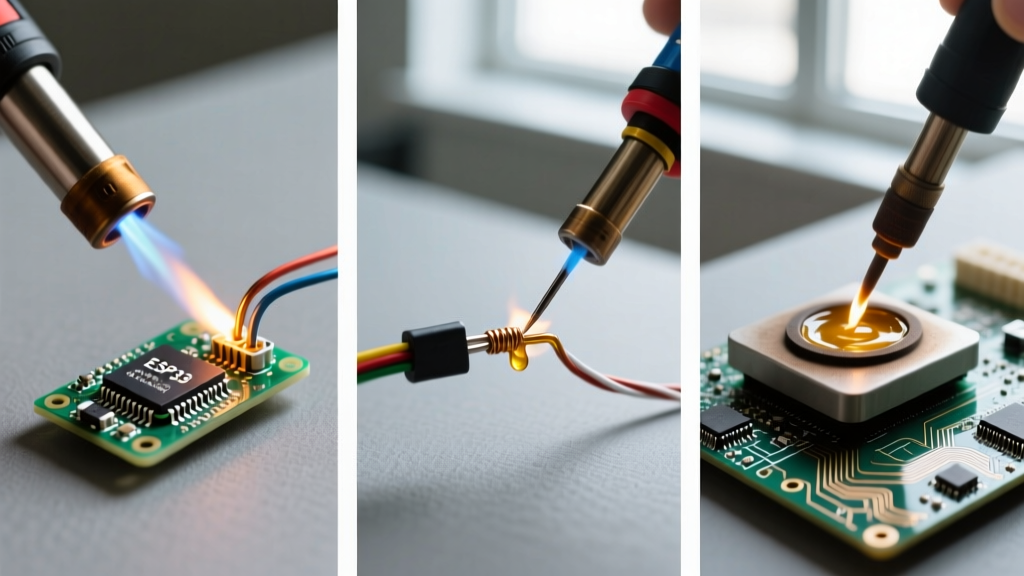

When your primary soldering station dies mid-project, or you find yourself stranded off-grid with a broken connection, knowing how to solder without a soldering machine is a critical survival skill. In the DIY electronics world, a 'soldering machine' typically refers to a temperature-controlled soldering station like the Hakko FX-888D or Weller WE1010. But what happens when you only have hardware store tools and a broken PCB?
This beginner walkthrough will teach you three highly effective, field-tested methods to achieve reliable electrical joints using alternative heat sources. We will cover the physics of thermal transfer, exact material specifications, and the crucial role of flux when you lack precision temperature control.
The Physics of Makeshift Soldering: Alloys and Thermal Mass
Before striking a torch, you must understand your materials. When using improvised heat sources, you cannot rely on the microprocessor-controlled thermal recovery of a modern soldering iron. Therefore, your choice of solder alloy dictates your success.
- Sn63/Pb37 (Eutectic Solder): Melts at exactly 183°C (361°F). It transitions instantly from solid to liquid with no 'plastic' (semi-solid) phase. This is mandatory for DIY methods to prevent cold, disturbed joints.
- SAC305 (Lead-Free): Melts between 217°C and 220°C. It requires significantly more thermal energy and is highly unforgiving when using low-thermal-mass makeshift tools. Avoid this for emergency repairs.
Furthermore, thermal mass is your enemy. A large copper ground plane on a PCB will act as a heatsink, rapidly pulling heat away from your improvised tool. You must use aggressive flux and, when possible, pre-heat the work area.
Method 1: The Makeshift Copper Wire Iron (For Through-Hole & Wires)
This method replicates a traditional soldering iron using the high thermal conductivity of copper (approx. 400 W/m·K). It is ideal for thick wires, XT60 connectors, and large through-hole components.
Materials Required
- 10 AWG or 8 AWG solid bare copper wire (approx. 6 inches long)
- Wooden dowel or thick leather gloves (for a handle)
- Butane torch (e.g., Bernzomatic ST2200T or a high-output culinary torch)
- Kester 44 Rosin-Core Solder (Sn63/Pb37, 0.031-inch diameter)
- Metal file or sandpaper
Step-by-Step Execution
1. Shape the Tip: Use a metal file to taper one end of the copper wire into a flat, chisel-like point. A flat tip maximizes surface area contact, which is vital for thermal transfer.
2. Create a Handle: Wrap the opposite end of the wire tightly around a wooden dowel, or secure it inside a wooden clothespin using hose clamps. Do not hold the wire directly, even with gloves, as heat will travel up the shaft within 60 seconds.
3. Heat and Tin: Ignite your butane torch and apply the blue cone of the flame to the middle of the copper wire, allowing heat to conduct to the tip. Once the tip is hot enough to melt solder (test by tapping the rosin-core solder against it), immediately 'tin' the tip by coating it in a thick layer of molten solder. This prevents copper oxidation.
4. Make the Joint: Apply liquid or paste flux to your target joint. Press the tinned copper tip firmly against the joint. Because copper wire lacks the thermal reservoir of a solid iron core, you must hold it in place 2-3 seconds longer than usual to allow the heat to penetrate the wire strands.
Pro-Tip: Standard disposable lighters do not output enough BTUs to maintain the temperature of a 10 AWG copper wire when it touches a cold metal joint. A dedicated butane torch producing at least 2,000°F (1,093°C) flame temperature is required.
Method 2: The DIY Heat Gun Reflow (For SMD & Fine Pitch)
If you need to solder surface-mount devices (SMD) or reflow a multi-pin IC without a hot air rework station, a standard hardware store heat gun can work if you manage the airflow and temperature profile carefully.
Materials Required
- Standard Heat Gun (e.g., Wagner HT1000, approx. $25 in 2026)
- Solder Paste (Chip Quik SMD291AX10 Sn63/Pb37, approx. $15)
- No-Clean Flux (Amtech NC-559)
- Kapton tape and fine tweezers
The Reflow Profile
Unlike a dedicated machine that follows a precise thermal curve, you must manually simulate the reflow profile by adjusting distance and movement.
- Preparation: Apply a microscopic amount of solder paste to the PCB pads. Place the SMD components using tweezers. Secure surrounding plastic connectors with Kapton tape to prevent melting.
- Pre-Heat (Ramp): Hold the heat gun 6 inches above the board on a low setting. Move it in continuous circles for 30 seconds to bring the entire PCB to roughly 100°C. This prevents thermal shock.
- Reflow: Lower the heat gun to 3 inches above the target component. Keep the gun moving. Watch closely for the solder paste to change from a dull grey to a shiny, liquid silver. This 'wet' phase indicates the 183°C liquidus point has been reached.
- Cool Down: Pull the heat gun away immediately once the solder shines. Do not blow on the board or move it; let it cool naturally in ambient air for 45 seconds to form a strong crystalline structure.
Method 3: The Electric Hotplate Skillet (For Batch Work)
For batch soldering multiple through-hole boards or reflowing entire SMD boards, a cheap electric hotplate or cast-iron skillet on a camp stove acts as a massive, uniform pre-heater and reflow surface.
Place the PCB directly on a skillet heated to 220°C (use an infrared thermometer to verify). The heat transfers through the bottom of the board, heating all pads simultaneously. Apply Sn63/Pb37 solder wire to the top-side pads; it will instantly wick down the plated through-holes via capillary action, provided you have flooded the top side with Kester 186 liquid flux. This method completely eliminates the risk of lifting delicate copper pads caused by aggressive, localized top-down heat.
Comparison Matrix: Alternative Heat Sources
| Method | Max Output Temp | Best Application | Skill Level | Estimated Cost (2026) |
|---|---|---|---|---|
| Copper Wire + Torch | ~1,093°C (Flame) | Thick wires, large through-hole, XT60s | Intermediate | $20 - $35 |
| Hardware Heat Gun | ~370°C (Air) | SMD components, ICs, heat-shrink | Advanced | $25 - $40 |
| Hotplate / Skillet | ~250°C (Surface) | Batch through-hole, bottom-side preheat | Beginner | $15 - $30 |
The Secret Weapon: Aggressive Fluxing
When you learn how to solder without a soldering machine, you quickly realize that flux is more important than the heat source. Improvised tools struggle with temperature regulation, leading to rapid oxidation on the metal surfaces. Oxidation acts as a thermal insulator, preventing the solder from wetting the joint.
Always use a mildly activated rosin flux (RMA) or a no-clean tacky flux. Apply it generously to both the wire and the pad before introducing heat. The flux will chemically strip the oxidation and lower the surface tension of the molten solder, allowing it to flow smoothly even if your copper wire tip has dropped slightly below optimal temperature.
Troubleshooting Common Edge Cases
1. The Solder Balls Up and Refuses to Stick
Cause: The surface is oxidized, or the joint hasn't reached the liquidus temperature. The heat is melting the solder on your tool, but not the metal of the workpiece.
Fix: Remove the heat, apply more liquid flux directly to the joint, and re-apply heat. Ensure your copper wire tip is freshly tinned.
2. SMD Components Blow Away (Heat Gun Method)
Cause: The airflow from a hardware heat gun is vastly higher than a dedicated SMD rework station.
Fix: Use a wider nozzle attachment to diffuse the air pressure, or hold the gun further away (6 inches) and increase the heating time. Always secure lightweight 0402 or 0603 components with a tiny dab of flux tack or secure them with tweezers during the initial melt phase.
3. Dull, Grainy, or Cracked Joints
Cause: You used lead-free solder (SAC305) with an inconsistent heat source, causing the joint to cool through its plastic phase while vibrating, or you moved the wire before the solder fully crystallized.
Fix: Switch exclusively to Sn63/Pb37 eutectic solder for all DIY and emergency repairs. Hold the joint perfectly still for 3 full seconds after removing the heat source.
Safety and Fume Management
Soldering without proper ventilation or temperature control can generate excessive amounts of hazardous fumes. The vaporization of rosin flux creates colophony, a known respiratory sensitizer, while lead-based alloys pose severe toxicity risks if ingested via hand-to-mouth transfer.
According to the CDC NIOSH guidelines on lead exposure, there is no safe level of lead in the blood, making strict hygiene mandatory. Always wash your hands with cold water and soap immediately after handling Sn63/Pb37 solder. Furthermore, the OSHA lead hazard standards emphasize the necessity of local exhaust ventilation. When working off-grid without a commercial fume extractor, position a standard desk fan to blow fumes away from your breathing zone, and work outdoors or in a heavily cross-ventilated area whenever possible. Wear ANSI-rated safety glasses to protect against molten solder splatter, which is highly common when using open-flame butane torches.
Mastering these alternative techniques ensures that a broken tool never stops your progress. By understanding thermal mass, utilizing eutectic alloys, and respecting the chemistry of flux, you can execute professional-grade repairs with nothing more than hardware store supplies.