
The Anatomy of a Watertight Joint: Why Soldering Copper Piping Fails
Soldering copper piping is a foundational plumbing skill that relies on capillary action, metallurgy, and precise thermal management. When executed correctly, a soldered copper joint can easily outlast the building it resides in, maintaining a watertight seal under 150+ PSI of municipal water pressure. However, when DIYers and novice plumbers cut corners, the results are catastrophic: pinhole leaks, joint blowouts, and hidden water damage.
As of 2026, the plumbing industry strictly enforces the EPA's Reduction of Lead in Drinking Water Act, meaning the margin for error with modern lead-free solders is narrower than with legacy 50/50 lead-tin alloys. Lead-free alloys require higher temperatures and flawless joint preparation. Below, we break down the 7 most common mistakes made when soldering copper piping and provide the exact, actionable solutions used by master plumbers.
Mistake 1: Using Steel Wool and Leaving Iron Deposits
The Error: Many DIYers use steel wool to clean the outside of the copper pipe before applying flux. While it removes surface oxidation, steel wool sheds microscopic iron particles that become embedded in the softer copper.
The Science: When water flows through the pipe, these iron particles trigger galvanic corrosion. Because iron and copper have different electrode potentials, an electrolytic cell forms, rapidly eating away at the copper and causing pinhole leaks months or years after installation.
The Solution: Always use a dedicated copper tubing cleaning brush or 120-grit aluminum oxide sandpaper. Sand the pipe until it shines brightly, then immediately apply flux to prevent flash-oxidation from the ambient air. Never touch the cleaned copper with your bare fingers; the oils from your skin will act as a resist, preventing the solder from bonding.
Mistake 2: Overheating and Burning the Flux
The Error: Holding the torch on the joint for too long, waiting for the copper to turn cherry red before applying solder.
The Science: Flux is a mild acid designed to clean oxidation and lower the surface tension of the molten solder. If copper exceeds 800°F (426°C), the flux burns off, turning into a black, crusty carbon residue. Once the flux burns, capillary action dies. The solder will ball up and roll off the joint like water on a hot skillet.
The Solution: Use the correct torch for the pipe size. For 1/2-inch and 3/4-inch residential lines, a standard propane torch (like the Bernzomatic ST2200) is often superior to ultra-hot MAPP gas substitutes (like the TS8000), which can easily overheat small fittings in under 3 seconds. Heat the fitting, not the pipe, and test the temperature by tapping the solder wire to the joint every 3 seconds. The moment the solder flashes and melts instantly, remove the flame.
Quick Reference: Torch & Pipe Size Matrix
| Pipe Diameter | Recommended Fuel | Avg. Heating Time | Common Failure Mode |
|---|---|---|---|
| 1/4" to 3/8" | Propane (Micro-torch) | 3 - 5 seconds | Instant flux burn |
| 1/2" to 3/4" | Propane (Standard) | 7 - 12 seconds | Overheating / blown joints |
| 1" to 1.5" | MAPP / Propylene | 15 - 25 seconds | Underheating / cold joints |
Mistake 3: Ignoring Water in the Line (The Steam Blowout)
The Error: Attempting to solder a vertical or low-lying joint while residual water is trapped inside the pipe.
The Science: Water boils at 212°F (100°C). Solder melts between 430°F and 460°F. If water is present, it turns to steam before the solder melts. Steam expands to 1,600 times the volume of liquid water. This rapid expansion will violently blow the molten solder out of the joint cavity, resulting in a porous, leaking mess.
The Solution: Gravity drain the system by opening the highest and lowest fixtures in the house. If water still weeps from the joint, use the 'white bread trick' (stuffing a piece of crustless white bread up the pipe to temporarily dam the water—the bread will safely dissolve when the water is turned back on). For a professional approach, use an inflatable pipe bladder like the Oatey Mini-Ball (approx. $15) inserted via an upstream access point.
Mistake 4: Choosing the Wrong Solder Alloy
The Error: Using 50/50 tin-lead solder on potable water lines, or using standard 95/5 solder on high-vibration refrigerant lines.
The Science: The EPA strictly mandates lead-free materials for potable water. Furthermore, different alloys have distinct tensile strengths and melting points. Using the wrong alloy leads to joint fatigue or toxic contamination.
2026 Solder Alloy Selection Guide
| Alloy Composition | Melt Temp (°F) | Primary Application | 2026 Avg. Cost (1lb Spool) |
|---|---|---|---|
| 95/5 Tin-Antimony | 441°F - 495°F | Potable water lines (Residential) | $22 - $28 |
| Lead-Free Silver (97/3) | 430°F - 460°F | High-pressure / Vibration lines | $65 - $85 |
| 50/50 Tin-Lead | 361°F - 421°F | Electronics / Drain lines ONLY | $18 - $24 |
| 15% Silver Brazing Rod | 1,200°F+ | HVAC Refrigerant / Medical Gas | $90 - $120 |
Mistake 5: Feeding Solder to the Flame Instead of the Joint
The Error: Melting the solder wire directly with the torch flame and letting it drip onto the outside of the fitting.
The Science: Soldering copper piping is not welding; it is brazing via capillary action. The solder must be drawn into the microscopic gap (0.001 to 0.005 inches) between the pipe and the fitting by thermal attraction. If you melt it on the outside, it forms a superficial 'wiping' bead that holds zero structural integrity.
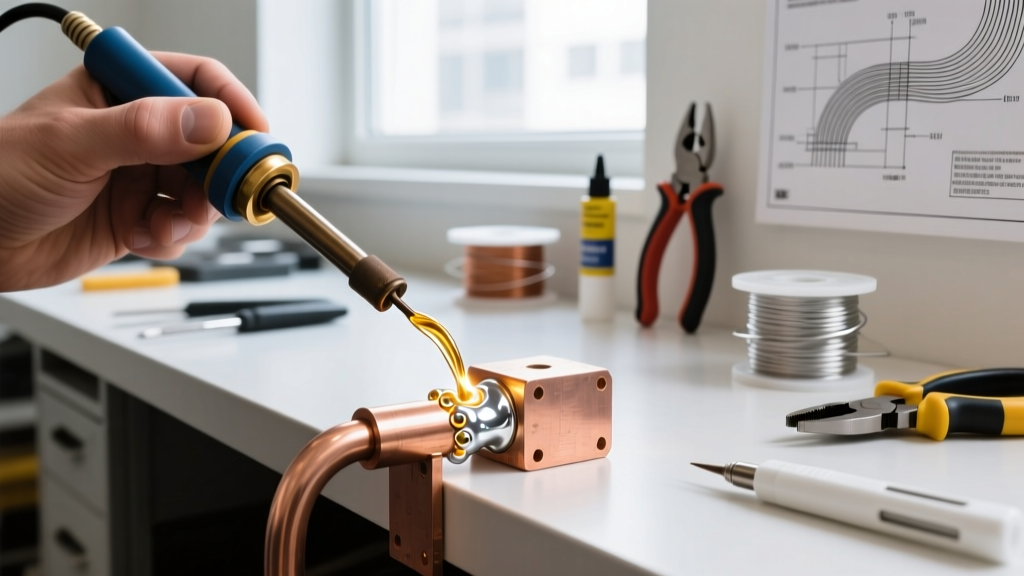
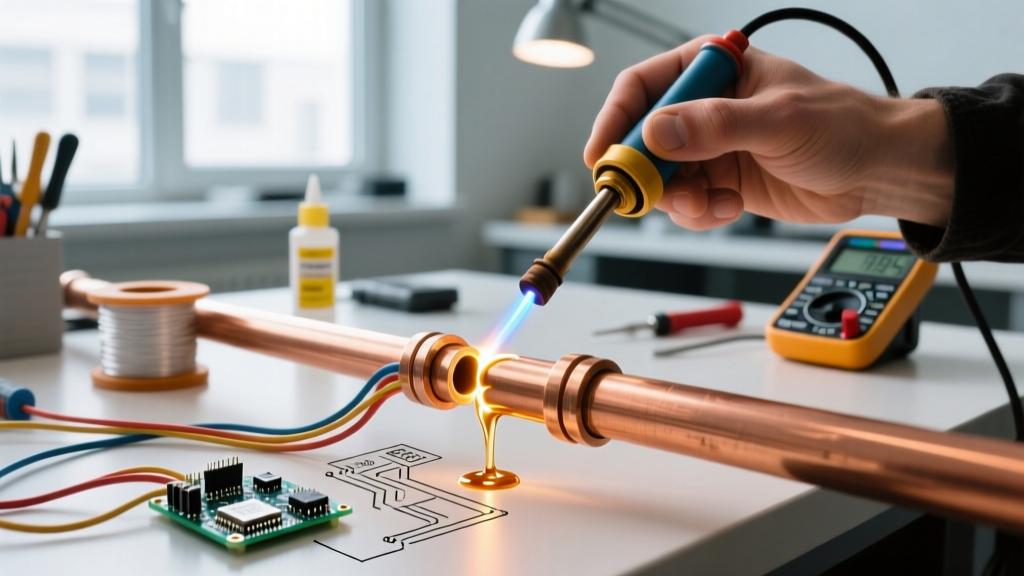
The Solution: Remove the flame from the joint completely. Touch the solder wire to the opposite side of the joint from where you applied the heat. If the fitting is at the correct temperature, capillary action will instantly suck the solder deep into the joint cavity. For a 1/2-inch joint, you need exactly 1/2-inch to 3/4-inch of solder wire. For a 3/4-inch joint, you need 1 inch. When a complete silver ring appears around the entire seam, the joint is full.
Master Plumber's Rule of Thumb: "Heat the hub, feed the pipe. If you are melting the wire with the blue cone of your flame, you are gluing, not soldering. The copper must do the melting."
Mistake 6: Quenching with a Wet Rag Too Early
The Error: Wiping the joint with a soaking wet rag immediately after soldering to 'speed up' the cooling process or clean off excess flux.
The Science: Copper and solder have different coefficients of thermal expansion. Hitting a 450°F joint with cold water causes rapid thermal contraction. This thermal shock can induce micro-fractures inside the solder matrix, leading to delayed pinhole leaks that only manifest once the system is pressurized and subjected to water hammer.
The Solution: Allow the joint to air-cool for at least 60 to 90 seconds until the silver solder dulls to a matte gray. Once it is safe to touch, use a damp (not wet) rag to wipe away the acidic flux residue. Leaving water-based flux on the pipe will cause green exterior corrosion (verdigris) within weeks.
Mistake 7: Inadequate Pipe Insertion Depth
The Error: Cutting the pipe slightly short so it doesn't fully seat against the internal shoulder of the fitting cup.
The Science: The structural strength of a soldered joint relies on the overlap surface area. A standard 1/2-inch copper fitting has a cup depth of roughly 5/8-inch. If the pipe only penetrates 1/4-inch, you have reduced the shear strength of the joint by 60%. Under the stress of thermal expansion and water hammer, the joint will physically tear apart.
The Solution: Always measure the depth of the fitting cup with a ruler or depth gauge before cutting. Mark the pipe with a sharpie or scribe, and insert it fully until it bottoms out against the internal stop. Give the pipe a slight twist as you seat it to ensure the flux is distributed evenly across the entire mating surface.
Pro-Troubleshooting Matrix: Diagnosing Solder Failures
Even with meticulous preparation, issues can arise during pressure testing. Use this matrix to diagnose and repair failed joints without tearing out the entire assembly.
| Symptom | Root Cause | The Fix |
|---|---|---|
| Solder balls up and rolls off | Flux burned off / Joint overheated | Let cool, disassemble, sand to bare copper, re-flux, and re-solder. |
| Solder only penetrates halfway | Joint underheated / Trapped air pocket | Apply more heat to the base of the fitting; ensure pipe is fully seated to vent air. |
| Pinhole weeping at the seam | Water was in the line (steam blowout) | Drain system completely. Use bread or inflatable bladder to block residual water. |
| Dull, grainy, cracked solder | Joint moved before cooling (Cold Joint) | Reheat until solder flows completely liquid, hold perfectly still, air cool. |
Final Thoughts on Copper Soldering Mastery
Mastering the art of soldering copper piping requires patience and an understanding of the metallurgy at play. By abandoning bad habits like using steel wool, overheating the fitting, and quenching with water, you will produce joints that meet the rigorous standards outlined by the Copper Development Association. Invest in quality tools—a reliable propane torch, a dedicated tubing cutter that leaves square edges, and premium 95/5 lead-free solder—and treat every joint as if it were buried behind a finished drywall ceiling. For further visual guidance on capillary draw techniques, This Old House offers excellent archival footage on torch manipulation for tight spaces.