
The Science of the Sweat Joint: Capillary Action Explained
When beginners approach soldering copper plumbing fittings, they often mistake the process for welding or gluing. In reality, a successful plumbing joint relies entirely on capillary action. As the copper fitting reaches the correct thermal threshold, the flux cleans the microscopic pores of the metal, allowing the molten solder to be drawn upward into the narrow gap between the pipe and the fitting. If the gap is too wide (due to poor manufacturing) or too dirty (due to skipped prep work), capillary action fails, resulting in pinhole leaks that may not manifest until the system is pressurized weeks later.
This 2026 walkthrough strips away the guesswork, providing exact temperatures, specific tool models, and professional edge-case troubleshooting to ensure your copper joints are watertight on the first try.
Essential Tool Kit & 2026 Material Costs
Do not compromise on your heat source or cutting tools. A standard hardware store blowtorch will not generate the localized BTU output required for efficient capillary draw on larger diameter pipes. Below is the professional-grade starter kit required for reliable results:
| Item | Recommended Model / Spec | Approx. 2026 Cost | Purpose |
|---|---|---|---|
| Torch Head | Bernzomatic TS8000 (Swirl Flame) | $89.00 | Concentrates high-BTU heat evenly around the fitting. |
| Fuel Cylinder | MAP-Pro (Yellow Cylinder) | $15.50 | Burns at 3,730°F in air; significantly hotter than standard propane. |
| Tubing Cutter | RIDGID 151 (1/8" to 1 1/8") | $28.00 | Ensures a perfectly square cut, vital for proper seating. |
| Solder Alloy | Oatey Safe Flo 95/5 Lead-Free | $19.00 (8oz) | 95% Tin, 5% Antimony. Melts at 452°F - 572°F. Potable water safe. |
| Flux Paste | Oatey No-Clean or LA-CO Regular | $9.00 | Removes oxidation and prevents burning during heat application. |
| Abrasive | Scotch-Brite Heavy Duty + Emery Cloth | $8.00 | Polishes copper to a bright, oxide-free finish. |
Total estimated investment for a professional-grade setup: ~$168.50.
Step-by-Step Soldering Walkthrough
Phase 1: Precision Cutting and Reaming
Cut the copper pipe using the RIDGID tubing cutter. Rotate it around the pipe, tightening the knob slightly with each pass. Critical Step: You must use the reamer attachment on the back of the cutter to remove the internal burr left by the cutting wheel. If you skip this, the burr creates water turbulence (eddy currents) inside the pipe, which will cause internal erosion and pinhole leaks within 3 to 5 years.
Phase 2: Mechanical Cleaning
Use the emery cloth to polish the outside of the pipe until it shines like a new penny. Use a wire brush to clean the inside of the fitting. You are removing cupric oxide (the dark tarnish). Solder will not bond to oxidized copper, no matter how much heat you apply.
Phase 3: Flux Application
Apply a thin, even layer of flux to the outside of the pipe and the inside of the fitting using an acid brush. Do not drown the joint. Excess flux will boil and create pockets inside the joint, displacing the solder. Push the fitting onto the pipe and give it a quarter-turn to spread the flux evenly. Wipe away any extruded flux with a rag.
Phase 4: Thermal Dynamics (Heating the Fitting)
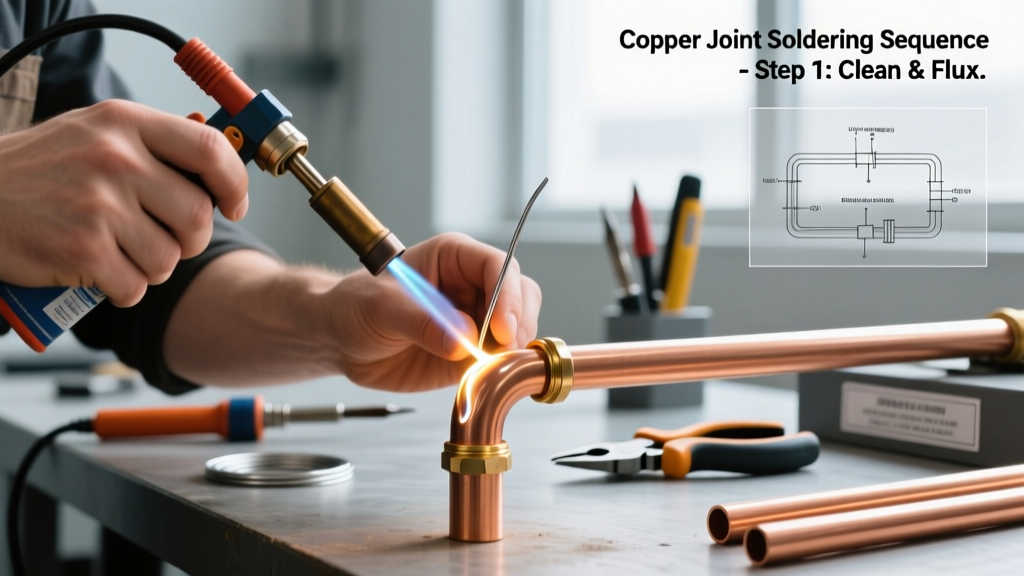
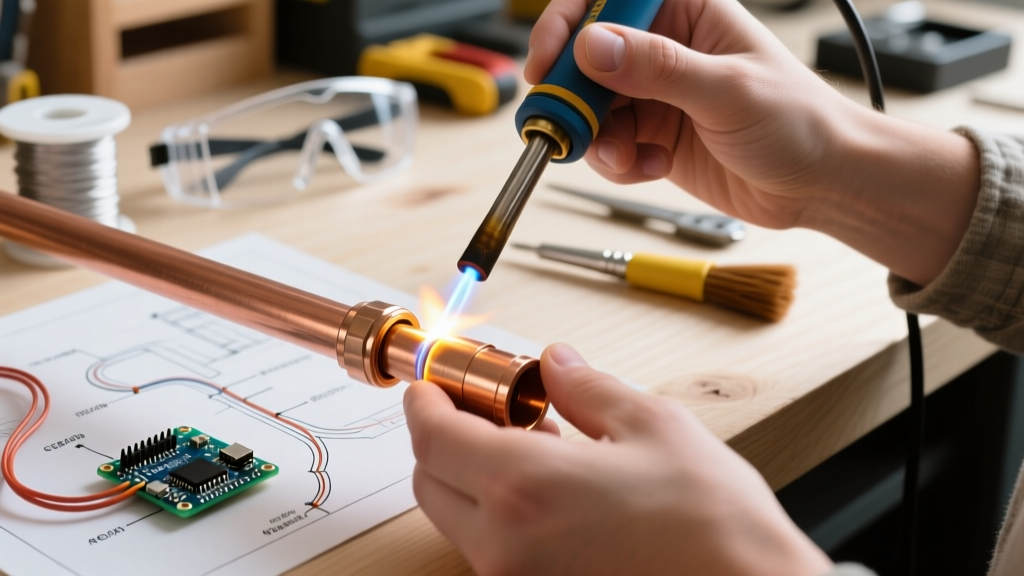
Ignite the TS8000 torch and apply the flame to the fitting, not the pipe. The fitting has more thermal mass and requires more energy to reach the 450°F+ threshold. Keep the flame moving in a circular motion around the middle of the fitting. Avoid pointing the flame directly at the solder joint line, as this will burn the flux before the deeper copper reaches temperature.
Phase 5: The Capillary Draw
After 4 to 6 seconds of heating (for a 1/2-inch joint), remove the flame and touch the solder wire to the opposite side of the joint from where you were heating. If the copper is at the correct temperature, the solder will instantly melt and be sucked into the joint. You should see a continuous silver ring form around the entire perimeter. For a 1/2-inch joint, this takes roughly 1/2 inch of solder wire. For a 3/4-inch joint, it takes about 3/4 inch.
Troubleshooting Edge Cases & Failure Modes
Even experienced plumbers encounter variables in the field. Here is how to diagnose and fix the most common soldering failures:
The Solder Balls Up and Refuses to Enter the Joint
- Cause 1: Cold Joint. The fitting hasn't reached the melting point of the solder. Fix: Apply more heat to the fitting body, not the solder.
- Cause 2: Burnt Flux. If you overheat the copper, the flux turns into a black, crusty carbon residue that actively blocks solder adhesion. Fix: Let the joint cool completely, pull it apart with pliers, sand off the burnt residue, re-flux, and try again.
The "Wet Pipe" Dilemma (Steam Blowouts)
If you are repairing an existing line and cannot drain all the water out, the trapped water will turn to steam when you apply the torch. Steam expands 1,600 times its liquid volume and will blow the molten solder right out of the joint, causing a catastrophic leak.
The Plumber's Bread Trick: If a pipe won't drain, push a tight wad of plain white bread into the pipe upstream of your joint. The bread will act as a temporary dam, allowing you to solder a dry joint. Once the system is pressurized, the bread will instantly dissolve and flush out through the nearest faucet aerator. Just remember to remove the aerator before turning the water back on!
Lead-Free Compliance and Safety
As mandated by the EPA Lead-Free Drinking Water Act, any solder used on potable water lines must contain less than 0.2% lead. The old-school 50/50 (Tin/Lead) solder is strictly illegal for drinking water and is now only sold for drainage or electrical applications. Furthermore, the CDC guidelines on drinking water emphasize that using proper lead-free alloys like 95/5 or silver-bearing solder is critical for long-term household health. Always verify the packaging explicitly states 'Lead-Free' and 'Potable Water Safe' before purchasing.
Final Inspection and Cooling
Allow the joint to cool naturally for at least 3 minutes. Never quench a hot copper joint with a wet rag or water. Rapid thermal contraction can warp the copper and create microscopic fractures in the crystalline structure of the solder alloy, leading to delayed fatigue failures. Once cool, wipe the joint with a damp rag to remove the acidic flux residue, which can corrode the exterior of the copper over time if left untreated. Inspect the joint for a smooth, continuous silver fillet. If you see any dull, gray, or grainy spots, you have a cold joint that must be reheated and re-flowed before pressurizing the system.