
The Metallurgy of Soldering Copper Tubing
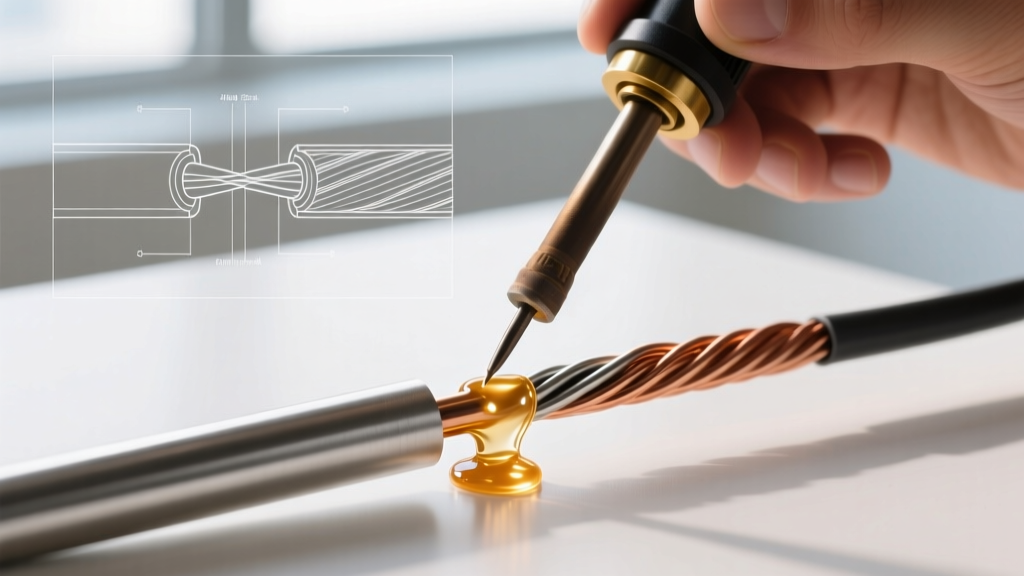
Unlike welding, which melts the base metals to fuse them, soldering copper tubing relies entirely on capillary action and metallurgical wetting. When executed correctly, the solder alloy is drawn into the microscopic clearance between the pipe and the fitting (ideally 0.001 to 0.005 inches) by surface tension. If the copper surface is oxidized, the solder will bead up and fail to wet the metal, resulting in a catastrophic leak under pressure. Understanding this material-specific behavior is the difference between a joint that lasts 50 years and one that fails in 50 minutes.
As of 2026, the DIY and professional plumbing landscapes have shifted heavily toward lead-free alloys and high-efficiency MAP-Pro torches, making older tutorials outdated. This guide provides the exact thermal parameters, flux chemistries, and execution steps required for modern copper tubing applications, whether you are building a custom PC fluid-cooling loop, repairing residential plumbing, or fabricating HVAC refrigerant lines.
2026 Gear & Material Selection Matrix
Selecting the correct thermal output and alloy is critical. Using a low-temperature propane torch on a 3/4-inch copper joint will result in a cold joint because the thermal mass of the copper dissipates the heat faster than the torch can apply it. Below is the current market snapshot for essential gear.
| Equipment / Material | Specific Model / Type | Operating Temp / Melt Point | 2026 Est. Cost | Best Application |
|---|---|---|---|---|
| Torch Head | Bernzomatic TS8000 | Flame: ~3,730°F (MAP-Pro) | $65 - $75 | 1/2" to 1" tubing, fast heat-up |
| Fuel Cylinder | Worthington 335736 MAP-Pro | Burns 15% hotter than propane | $16 - $19 | Overcoming thermal mass in fittings |
| Flux (Paste) | Oatey No. 5 Paste Flux | Active up to 600°F | $6 - $8 | General plumbing, vertical joints |
| Flux (Liquid) | Harris Stay-Clean Liquid | Active up to 800°F | $8 - $12 | HVAC, refrigeration, horizontal runs |
| Solder (Water) | Oatey Safe Flo 95/5 (Tin/Antimony) | 452°F - 464°F (234°C - 240°C) | $25 / 8oz spool | Potable water lines (Lead-Free) |
| Solder (HVAC) | Harris Stay-Brite 8 (Silver-bearing) | 535°F - 575°F (280°C - 302°C) | $35 / kit | High-pressure refrigerant lines |
Surface Preparation: The 120-Grit Rule
Capillary action cannot overcome copper oxide. The shiny surface of new copper tubing is a lie; within hours of manufacturing, a microscopic layer of oxidation forms. You must mechanically and chemically remove this layer immediately before soldering.
- Cut Square: Use a rotary tubing cutter, not a hacksaw. A hacksaw leaves burrs that disrupt the 0.003-inch clearance required for capillary flow. Ream the inside of the tube with the cutter's deburring tool to prevent water turbulence and erosion-corrosion.
- Mechanical Abrasion: Use 120-grit aluminum oxide sandpaper or a dedicated copper wire fitting brush. Sand the outside of the pipe until it gleams like a new penny. Brush the inside of the fitting until the shine is uniform. Never touch the cleaned surfaces with your bare fingers; the oils from your skin will contaminate the joint.
- Chemical Fluxing: Apply a thin, even layer of flux to the outside of the pipe. Insert the pipe into the fitting, give it a quarter-turn to spread the flux evenly, and wipe away any excess from the exterior with a rag. Excess exterior flux will boil and leave corrosive residue.
Step-by-Step Execution: The 15-Second Thermal Cycle
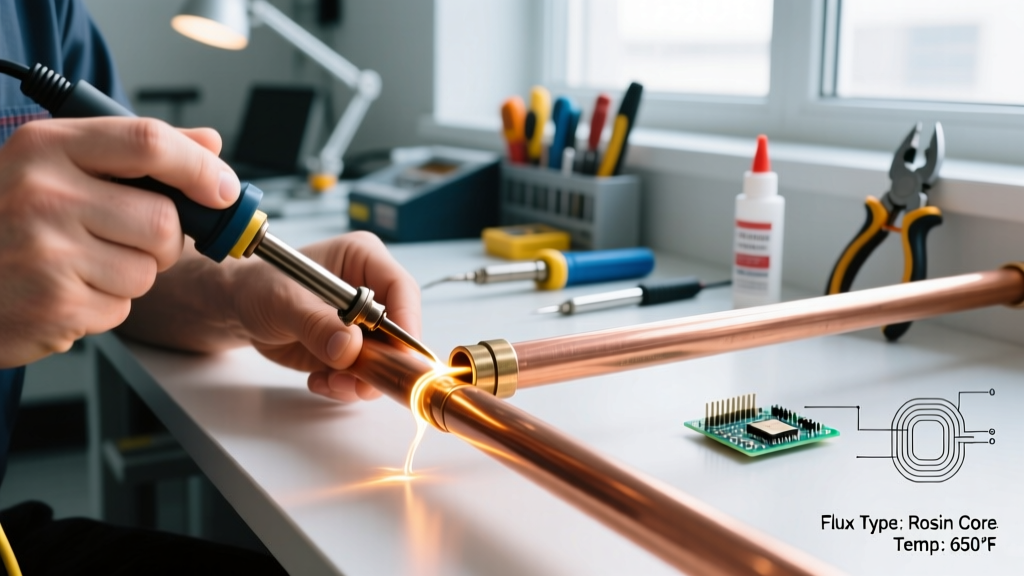
The most common failure mode for DIYers is heating the solder instead of the copper. The copper must reach the melting point of the solder; the torch flame should never touch the solder wire directly.
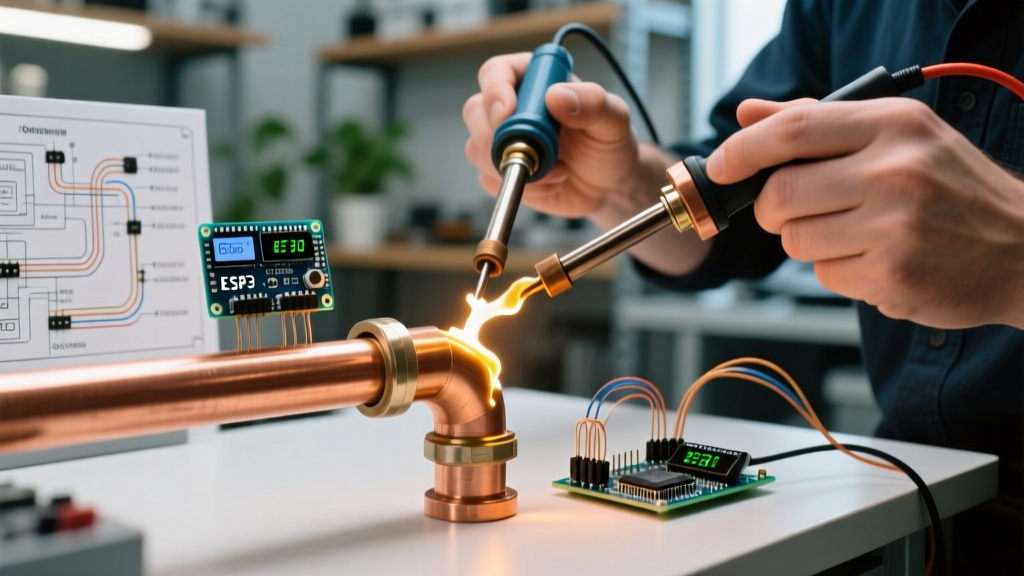
- Position the Flame: Ignite your TS8000 torch with MAP-Pro. Apply the inner blue cone of the flame to the fitting, not the pipe. The fitting has more mass and requires more thermal energy. Keep the flame moving in a circular motion around the fitting to ensure even heat distribution.
- The 15-Second Mark: For standard 1/2-inch Type L or Type M copper tubing, it should take exactly 12 to 18 seconds of direct MAP-Pro heat to reach soldering temperature. For 3/4-inch tubing, expect 20 to 30 seconds.
- Test the Joint: Remove the flame and touch the solder wire to the joint opposite where the flame was applied. If the copper is at the correct temperature (approx. 450°F+), the solder will instantly flash-melt and be sucked into the fitting via capillary action.
- Feed the Solder: Feed the wire steadily until a continuous silver bead appears around the entire circumference of the joint. For a 1/2-inch joint, this requires roughly 1/2 inch of 1/8-inch diameter solder wire. For 3/4-inch, use roughly 3/4 inch of wire.
- Cool and Clean: Allow the joint to cool naturally for at least 60 seconds. Quenching with a wet rag can cause micro-fractures in the solder crystalline structure. Once cool, wipe the joint with a damp rag to neutralize and remove residual flux, which is highly corrosive over time.
The Water Trap: Managing Thermal Sinks in Active Lines
If you are repairing an existing plumbing line, even a single drop of water trapped inside the copper tubing will act as a massive heat sink. Water boils at 212°F (100°C), creating steam pressure that pushes outward, preventing the solder from flowing inward and causing blowouts.
Pro-Tip: Never rely on the 'white bread' trick in 2026. While stuffing plain white bread into the pipe to block water is an old plumber's myth that sometimes works, it can clog aerators and ice-maker valves. Instead, use a water-soluble dissolvable plug like the RectorSeal Magic Plug ($12 for a tube). It blocks water during soldering and dissolves completely harmlessly once the water is turned back on.
Failure Mode Troubleshooting Matrix
When a joint fails a pressure test, the visual evidence on the copper will tell you exactly what went wrong in your thermal cycle.
- Cold Joint (Solder blobs on the outside): The copper did not reach the melting point of the alloy. The solder melted from the torch's radiant heat but failed to wet the metal. Fix: Re-flux, reheat the fitting longer, and ensure you are using MAP-Pro, not standard propane.
- Burnt Flux (Black, crusty residue, solder won't flow): You overheated the copper past 800°F, carbonizing the flux. The carbonized flux acts as a physical barrier to capillary action. Fix: You must disassemble the joint, mechanically sand off the burnt carbon, and start over. You cannot simply add more flux over burnt flux.
- Capillary Starvation (Solder ring on outside, empty inside): The joint was overheated, causing the flux to boil out before the solder was applied, or the clearance was too tight due to a manufacturing defect in the fitting. Fix: Disassemble and verify fitting tolerances.
Code Compliance & Environmental Safety
When soldering copper tubing for potable water systems, adherence to environmental and safety codes is non-negotiable. The EPA's Lead-Free mandate guidelines strictly prohibit the use of any solder containing more than 0.2% lead for drinking water lines. The old standard of 50/50 Tin-Lead solder is entirely illegal for potable water and should only be used for non-pressurized drain lines or stained glass crafts.
Furthermore, the Copper Development Association (CDA) emphasizes that proper ventilation is required when using liquid or paste fluxes, as the vaporized rosin and zinc chloride can cause severe respiratory irritation. Always use an inline exhaust fan or work in a cross-ventilated environment when executing multiple joints in enclosed spaces like crawlspaces or utility closets.
Mastering the material-specific nuances of soldering copper tubing transforms a frustrating, leak-prone chore into a highly reliable, satisfying mechanical process. Respect the thermal mass, honor the capillary clearances, and let the metallurgy do the heavy lifting.