
The Physics of Sweat Soldering
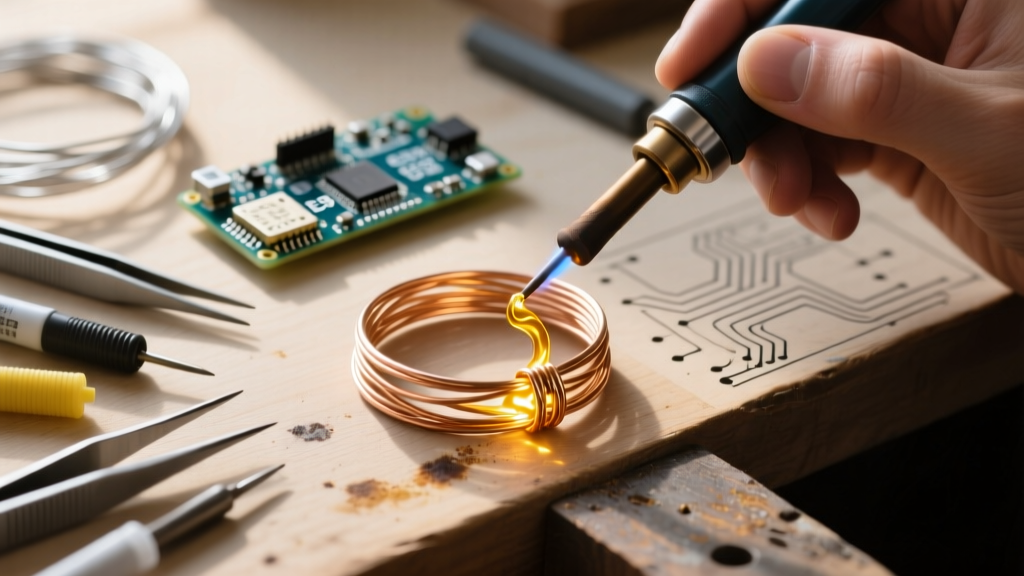
Sweat soldering is an advanced jewelry fabrication technique used to join two flat or slightly curved metal surfaces—such as attaching a bezel wire to a backplate or layering two sheet metal pendants—without leaving visible solder seams on the exterior. Unlike traditional soldering where a chip of solder is placed at the edge of a joint and drawn in by heat, sweat soldering relies on pre-flowing. By melting a thin layer of solder entirely across the bottom of the top component first, you create a uniform 'sweat' layer. When the two pieces are mated and reheated, capillary action and surface tension pull the molten alloy into the microscopic valleys of the bottom piece, creating a seamless, structurally sound bond.
Essential 2026 Workbench Setup
To execute this technique flawlessly, your thermal control must be precise. Overheating will pit the silver, while underheating will result in a cold, crystalline joint. Below is the recommended professional-grade setup for the modern jeweler's bench.
| Equipment / Material | Specific Model / Grade | Est. 2026 Price | Purpose |
|---|---|---|---|
| Oxy-Propane Torch | Smith Little Torch (Model 23-1001D) | $135.00 | Pinpoint thermal control with interchangeable tips. |
| Torch Tip | Smith #5 (Green) | $28.00 | Provides a broad, soft flame for even sheet heating. |
| Silver Solder | Harris Stay-Silv 5% (Hard Grade) | $45.00 / oz | Flows at 1390°F (755°C); essential for the pre-flow step. |
| Flux | Batterns Self-Pickling Flux | $22.00 / pint | Fluoride-based flux that prevents oxidation during pre-flow. |
| Pickle Solution | Sparex 2 (Sodium Bisulfate) | $18.00 / 5 lbs | Removes copper oxides; heated to 140°F (60°C). |
Step-by-Step Execution
Phase 1: Surface Mating and Degreasing
Capillary action fails if the mating surfaces are not perfectly flat or are contaminated with skin oils. Use a #2 cut hand file on your bench pin to true the bottom edge of your bezel or top layer. Check the mating by placing the top piece on a piece of optical glass; if it rocks, file it further. Once flat, scrub both pieces with a brass brush and pumice powder, followed by an ultrasonic bath in warm distilled water and a drop of ammonia-free dish soap. Rinse and dry with a lint-free cloth. Do not touch the mating surfaces with your bare fingers after this step.
Phase 2: Fluxing and Pallion Sizing
Cut your Hard grade silver solder into microscopic pallions, roughly 1.0mm x 1.0mm. For a standard 22mm round bezel backplate, you will need approximately 6 to 8 pallions. Apply a thin, even coat of Batterns flux to the bottom exterior of the top piece (the piece that will eventually face up when worn). Using a flux brush, pick up your pallions and space them evenly across the fluxed area. They should be distributed in a grid or circular pattern, avoiding the extreme outer edges to prevent solder bleed-over.
Phase 3: Pre-Flowing (Creating the 'Sweat')
Place the top piece on a soldering block (magnesium oxide or ceramic fiber). Ignite your Smith Little Torch with the #5 tip. Adjust the gas flow to achieve a soft, bushy flame. The Technique: Do not aim the flame directly at the solder pallions. Instead, use the outer envelope of the flame to heat the metal around the pallions. As the silver reaches 1390°F, the flux will bubble, turn glassy, and the pallions will suddenly flash and flatten into a mirror-like pool. The moment the solder flows, remove the heat instantly. If you hold the heat too long, the zinc in the silver solder will vaporize, leaving a pitted, porous surface.
Phase 4: The Pickle Bath
Using cross-locking titanium or copper tweezers, transfer the pre-flowed piece to your warm Sparex 2 pickle pot (maintained at 140°F). Let it sit for 3 to 5 minutes to dissolve the glassy flux residue and surface oxides. Rinse in clean water and dry thoroughly with compressed air or a dedicated jeweler's towel. The bottom of the top piece should now look like it has been plated with a dull, frosty layer of silver—that is your 'sweat'.
Phase 5: The Final Capillary Draw
Apply a very light coat of flux to the top surface of your bottom backplate. Carefully align the pre-flowed top piece onto the backplate. The Critical Rule: Apply the heat to the bottom piece (the backplate), not the top piece. By heating the bottom metal, you create a thermal gradient. The heat travels up through the backplate, melting the pre-flowed solder on the piece above it. Because heat naturally draws molten solder toward the hottest mass, the solder will be pulled aggressively down into the joint via capillary action. Watch for a tiny, bright flash of silver at the perimeter seam—that is your visual cue that the joint has fully flowed. Quench, pickle, and rinse.
Flame Chemistry and Temperature Control
Understanding your torch's flame chemistry is what separates a novice from a master. According to metallurgical guidelines documented by industry experts at Ganoksin, a standard oxy-propane flame has three distinct zones:
- The Oxidizing Zone (Inner Cone): The sharp, bright blue tip. This zone is oxygen-rich and will cause severe firescale (black copper oxide) on sterling silver. Never use this zone for sweat soldering.
- The Reducing Zone (Just past the cone): The slightly softer, darker blue area. This is the 'sweet spot' for jewelry soldering. It actively strips oxygen from the metal surface, keeping it clean for the solder to wet.
- The Outer Envelope: The large, pale, almost invisible outer flame. Use this for broad, gentle heating during Phase 3 to bring the entire sheet up to temperature evenly without localized hot spots.
Troubleshooting Matrix
| Failure Mode | Root Cause | Corrective Action |
|---|---|---|
| Solder balls up and refuses to flatten during pre-flow. | Metal surface is dirty, oxidized, or flux has burned off. | Re-pickle, re-scrub with pumice, and apply a fresh, thicker coat of Batterns flux. |
| Sweat layer looks pitted and gray. | Overheating caused zinc vaporization (burning the solder). | File off the pitted solder completely. Use a larger torch tip for broader, gentler heat. |
| Joint fails to pull together in Phase 5. | Heating the top piece instead of the bottom piece. | Always direct the reducing flame at the bottom backplate to draw the solder downward. |
| Solder bleeds over the edge of the bezel. | Too many pallions used, or placed too close to the edge. | Reduce pallion count by 30% and keep them 1.5mm away from the perimeter. |
Expert Safety Note for 2026: Always verify that your silver solder alloys are certified Cadmium-Free. Cadmium vaporizes at relatively low temperatures and is highly toxic when inhaled. Major suppliers like Rio Grande have strictly transitioned to cadmium-free formulations, but always check the Safety Data Sheet (SDS) when sourcing scrap or vintage solder stocks. Ensure your bench is equipped with a localized fume extractor rated for fluoride and heavy metal particulates.
Mastering sweat soldering jewelry requires patience and an intimate understanding of thermal dynamics. By respecting the pre-flow process, maintaining immaculate surface prep, and leveraging capillary action through precise bottom-heating, you will achieve invisible, structurally permanent joins that elevate your jewelry fabrication to a professional standard.