
The Delicate Art of Soldering Stained Glass
Unlike electronics assembly, where the goal is purely electrical conductivity and mechanical rigidity, soldering stained glass requires a delicate balance of structural integrity, watertight sealing, and aesthetic beauty. Whether you are utilizing the copper foil method (Tiffany style) or the traditional lead came technique, the soldering iron is your primary sculpting tool. However, the transition from basic crafting to professional-grade glass art is often hindered by persistent technical errors. According to the Stained Glass Association of America (SGAA), improper heat management and flux misapplication account for over 70% of structural failures and aesthetic defects in beginner panels.
In this comprehensive guide, we will dissect the seven most common mistakes artisans make when soldering stained glass and provide exact, actionable solutions to achieve perfectly smooth, rounded seams every time.
Mistake 1: Using the Wrong Solder Alloy for the Method
Not all solder is created equal. Using an electronics-grade lead-free solder or the wrong tin-to-lead ratio will result in lumpy seams, poor adhesion, and potential glass breakage due to excessive heat requirements.
The Alloy Breakdown
| Alloy Type | Composition | Melting Point | Best Application | Optimal Iron Temp |
|---|---|---|---|---|
| 60/40 Solder | 60% Tin, 40% Lead | 361°F (183°C) | Copper Foil Method | 700°F - 750°F |
| 50/50 Solder | 50% Tin, 50% Lead | 412°F (211°C) | Lead Came Method | 750°F - 800°F |
| Lead-Free | 95% Tin, 5% Antimony | 464°F (240°C) | Jewelry / Strict Codes | 800°F - 850°F |
The Solution: For standard copper foil work, exclusively use 60/40 solid core solder (typically in 0.062-inch diameter). The higher tin content provides a wider 'plastic range'—the temperature window where the solder is semi-solid and can be sculpted into a smooth, rounded bead before it flashes into a liquid. Never use acid-core plumbing solder or rosin-core electronics solder; the internal fluxes will violently spit and leave corrosive residues that destroy copper foil over time.
Mistake 2: Inadequate or Incorrect Flux Application
Flux is the chemical catalyst that removes oxidation from the copper foil and allows the molten solder to wet the surface. A common failure mode is applying too little flux, resulting in 'cold joints' where the solder beads up and rolls off the foil. Conversely, drowning the panel in liquid flux causes violent splattering and leaves a sticky, corrosive residue that is nearly impossible to clean from the glass crevices.
Expert Recommendation: Switch to a high-quality gel flux like Novacan Super Pro Gel or Glastar Gel Flux. Gel flux clings to vertical surfaces and copper foil edges without running into the heart of the glass pieces. Apply a thin, even coat using a dedicated flux brush, covering only the 12 to 18 inches of seam you intend to solder in the next five minutes.Mistake 3: Iron Temperature Mismanagement
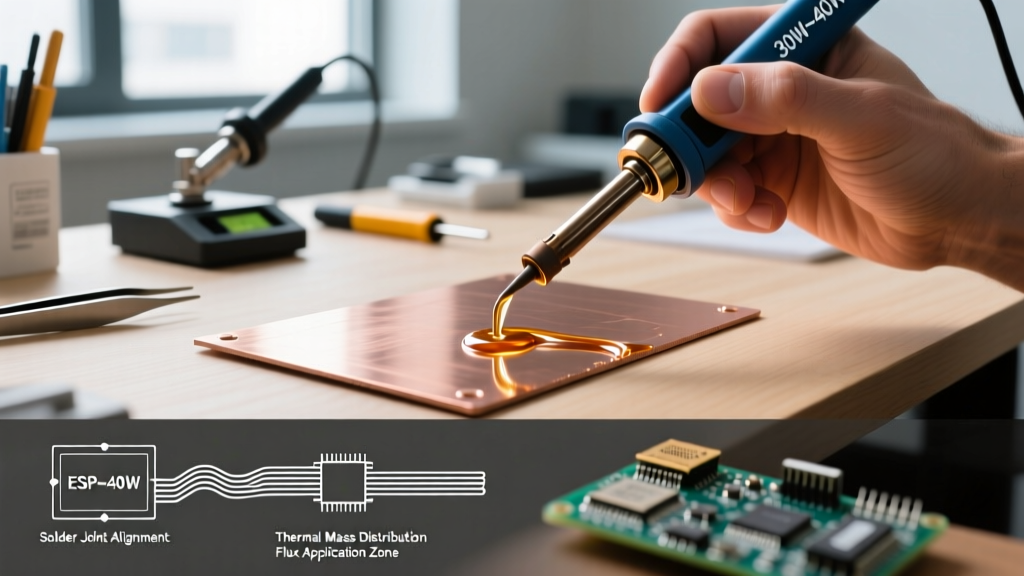
Many hobbyists attempt to solder stained glass using a generic, fixed-wattage 40W craft iron. These irons lack the thermal recovery rate necessary to maintain a stable temperature when the massive heat sink of a glass panel draws energy away from the tip. When the tip temperature drops below the solder's liquidus point, the artisan pushes harder, risking foil tearing and glass scratches.
The Solution: Invest in a temperature-controlled soldering station with a ceramic heating element. The Hakko FX-601 (priced around $85) or the Weller WLC100 (around $60) are industry standards for glass artists. According to Hakko USA's thermal guidelines, a ceramic heater maintains tip temperature within 5°F of the dial setting, even under heavy thermal loads. Set your dial to 725°F for 60/40 solder on flat panels, and increase to 750°F when soldering heavy 3D structural joints or lampshades where heat dissipation is rapid.
Mistake 4: Pacing and Dwell Time Errors
Soldering stained glass is an exercise in rhythm. Moving the iron too quickly leaves a starved, lumpy, and jagged seam. Moving too slowly melts the adhesive backing on the copper foil, causing it to lift, and risks thermal shock to the glass.
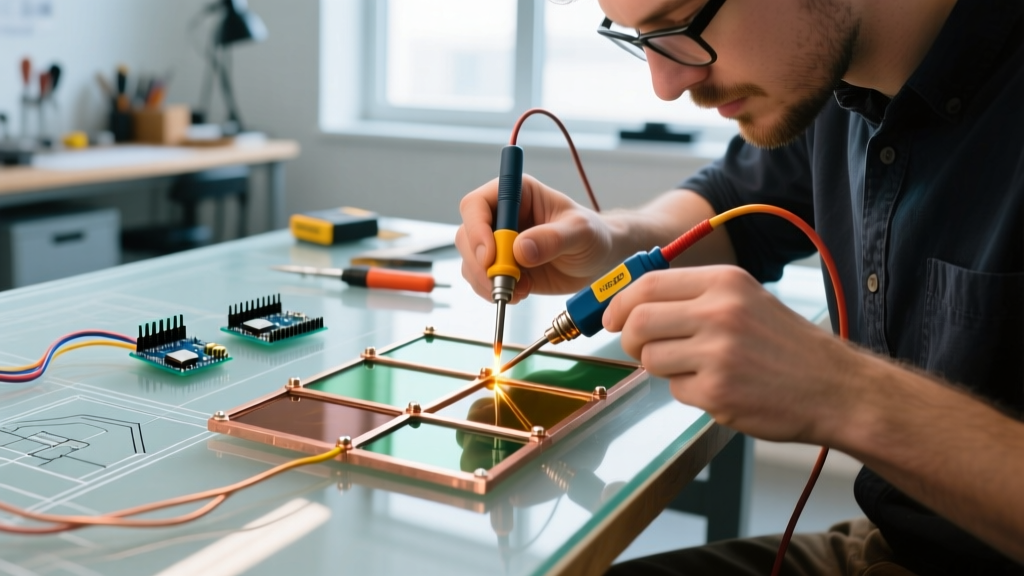
The Solution: Adopt the 'Feed and Glide' technique. Hold the iron at a 45-degree angle. Feed the solder wire directly into the leading edge of the iron's tip, not onto the glass. The iron should melt the solder and immediately deposit it onto the fluxed foil in one continuous motion. Your dwell time on any single spot should not exceed 2 to 3 seconds. If you need to build up a higher bead, allow the seam to cool for 30 seconds, re-flux, and apply a second pass.
Mistake 5: Neglecting Copper Foil Burnishing
Solder will not adhere to glass; it only adheres to copper. If the copper foil is not perfectly flattened and burnished onto the glass edges prior to soldering, the molten solder will seep underneath the foil, creating unsightly bulges or causing the foil to detach entirely during the patina process.
The Solution: After applying the copper foil (use 7/32-inch or 1/4-inch width depending on glass thickness), use a hardwood fid, a smooth agate burnisher, or the back of a plastic spoon to firmly rub the foil flat against the glass. Pay special attention to the edges and deep concave curves. The foil should transition from a dull, matte copper color to a bright, shiny finish, indicating that the adhesive has been fully activated and bonded to the microscopic pores of the scored glass edge.
Mistake 6: Inducing Thermal Shock
Glass is a remarkably poor conductor of heat. When you hold a 750°F soldering iron on a single point of a cold glass piece, the localized expansion creates immense internal tensile stress. This results in thermal shock, causing the glass to spontaneously crack or 'ping' away from the solder line, ruining hours of cutting and grinding work.
Never rest a hot soldering iron directly on the glass panel. Always use a heavy, heat-resistant iron stand with a brass wire sponge. When soldering, keep the iron moving and avoid concentrating heat on deep inside curves where stress accumulates.
The Solution: If a piece of glass feels hot to the touch through your work gloves, stop immediately. Allow the panel to return to room temperature. For large panels, work in quadrants, allowing sections to cool between passes to distribute the thermal load evenly across the artwork.
Mistake 7: Skipping the Neutralization and Finishing Steps
The soldering process is only half the battle. Leaving acidic flux residue on the panel will cause 'flux bleed'—white, powdery oxidation that erupts from under the solder seams weeks after the project is completed, permanently etching the glass. Furthermore, raw solder is a dull, silvery-gray color that rarely complements the vibrant glass.
The Solution: Follow a strict three-step finishing protocol:
- Neutralize: Scrub the entire panel with a mixture of warm water and baking soda (1 tablespoon per quart) using a stiff nylon brush to neutralize the acidic flux. Rinse thoroughly and dry.
- Patina: Apply a chemical patina to alter the solder color. Novacan Black Patina (a selenium-based solution) creates a striking, dark gunmetal finish, while Copper Patina creates a bright penny-copper look. Apply with a cotton swab, let it react for 5-10 minutes, then rinse and dry completely.
- Seal: Protect the patina from oxidizing by rubbing a thin coat of carnauba-based finishing wax (like Clarity Glass Stain Wax or standard automotive carnauba paste) over the seams. Buff it to a soft sheen with a microfiber cloth.
Troubleshooting Quick-Reference Matrix
Even with perfect technique, environmental variables like ambient room temperature and humidity can affect your solder flow. Use this matrix to diagnose and correct seam defects on the fly.
| Visual Symptom | Primary Cause | Immediate Corrective Action |
|---|---|---|
| Lumpy, jagged seams | Iron temperature too low or moving too fast | Increase iron temp by 25°F; slow down your feed rate. |
| Solder bleeding under foil | Gaps between glass pieces too wide | Grind glass edges tighter; use wider copper foil to bridge the gap. |
| Foil lifting after soldering | Oils on glass edge or poor burnishing | Wipe glass edges with isopropyl alcohol before foiling; burnish heavily. |
| Pitting or holes in the bead | Flux boiling violently under the solder | Apply less flux; ensure iron tip is clean and tinned to prevent localized hot-spots. |
| Solder refusing to stick | Oxidized copper foil or wrong solder type | Scrub foil with fine steel wool; verify you are using solid-core 60/40 solder. |
Final Thoughts on Mastering the Craft
Soldering stained glass is a tactile skill that demands patience and precise material science knowledge. By respecting the thermal limits of the glass, utilizing the correct 60/40 alloy, and mastering your flux application, you elevate your work from fragile craft projects to heirloom-quality art. For further reading on advanced structural framing and lampshade wiring, consult the extensive tutorials available at the Delphi Glass Learning Center, which offers peer-reviewed techniques for complex 3D glass assemblies. Keep your tip tinned, your glass clean, and your rhythm steady.