
Why Silver Soldering Copper Tubing is Essential in 2026
When working on high-pressure plumbing, refrigeration, or HVAC systems, standard soft solder simply will not hold. As the industry transitions to higher-pressure, lower-GWP refrigerants like R-32 and R-454B in 2026, the mechanical stress on copper linesets has increased significantly. This is where silver soldering copper tubing—technically known as silver brazing—becomes mandatory. Unlike soft soldering, which melts below 840°F (450°C), silver brazing occurs at temperatures between 1,100°F and 1,500°F, creating a metallurgical bond that can withstand pressures exceeding 700 PSI.
This beginner walkthrough will demystify the process, teaching you the exact temperatures, alloys, and joint tolerances required to achieve leak-free, professional-grade connections without burning the copper or compromising the alloy.
Soft Soldering vs. Silver Brazing: Understanding the Difference
Before striking an arc or lighting a torch, it is critical to understand why we use silver-bearing alloys for specific applications. The American Welding Society (AWS) strictly defines brazing as a joining process occurring above 840°F (450°C) but below the melting point of the base metals.
| Characteristic | Soft Soldering (Plumbing) | Silver Soldering (Brazing/HVAC) |
|---|---|---|
| Operating Temperature | 400°F - 700°F (204°C - 371°C) | 1,100°F - 1,500°F (593°C - 815°C) |
| Common Alloys | 95/5 Tin/Antimony, Lead-Free | Sil-Fos 15 (15% Ag), Safety-Silv 56 |
| Tensile Strength | ~6,000 PSI | ~40,000 - 60,000 PSI |
| Primary Use Case | Residential water lines, drainage | HVAC linesets, medical gas, high-pressure |
| Flux Requirement | Always required | Optional for Cu-to-Cu (if using Phosphorus) |
Essential Gear and Material Selection
Success in silver soldering copper tubing relies heavily on using the correct filler metal and heat source. Do not attempt this with a standard $15 hardware store pencil torch.
- Torch Setup: For beginners, the Bernzomatic TS8000 (~$75) paired with a MAP-Pro cylinder provides the concentrated, high-BTU heat necessary to reach brazing temperatures quickly. For daily professional use, an oxy-acetylene rig like the Victor Journeyman with a #1 or #2 tip is the industry standard.
- Filler Metal (Copper-to-Copper): Use a phosphorus-copper-silver alloy like Harris Sil-Fos 15 (15% silver, 80% copper, 5% phosphorus). The phosphorus acts as a self-fluxing agent on copper, melting at 1,190°F and flowing at 1,300°F. Expect to pay around $35-$45 per half-pound in 2026.
- Filler Metal (Copper-to-Steel/Brass): If transitioning to a steel valve or brass fitting, phosphorus will cause brittleness. You must switch to a high-silver, cadmium-free alloy like Harris Safety-Silv 56 (56% silver) and use a white paste flux.
- Flux: Harris Stay-Clean liquid flux or a high-temperature black flux for copper-to-copper joints if you want an extra safety margin against oxidation.
- Safety Gear: Didymium brazing glasses (shade 3 or 4) to protect your eyes from the intense sodium flare, and heavy leather welding gloves.
Joint Design: The Secret to Capillary Action
The most common reason beginners fail at silver soldering copper tubing is poor joint fit-up. Brazing relies entirely on capillary action to draw the molten alloy into the joint. According to brazing fundamentals published by Lucas Milhaupt, the optimal radial clearance between the tube and the fitting must be between 0.002 and 0.005 inches at room temperature.
Pro Tip: If the joint is too loose (over 0.005"), the silver alloy will not bridge the gap, resulting in a weak, leaky joint. If it is too tight (under 0.002"), the flux and molten metal cannot penetrate, leaving voids inside the fitting.
5-Step Walkthrough: Silver Soldering Copper Tubing
Step 1: Cut, Ream, and Clean
Cut the copper tubing using a sharp tubing cutter. Never use a hacksaw, as it leaves a jagged edge that disrupts capillary flow. Use a reaming tool to remove the internal burr; a burr will cause turbulence and restrict refrigerant flow. Finally, clean both the outside of the tube and the inside of the fitting with 120-grit sandpaper or a Scotch-Brite pad until the copper shines brightly. Oxidation is the enemy of a brazed joint.
Step 2: Apply Flux (If Required)
If you are using a self-fluxing alloy like Sil-Fos 15 on a copper-to-copper joint, flux is technically optional. However, beginners should apply a thin, even coat of high-temperature brazing flux to the tube before inserting it into the fitting. This provides a visual indicator: when the flux turns clear and glassy, you know the copper has reached the correct brazing temperature.
Step 3: Heat the Joint, Not the Filler
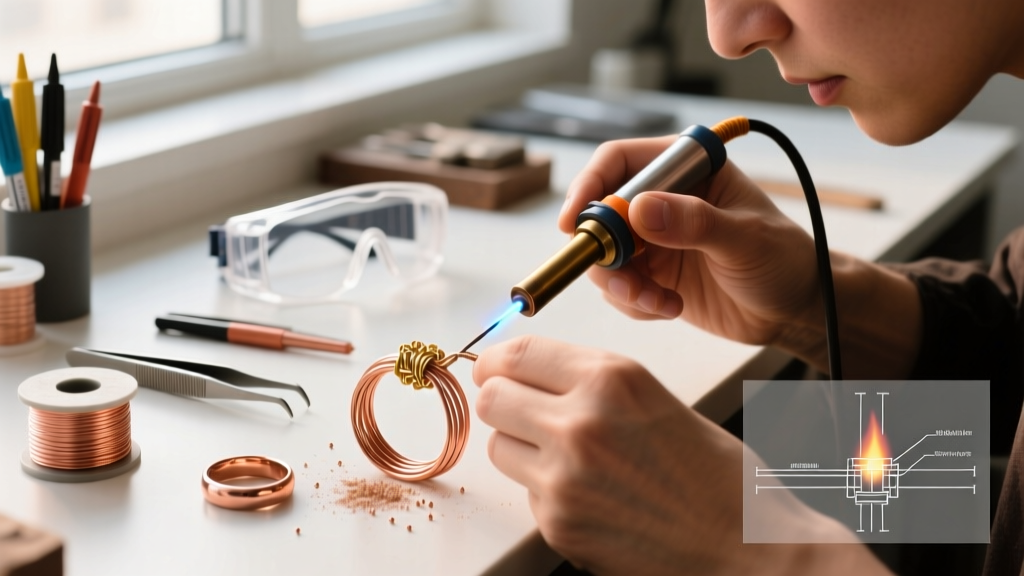
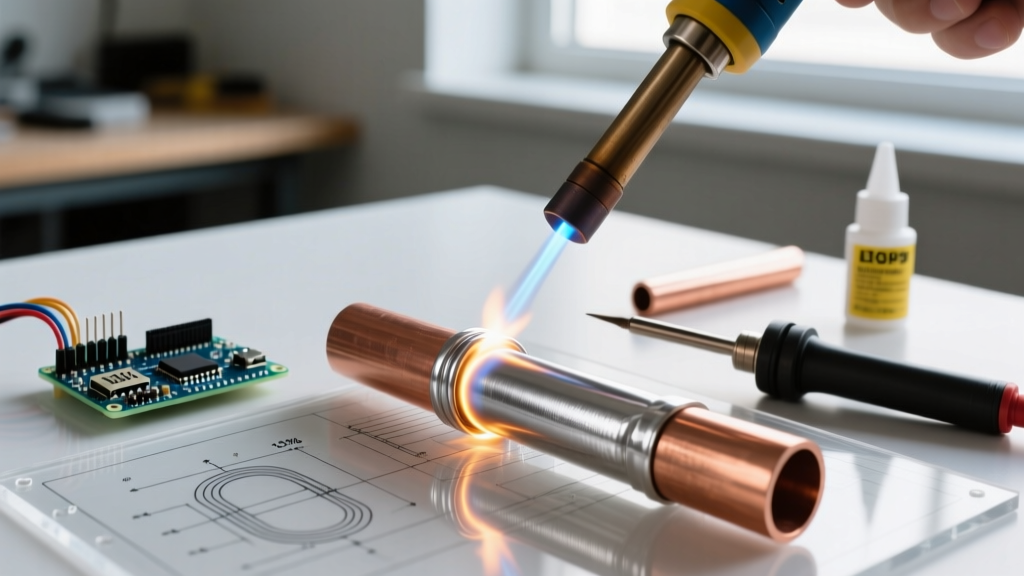
Ignite your torch and adjust to a neutral flame (a sharp, distinct inner blue cone). Apply the heat to the fitting, not the tube, and keep the flame moving in a circular motion. The thicker mass of the fitting requires more heat. Never touch the silver rod to the flame directly. You are using the torch to heat the copper; the copper will then melt the silver.
Step 4: Apply the Silver Alloy
Once the flux bubbles and turns clear (or the copper takes on a dull, dark cherry-red color, roughly 1,300°F), remove the flame for a split second and touch the silver rod to the joint interface. If the copper is hot enough, the rod will instantly liquefy and be violently sucked into the joint via capillary action. Keep applying the rod until a small, continuous fillet (bead) of silver appears entirely around the perimeter of the joint.
Step 5: Cool and Inspect
Remove the heat and allow the joint to cool naturally. Do not quench it with water, as rapid thermal shock can crack the silver alloy or warp the copper. Once cool, wipe away any residual flux slag with a damp rag. A successful silver-brazed joint will look smooth, slightly concave, and have a bright, metallic ring around the edge.
Troubleshooting Common Beginner Mistakes
Burnt Flux and "Cold" Joints
If your flux turns black, crusty, and refuses to wash off, you have burned the flux. This happens when you heat the joint for too long without applying the filler metal. Burnt flux traps oxides inside the joint, leading to internal leaks that EPA Section 608 regulations strictly penalize in HVAC systems. Fix: Cut the joint out and start over. You cannot fix a burnt flux joint by adding more heat.
Porosity and Pinhole Leaks
Pinholes are usually caused by moisture inside the line or failing to purge the system with dry nitrogen. When brazing HVAC linesets, always flow dry nitrogen at a very low pressure (2-3 CFH) through the tubing while heating. This prevents copper oxide scale from forming inside the pipe, which can break off and destroy a compressor's expansion valve.
The Alloy Balls Up and Won't Flow
If the silver solder balls up on the surface like water on a hot skillet, the base metal is not hot enough, or the copper was not cleaned properly. Remove the heat, let it cool, disassemble the joint, sand it back to bare, bright copper, and try again.
Frequently Asked Questions
Can I use standard plumbing solder for AC linesets?
Absolutely not. Standard 95/5 tin-antimony plumbing solder melts around 450°F. Air conditioning systems operate at pressures that will easily blow out a soft-soldered joint, leading to catastrophic refrigerant loss and compressor failure.
Do I need to use nitrogen when silver soldering?
For potable water plumbing, it is not strictly required. For HVAC and refrigeration, flowing dry nitrogen is an absolute industry mandate to prevent internal oxidation (cupric oxide), which acts as an abrasive contaminant in closed-loop systems.