
When hobbyists and professionals ask what is the difference between brazing and soldering, the answer fundamentally comes down to thermodynamics, metallurgy, and joint mechanics. While both processes join metals using a filler alloy without melting the base metals, they operate in entirely different thermal regimes and serve distinct structural purposes. In this step-by-step tutorial, we will break down the exact science, tools, and execution methods for both techniques, giving you the actionable expertise to choose and perform the right process for your 2026 projects.
The Metallurgical Divide: The 840°F (450°C) Threshold
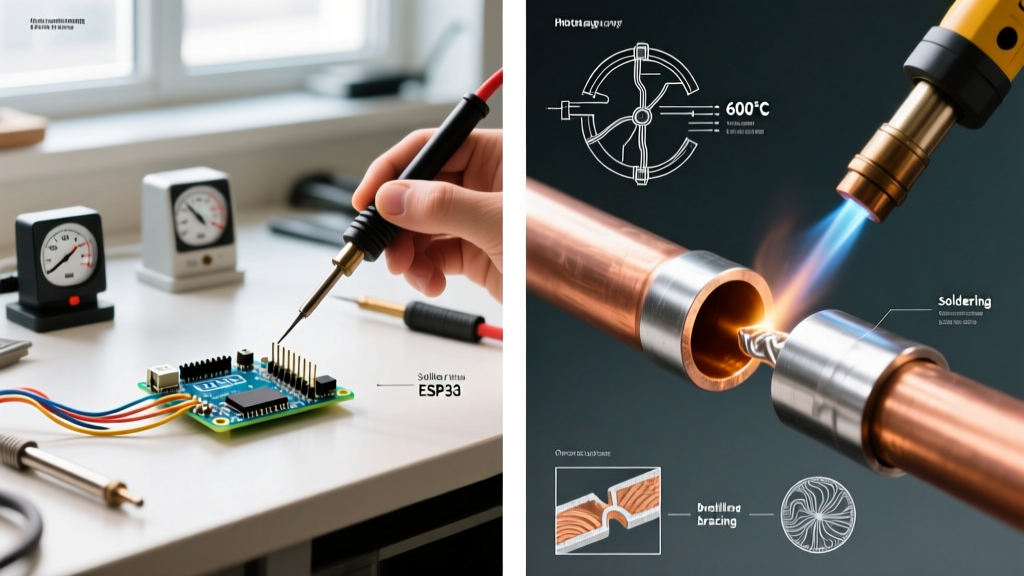
The defining boundary between soldering and brazing is the liquidus temperature of the filler metal. According to the American Welding Society (AWS), the absolute dividing line is 840°F (450°C). If your filler metal melts below this threshold, you are soldering. If it melts above it, you are brazing. This temperature gap dictates everything from your heat source and flux chemistry to the tensile strength of the final joint.
Comparison Matrix: Soldering vs. Brazing
| Feature | Soft Soldering | Silver Brazing |
|---|---|---|
| Temperature Range | 350°F – 800°F (175°C – 425°C) | 1,100°F – 1,600°F (590°C – 870°C) |
| Filler Metal Base | Tin, Lead, Bismuth, Indium | Silver, Copper, Zinc, Phosphorus |
| Joint Clearance | 0.003' – 0.006' (Wider tolerance) | 0.001' – 0.003' (Strict capillary) |
| Tensile Strength | Low (Electrical/Low-Pressure) | High (Structural/HVAC/High-Pressure) |
| Heat Source | Soldering Iron, Hot Air, MAPP Gas | Oxy-Acetylene, Oxy-Propane, Induction |
Flux Chemistry: Rosin vs. Borax
Understanding flux is critical to mastering both techniques. Flux prevents oxidation and promotes wetting, but the chemical compositions are entirely different due to the operating temperatures.
- Soldering Flux (Rosin/RMA): Used in electronics, rosin flux (abietic acid) activates around 390°F (200°C). It dissolves mild copper oxides but burns away and turns corrosive if subjected to brazing temperatures. For plumbing, water-soluble organic acids are used.
- Brazing Flux (Borax/Fluoride): Brazing requires aggressive fluxes like potassium fluoroborate or borax-based pastes (e.g., Harris Stay-Silv White). These activate above 1,000°F (538°C) to dissolve refractory oxides that form on copper and steel at high heat. The Copper Development Association (CDA) mandates specific fluoride fluxes when brazing copper alloys containing zinc or nickel to prevent toxic fume generation and joint porosity.
Step-by-Step Tutorial: Soft Soldering (Electronics & Low-Pressure)
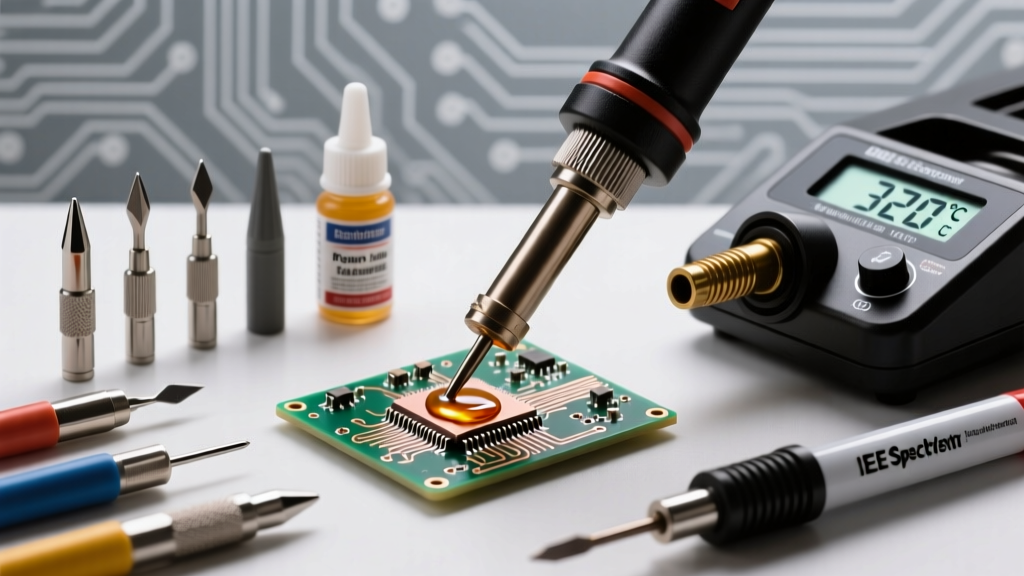
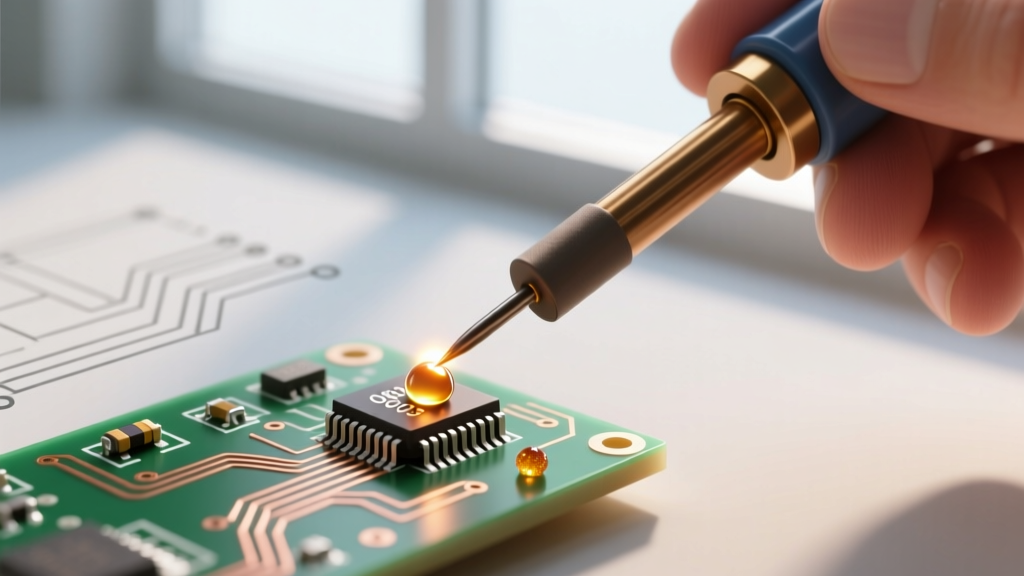
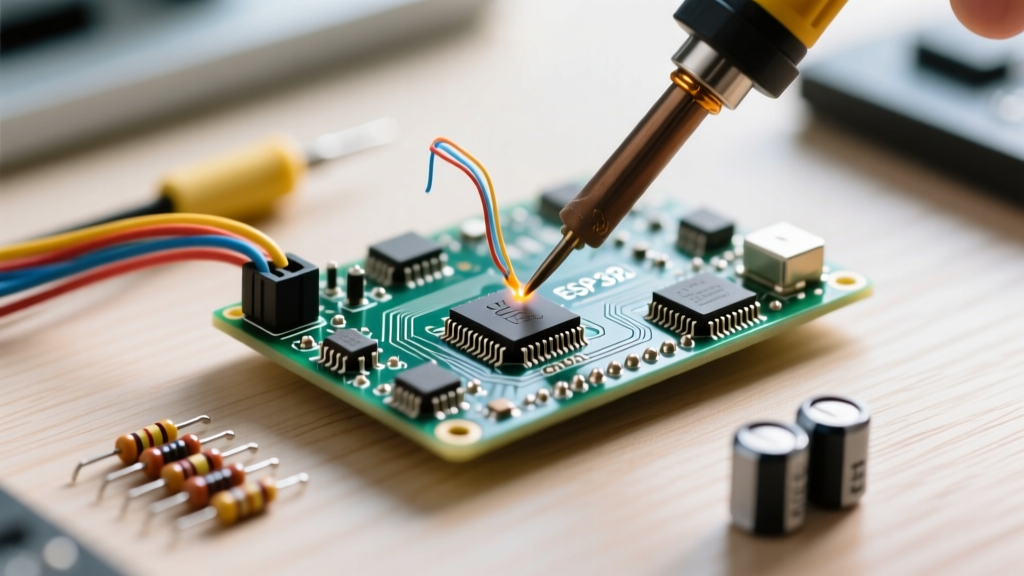
This process is ideal for PCB assembly, low-voltage wiring, and non-pressurized copper plumbing. We will use a standard 60/40 Sn/Pb or SAC305 lead-free alloy.
Required Tools
- Weller WE1010NA Soldering Station (Set to 650°F / 340°C for 60/40)
- Kester 24-6040-00604 Rosin Core Solder (0.031' diameter)
- Isopropyl Alcohol (99%) and Kimwipes for cleaning
Execution Steps
- Mechanical Prep: Clean the base metal or PCB pad with 99% IPA. For wire, strip and twist the strands. For plumbing, use 120-grit sandpaper to brighten the copper.
- Tinning (For Wires): Apply a small amount of flux and coat the exposed wire strands with solder using the iron tip. This is called 'tinning'.
- Thermal Transfer: Place the iron tip so it contacts both the pad and the component lead simultaneously. Hold for 1–2 seconds to bring the joint to thermal equilibrium.
- Feed the Filler: Touch the solder wire to the joint, not the iron tip. The joint's heat should melt the solder. Feed until a smooth, concave fillet forms (per IPC-A-610 standards).
- Cooling: Remove the solder, then the iron. Let the joint cool naturally for 3 seconds. Blowing on it causes a 'cold joint' with micro-fractures.
Step-by-Step Tutorial: Silver Brazing (HVAC & High-Stress)
When joining refrigeration lines, structural steel, or high-pressure hydraulics, soldering will fail under stress and vibration. Brazing creates a metallurgical bond via capillary action that often exceeds the tensile strength of the base metal.
Required Tools
- Bernzomatic TS8000 Torch (for DIY) or Smith Mini-Torch Oxy-Acetylene (for Pros)
- Harris Safety-Silv 45 (45% Silver, Cadmium-Free) or Sil-Fos 15
- Harris Stay-Silv White Flux Paste
- Wire brush and emery cloth
Execution Steps
- Abrasive Prep & Clearance: Clean the joint to bare, bright metal. Ensure the slip-fit clearance is exactly 0.002'. If the gap is too wide, capillary action fails, and the joint will leak under pressure.
- Flux Application: Coat both the male and female parts of the joint with white brazing flux. The flux will turn clear and glassy when the metal reaches brazing temperature.
- Pre-Heating: Use a neutral or slightly carburizing flame. Sweep the flame back and forth across the base metals, keeping the inner cone 1 inch away. Never melt the flux with the direct tip of the flame.
- Capillary Draw: Once the flux turns clear and the copper glows a dull cherry red (approx 1,200°F), touch the brazing rod to the joint edge. The heat of the metal must melt the rod. Watch the alloy flash and get sucked into the joint via capillary action.
- Quench and Clean: Allow the joint to cool until the flux turns black and solidifies. Quench with a damp rag to crack the glassy flux residue off, then wire brush the joint.
Pro-Tip: When brazing copper-to-copper in HVAC applications, you can use a phosphorus-bearing alloy like Sil-Fos 15. The phosphorus acts as a built-in flux, eliminating the need for separate paste flux and preventing internal scale buildup in refrigeration lines.
Real-World Failure Modes & Troubleshooting
Even experienced makers encounter joint failures. Here is how to diagnose them based on the process:
Soldering Failures
- Cold Joint: Appears dull, grainy, and bulbous. Caused by moving the joint before the solder fully solidified, or insufficient heat transfer. Fix: Reheat and apply fresh flux.
- De-wetting: Solder balls up and refuses to spread. Caused by heavy oxidation or expired flux. Fix: Sand to bare metal and use a more aggressive RA (Rosin Activated) flux.
Brazing Failures
- Flux Inclusions: The flux gets trapped inside the joint because it was overheated and turned into a hard glass before the filler metal flowed. Fix: Keep the flame moving; do not overheat the flux.
- Base Metal Annealing: Overheating copper during brazing softens the base metal, causing it to balloon or burst under high pressure. Fix: Use a larger, hotter flame to reduce the total time the metal is exposed to heat.
2026 Equipment Cost Breakdown
Investing in the right gear is essential. Below is a realistic pricing guide for 2026, reflecting current market rates for quality tools.
| Equipment Category | Entry-Level / DIY | Professional / Industrial |
|---|---|---|
| Soldering Station | $60 - $110 (e.g., Pine64 Pinecil) | $250 - $450 (e.g., Hakko FX-951, JBC CD-2B) |
| Brazing Torch Kit | $90 - $150 (Bernzomatic TS8000 + MAP-Pro) | $350 - $600 (Smith Oxy-Acetylene Outfit) |
| Filler Metals (per lb) | $35 (60/40 Sn/Pb) to $90 (SAC305) | $120 (Sil-Fos) to $350+ (High-Silver Alloys) |
| Flux Chemistry | $10 (Kester Rosin Paste) | $25 (Harris Stay-Silv White Paste) |
Frequently Asked Questions
Can I use soldering flux for brazing?
No. Soldering fluxes (like rosin or organic acids) will instantly burn away, carbonize, and ruin the joint when exposed to the 1,200°F+ temperatures required for brazing. You must use high-temperature fluoride or borax-based brazing fluxes.
Is brazing stronger than welding?
While brazing does not melt the base metal like welding does, a properly executed brazed joint with optimal capillary clearance can possess a tensile strength exceeding 60,000 PSI, which is often stronger than the base metals being joined. However, welding is preferred for extreme structural loads and thick steel sections.
Why is silver used in brazing?
Silver lowers the melting point of the copper-zinc filler alloy while dramatically increasing the joint's ductility, fatigue resistance, and corrosion resistance. While silver alloys are expensive, they prevent brittle fractures in high-vibration environments like HVAC compressors and automotive lines.