
The Professional's Guide to Soldering Wire Connectors
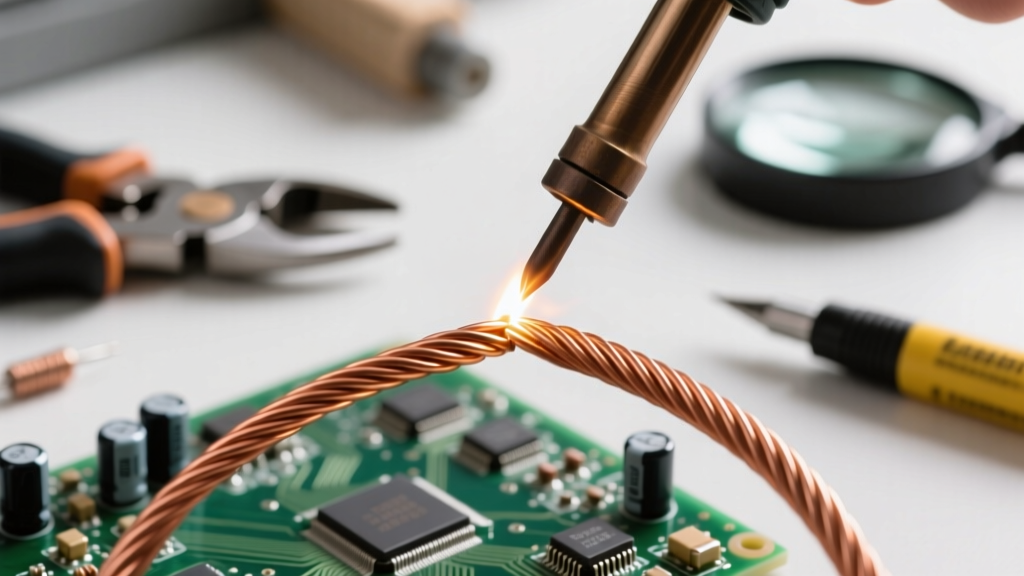
As we navigate the electrical landscape of 2026, the surge in DIY electric vehicle (EV) conversions, off-grid solar arrays, and high-current robotics has made proper wire termination more critical than ever. While crimping is the undisputed king of automotive and aerospace harness manufacturing, soldering wire connectors remains an essential skill for high-reliability, low-vibration, and high-current applications where a gas-tight, metallurgical bond is required. However, a poorly soldered terminal is vastly inferior to a poor crimp. In this guide, we break down the exact professional techniques, thermal profiles, and metallurgical considerations required to master soldering wire connectors.
The Great Debate: Soldering vs. Crimping
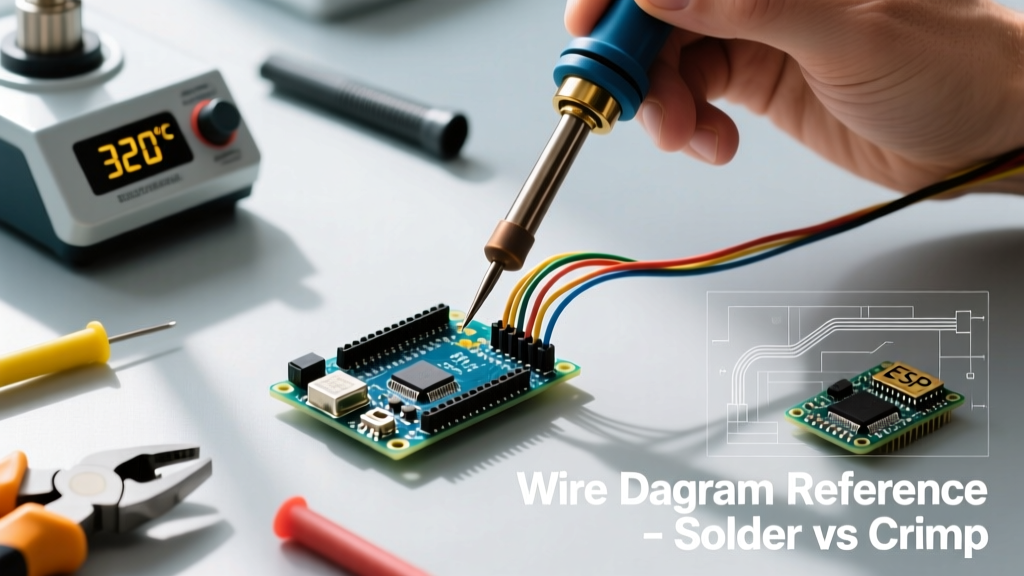
Before applying heat, professionals must evaluate the mechanical environment of the harness. The IPC/WHMA-A-620 Standard provides rigorous guidelines for cable assemblies, noting that solder alone should never be relied upon for mechanical strength. Let's compare the two methods to understand where soldering excels and where it falls short.
| Parameter | Soldered Terminations | Crimped Terminations |
|---|---|---|
| Mechanical Strength | Low (solder is brittle) | High (cold-weld gas-tight seal) |
| Vibration Resistance | Poor (prone to fatigue cracking) | Excellent |
| High-Current (4 AWG+) | Excellent (if properly flowed) | Excellent (requires heavy tooling) |
| Moisture & Corrosion | Good (if sealed with adhesive heat shrink) | Excellent (with sealed connectors) |
| Tooling Cost (2026) | $120 - $350 (Quality Soldering Station) | $300 - $2,500+ (Hydraulic/Heavy Crimpers) |
Pro Tip: For high-vibration environments (e.g., motorcycle wiring, RC vehicles), never use solder-only connections. If you must solder, always use a mechanical crimp first to provide strain relief, then flow solder to enhance conductivity and prevent oxidation.
Essential Gear for Professional Connector Soldering
Throwing a cheap 40W plug-in iron at a 10 AWG ring terminal will result in a catastrophic cold joint. High-current wire connectors act as massive heat sinks. You need equipment that can deliver and recover thermal energy rapidly.
1. The Right Soldering Station
For wires up to 12 AWG, a high-quality 65W to 75W station like the Hakko FX-951 (approx. $280) or the Weller WE1010NA (approx. $130) is sufficient. For heavier gauges (10 AWG to 4 AWG), you need active tip technology or hot air. The Quick 861DW hot air rework station (approx. $250) is a secret weapon for heavy battery lugs, allowing you to pre-heat the entire terminal evenly without burning the wire insulation.
2. Solder Alloy Selection
- Sn63/Pb37 (Leaded): The gold standard for DIY and custom harnesses. It is eutectic, meaning it melts and freezes at exactly 183°C (361°F) with no plastic state, preventing joint disturbance during cooling. A 1lb spool of Kester 44 (0.031" diameter) costs around $45.
- SAC305 (Lead-Free): Required for commercial/RoHS-compliant products. Melts at 217°C (423°F). Requires higher iron temperatures (360°C - 380°C) and more aggressive flux activators. It is prone to graining and is harder to inspect visually.
3. Flux and Heat Shrink
Never rely solely on the rosin core inside your solder wire for large terminals. Apply a high-quality, no-clean liquid or gel flux (like Amtech NC-559-V2-TF or Kester 245) to the wire strands before tinning. For insulation and strain relief, always use dual-wall adhesive-lined heat shrink (e.g., Raychem RT-375 or 3M MDT). The inner meltable adhesive creates a waterproof environmental seal, which is critical since flux residues can trap moisture.
Step-by-Step Pro Technique: Closed-Barrel Ring Terminals
Soldering closed-barrel terminals (like standard ring and spade lugs) requires a specific sequence to ensure capillary action pulls the solder deep into the barrel without creating a rigid stress point.
- Wire Preparation: Strip the wire using a precision stripper (e.g., Knipex MultiStrip 10). The strip length should be exactly the depth of the terminal barrel minus 1/16". Do not twist the strands tightly; a gentle lay is sufficient to maintain the wire's natural flexibility.
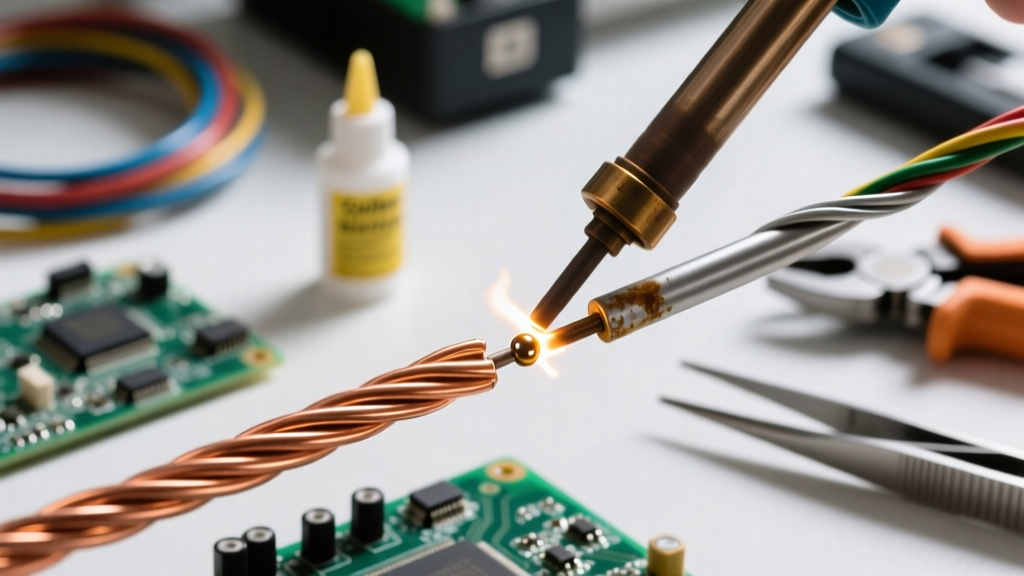
- Tinning the Wire: Apply a small amount of flux to the exposed copper. Set your iron to 350°C (662°F) for Sn63/Pb37. Feed solder into the wire strands (not the iron tip) until the wicking action pulls the solder up to the insulation edge. Crucial: Leave a 1mm to 2mm gap of bare, unsoldered wire between the insulation and the tinned section.
- Terminal Prep: Apply a dab of liquid flux inside the closed barrel of the ring terminal. Do not pre-fill the terminal with solder, or the tinned wire won't fit inside.
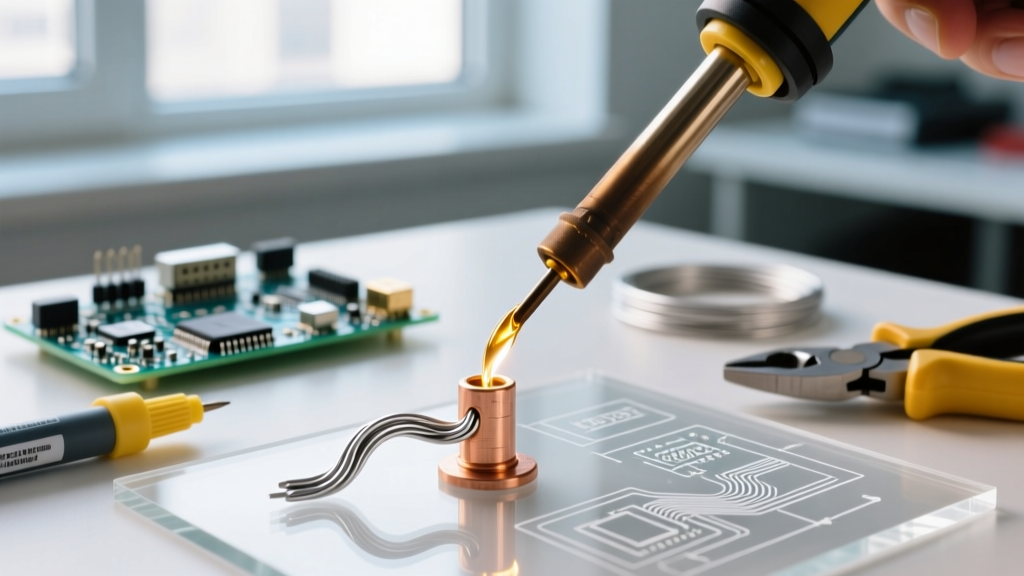
- Insertion and Heating: Insert the tinned wire into the fluxed barrel. Apply the tip of your soldering iron to the outside of the terminal barrel, specifically on the side opposite the wire insertion point. You want to heat the copper barrel, not the solder directly.
- The Flow: Once the barrel reaches the melting point of your alloy (usually 2-4 seconds for 14 AWG), touch your solder wire to the seam where the wire enters the barrel. Capillary action will instantly draw the solder through the entire barrel. Remove the heat immediately.
- Cooling: Hold the wire perfectly still for 3-5 seconds. Any movement while the eutectic alloy transitions from liquid to solid will fracture the internal crystal lattice, resulting in a disturbed joint.
Common Failure Modes and How to Avoid Them
According to the NASA Workmanship Standards for wiring and interconnecting cables, visual inspection is key to identifying latent failures. Here are the most common mistakes made when soldering wire connectors:
Solder Wicking (The Stress Riser)
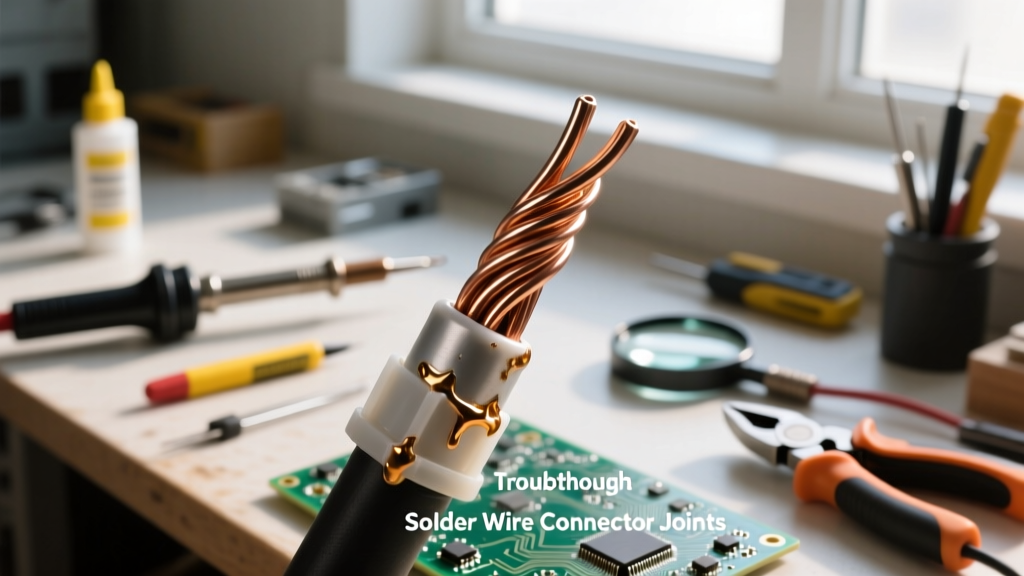
If solder wicks completely under the wire insulation, it creates a rigid section of wire right next to a flexible section. Under vibration, this boundary acts as a stress concentration factor (SCF), causing the copper strands to snap just outside the connector. Solution: Always leave a visible gap of bare copper between the insulation and the solder joint, or use a heat sink (like a hemostat) clamped at the base of the wire to block capillary action.
Cold and Disturbed Joints
A cold joint occurs when the terminal barrel isn't heated sufficiently before the solder is applied. The solder melts off the iron and clings to the surface, failing to alloy with the copper. It looks dull, lumpy, and grainy. A disturbed joint looks similar but is caused by moving the wire while the solder is in its plastic (semi-solid) state. Solution: Always heat the workpiece, not the solder. If a joint looks grainy, apply fresh flux and re-flow it with a clean, tinned tip.
Acid Flux Corrosion
Using plumbing solder and acid-core flux (zinc chloride) on electrical wire connectors is a fatal error. The acid residue will aggressively eat the copper, turning it green and creating a high-resistance bottleneck that will eventually melt the connector under load. Solution: Exclusively use Rosin (R, RMA, or RA) or No-Clean (NC) fluxes designed for electronics.
Advanced Heat Management for High-Current Lugs (2 AWG and Larger)
When building battery banks or EV power trains, you will encounter massive copper lugs (e.g., 2/0 AWG). A standard soldering iron will fail here; the copper mass will absorb the heat faster than the iron can replenish it.
Professionals use a two-step thermal approach. First, use a high-output hot air station (like the Quick 861DW set to 380°C with a 10mm nozzle) to bring the entire lug and wire assembly up to roughly 150°C. This pre-heating eliminates the thermal shock and drastically reduces the specific heat deficit. Once the lug is hot to the touch, use a high-wattage iron (like the 150W Weller WSP150) with a massive chisel tip to melt the heavy-gauge bar solder (typically 0.062" or thicker) directly into the lug's inspection hole. This dual-heat method ensures a flawless, void-free metallurgical bond without charring the heavy-wall insulation.
Frequently Asked Questions
Can I just fill the connector with solder and push the wire in?
No. This is known as "solder potting" and is heavily discouraged by both IPC and NASA standards. It traps flux inside the barrel, prevents you from verifying if the wire is fully seated at the bottom of the barrel, and uses excessive solder which can make the joint brittle. Always insert the wire first, then apply heat and solder.
Do I need to clean the flux residue after soldering?
If you use a true "No-Clean" flux and apply it sparingly, cleaning is optional. However, if you use RMA (Rosin Mildly Activated) or if the connector will be exposed to high humidity, you should clean the residue using 99% Isopropyl Alcohol (IPA) and a stiff-bristled ESD-safe brush. Trapped rosin can absorb moisture over time and create parasitic leakage paths in sensitive, low-voltage signal circuits.
Is it safe to solder connectors on a live circuit?
Absolutely not. Aside from the obvious shock hazard detailed by OSHA electrical safety guidelines, soldering to a live wire will cause severe arcing, destroy your soldering iron tip through electrolytic corrosion, and result in a highly porous, structurally compromised joint due to electromagnetic interference during the cooling phase. Always isolate and de-energize circuits before applying heat.