
The Metallurgy and Thermodynamics of Copper Joints
Soldering copper plumbing is fundamentally different from soldering electronics or steel. Copper possesses an exceptionally high thermal conductivity of approximately 401 W/(m·K), meaning it pulls heat away from the joint area rapidly. When soldering copper plumbing, the primary challenge is not just melting the solder, but achieving a uniform thermal equilibrium across the entire fitting to enable capillary action. If the pipe is hotter than the fitting, the solder will flow down the pipe and leave a void inside the joint cup, resulting in a catastrophic leak under pressure.
Capillary action in copper joints relies on a precise clearance gap. According to the Copper Development Association (CDA), the optimal annular clearance between the outside diameter of the tube and the inside diameter of the fitting should be between 0.001 and 0.005 inches. This microscopic gap is what allows the molten solder to be drawn upward and throughout the entire joint depth, regardless of gravity.
2026 Gear & Material Cost Matrix
Using the correct thermal tools and alloys is non-negotiable. Below is a breakdown of professional-grade materials and their average retail pricing as of early 2026.
| Category | Recommended Product / Spec | 2026 Avg. Cost | Why It Matters |
|---|---|---|---|
| Torch Head | Bernzomatic TS8000 Trigger-Start | $58.00 - $65.00 | Swirl flame technology concentrates heat, reducing scorch time on drywall. |
| Fuel Gas | MAP-Pro (Yellow Cylinder) | $14.00 / 14.1oz | Burns at 3,730°F. Essential for 3/4' and 1' copper where propane fails. |
| Solder Alloy | Oatey Lead-Free Silver Bearing (97/3) | $22.00 / 8oz | Silver lowers the melting point to ~430°F and improves flow in tight caps. |
| Flux | Oatey No. 5 Paste Flux or Safe Flo | $11.00 - $14.00 | Prevents oxidation and chemically cleans the copper during heating. |
| Abrasive | 120-Grit Emery Cloth / Wire Brush | $6.00 / set | Removes cupric oxide layer without removing base metal like sandpaper. |
Flux Chemistry: Selecting the Right Compound
Flux is a chemical cleaning agent that becomes active at high temperatures. For copper plumbing, you must choose between three primary chemistries:
- Standard Paste Flux (Petroleum-based): The industry standard. It contains zinc chloride and ammonium chloride. It excels at cutting through light oxidation but requires thorough wiping after cooling to prevent long-term corrosive pitting on the outside of the pipe.
- Tinning Flux: Contains a small percentage of powdered solder (usually tin-antimony) suspended in the paste. This is highly recommended for beginners or when soldering large 1-inch to 2-inch mains, as it pre-tins the joint and bridges minor gaps in poorly fitted pipes.
- Water-Soluble Flux (e.g., Oatey Safe Flo): An organic acid base that self-cleans when water is introduced to the system. While it prevents external green corrosion, it has a narrower active temperature window and can burn off if the joint is overheated before the solder is applied.
Step-by-Step Execution Protocol
Follow this precise sequence to guarantee a leak-free, pressure-tested joint.
1. Cut, Ream, and Measure
Cut the copper tube square using a rotary tubing cutter. Crucially, you must use a reaming tool to remove the internal burr left by the cutter. An internal burr restricts water flow, creates localized turbulence, and accelerates pinhole leaks via erosion-corrosion over time. Measure and mark the insertion depth of the fitting on the pipe with a marker to ensure the pipe is fully seated.
2. Mechanical Cleaning
Use a 120-grit emery cloth to polish the outside of the pipe until it shines like a mirror. Use a wire brush of the exact corresponding size (e.g., 1/2-inch brush for 1/2-inch fittings) to clean the inside of the fitting cup. Do not touch the cleaned surfaces with your bare hands; the oils from your skin will interfere with the flux.
3. Flux Application
Apply a thin, even layer of paste flux to the outside of the pipe. Insert the pipe into the fitting, twisting slightly to spread the flux. Wipe away the excess flux on the exterior with a rag. Too much flux will boil inside the joint, creating steam pockets that prevent solder from drawing into the capillary space.
4. Thermal Application (The Sweeping Technique)
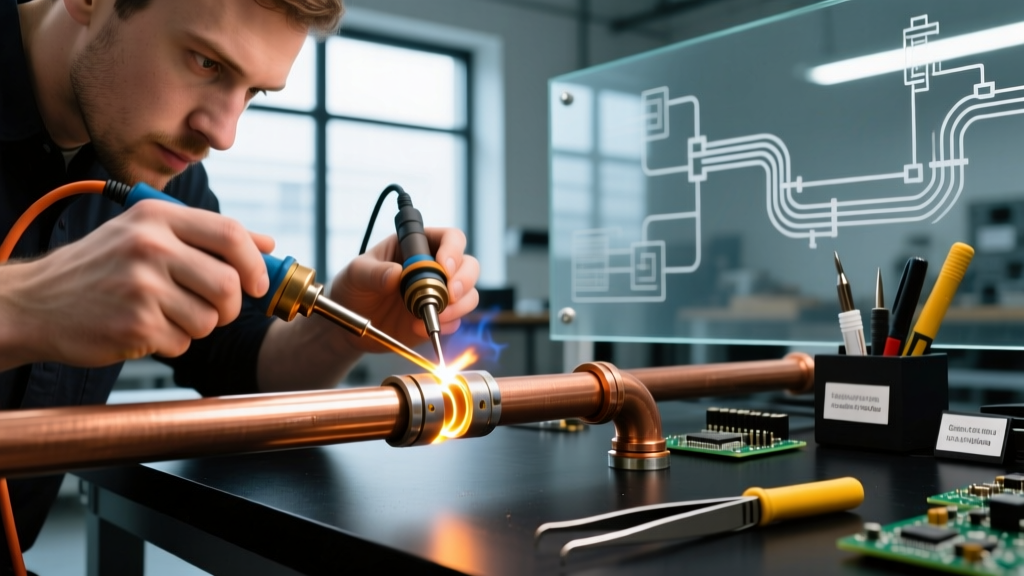
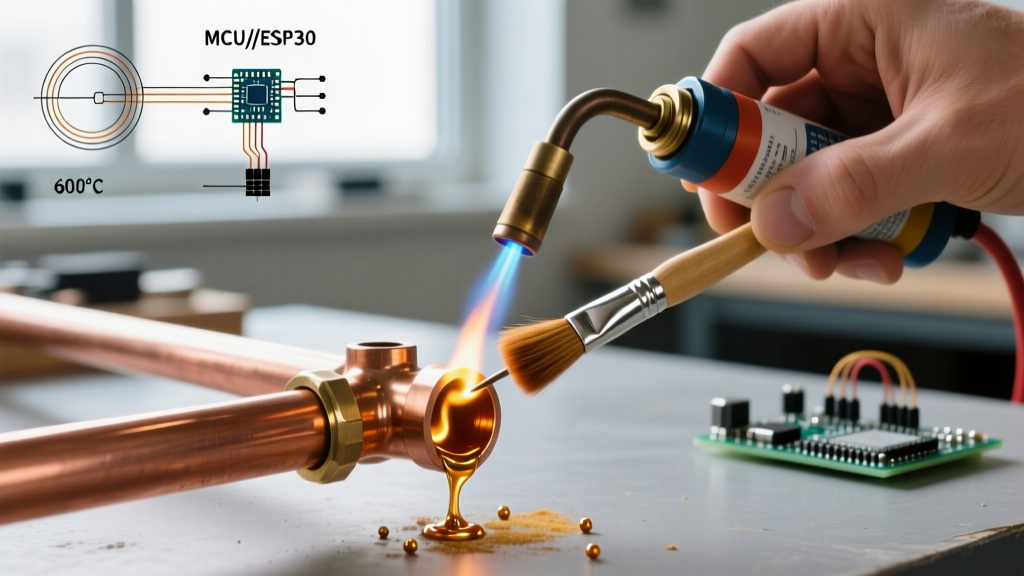
Ignite your MAP-Pro torch. Keep the tip of the inner blue cone approximately 1 inch away from the copper. Heat the fitting, not the pipe. The fitting has more mass and requires more thermal energy. Sweep the flame back and forth across the fitting cup to distribute heat evenly. For a 1/2-inch joint, this takes roughly 4 to 7 seconds.
5. Capillary Draw and Soldering
Remove the flame and touch the solder wire to the seam where the pipe meets the fitting. If the copper is at the correct temperature (approx. 450°F), the solder will instantly melt and be sucked into the joint. Feed the solder until a continuous silver bead appears entirely around the perimeter. A standard 1/2-inch joint requires roughly 1/2 inch of 3/32-inch diameter solder wire.
6. Cooling and Wiping
Allow the joint to cool naturally for 30 seconds. Do not quench it with a wet rag, as thermal shock can crack the crystalline structure of the solder alloy. Once cool enough to touch, wipe the exterior with a damp rag to remove corrosive flux residue.
Edge Cases & Failure Mode Troubleshooting
Even experienced plumbers encounter anomalies. Here is how to diagnose and resolve specific failure modes unique to copper plumbing.
The 'Steam Blowout' Phenomenon: If you are repairing an existing line and a pinhole leak erupts the moment you apply the flame, trapped water is boiling into steam and blowing the molten solder out of the joint. To fix this, open the lowest valve in the house to drain the system, or use a commercial water-stop gel (like Oatey Great White) or tightly packed white bread inside the pipe to temporarily block the water. The bread will safely dissolve once the water is turned back on.
Troubleshooting Matrix
| Visual Symptom | Root Cause | Corrective Action |
|---|---|---|
| Solder balls up and rolls off the pipe | Flux burned off due to overheating (exceeding 800°F), leaving bare oxidized copper. | Let the joint cool completely. Disassemble with a propane torch, re-clean both surfaces with emery cloth, re-flux, and try again. |
| Solder flows on the outside but not inside | Heat was applied only to the pipe, not the fitting. The fitting is below the solder's melting point. | Reheat the joint, focusing the flame exclusively on the heavier brass or copper fitting cup until the existing solder re-flows inward. |
| Green crusty corrosion weeks later | Acidic flux residue was not wiped off, or excessive flux was left inside the joint. | Wire brush the exterior and neutralize with a baking soda/water solution. Ensure internal flux is flushed with high-velocity water. |
Safety and Code Compliance
When soldering copper plumbing for potable water systems, adherence to federal and local codes is mandatory. Under the EPA's Reduction of Lead in Drinking Water Act, all solder and flux used on lines supplying water for human consumption must be certified 'Lead-Free,' meaning the solder must contain no more than 0.2% lead. Always look for the NSF/ANSI 61 certification stamp on your solder wire packaging.
Furthermore, the International Association of Plumbing and Mechanical Officials (IAPMO) Uniform Plumbing Code (UPC) dictates that solder joints must be properly supported and that open flames must be shielded when working within 18 inches of combustible framing members. Always use a fiberglass flame protector cloth behind the joint when soldering near wooden studs or drywall to prevent structural fires, which remain a leading cause of residential losses during DIY plumbing renovations.
By respecting the thermal properties of copper, utilizing the correct MAP-Pro gas and silver-bearing alloys, and strictly following the capillary preparation steps, you will achieve plumbing joints that easily withstand standard municipal water pressures of 60-80 PSI for decades.