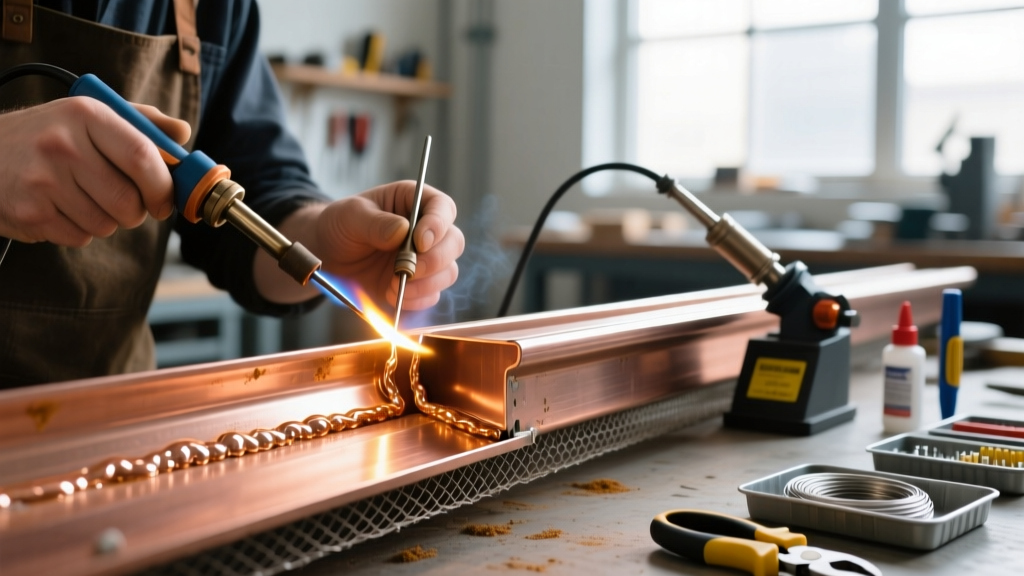

The Architecture of a Watertight Seam
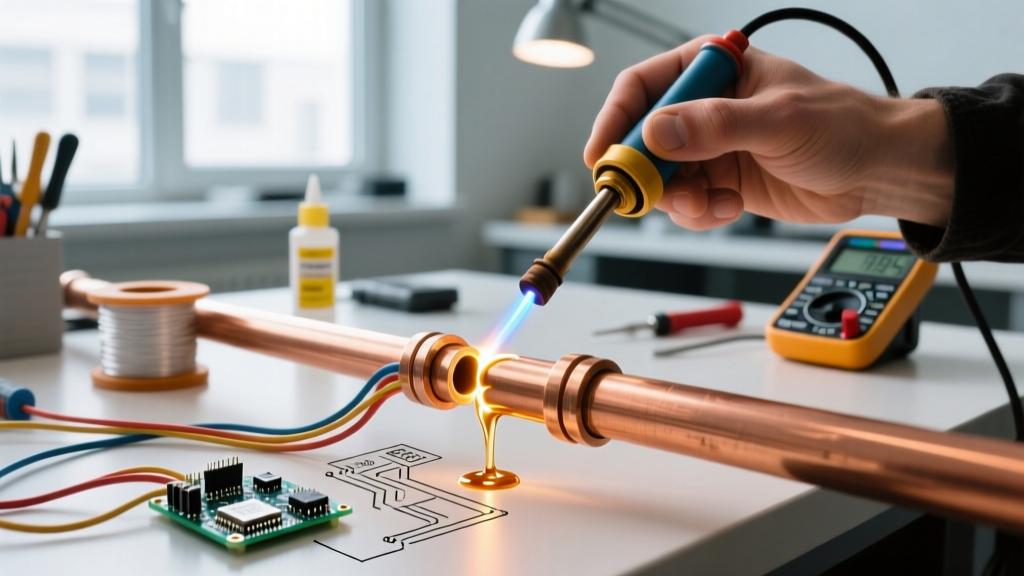
Soldering copper gutter systems is a hallmark of premium architectural roofing. Unlike electronic soldering, which relies on capillary action in microscopic joints, architectural sheet metal soldering demands the mastery of thermal mass, heavy-duty alloys, and the traditional "wiped seam" technique. A failed gutter seam doesn't just ruin a circuit board; it causes catastrophic water intrusion, fascia rot, and foundation damage.
Success in this trade hinges on Tool & Technique Pairing. You cannot pair a lightweight electronics iron with a 20 oz copper sheet, nor can you use a high-BTU roofing torch on a delicate interior soffit without scorching the surrounding wood. This guide breaks down the exact metallurgical requirements, tool pairings, and procedural steps required to execute flawless, weather-tight copper gutter seams.
Understanding Copper Weights and Thermal Mass
Before striking an arc or lighting a torch, you must identify the copper weight. Architectural copper is measured in ounces per square foot. According to the Copper Development Association (CDA), the standard weights for roofing and gutter applications are:
- 16 oz (0.0216 inches): Standard for residential gutters and downspouts. Heats relatively quickly but prone to warping if overheated.
- 20 oz (0.027 inches): Commercial grade, high-snow-load regions, and long-run box gutters. Requires significantly more thermal input to reach solder flow temperatures.
- 24 oz (0.032 inches): Heavy-duty architectural flashing and parapet copings. Rarely used for standard gutters due to weight and cost.
The primary challenge with 20 oz and 24 oz copper is heat sinking. The metal pulls heat away from the soldering iron faster than the iron can replenish it, leading to cold joints. This dictates your tool pairing.
Tool & Technique Pairing Matrix
Selecting the right heat source is critical. Below is a comparison matrix of the primary tools used for soldering copper gutters, paired with their ideal techniques.
| Tool / Heat Source | Specs / Output | Best Technique Pairing | Ideal Copper Weight | Est. Cost (2026) |
|---|---|---|---|---|
| Heavy-Duty Soldering Copper (Iron) | 500W - 600W Electric (e.g., American Beauty) | Continuous wiped seams, interior box gutters where open flame is a fire hazard. | 16 oz & 20 oz | $250 - $400 |
| Propane/MAPP Gas Torch + Copper | 20,000+ BTU (e.g., Bernzomatic TS8000) | Pre-heating the seam, followed by traditional tallow-wiping with a drop-forged copper. | 16 oz, 20 oz & 24 oz | $80 - $150 |
| Air-Acetylene Torch | High-velocity flame (e.g., Victor Journeyman) | Rapid heating of thick 24 oz copper in cold weather environments; continuous bead soldering. | 20 oz & 24 oz | $350 - $500 |
Pro-Tip: Never use a standard pencil-tip soldering iron for gutters. The thermal mass of the tip is too low. You need a drop-forged "soldering copper" (the wedge-shaped head) that holds and transfers massive amounts of heat directly into the sheet metal.
Consumables: Solder Alloys and Flux Selection
The Sheet Metal and Air Conditioning Contractors' National Association (SMACNA) provides strict guidelines on architectural soldering. The choice of alloy fundamentally changes your wiping technique.
1. The Alloys
- 50/50 Tin-Lead (Traditional): The gold standard for architectural wiping. It has a "plastic range" between its solidus (361°F) and liquidus (414°F) temperatures. In this pasty state, the solder can be molded and wiped smooth with a cotton pad before it hardens.
- 60/40 Tin-Lead: Melts faster and has a narrower plastic range. Better for vertical downspout joints where gravity fights the pasty state.
- Lead-Free (95/5 Tin-Antimony or Tin-Copper): Increasingly mandated by local environmental codes for potable water catchment systems (e.g., rainwater harvesting). Warning: Lead-free solders have virtually no plastic range. They snap from liquid to solid instantly, making the traditional "wiping" technique impossible. You must use a continuous molten bead technique.
2. The Fluxes
Flux removes copper oxide and prevents re-oxidation during heating. Pair the flux to the stage of the job:
- Zinc Chloride (Ruby Fluid): An aggressive, water-based acid flux used for the initial tinning of the bare copper seam and the soldering iron head. It must be neutralized or washed off post-soldering to prevent long-term corrosion.
- Tallow (Animal Fat) or Paste Flux (e.g., Superior #130): Used during the wiping process. The roofer dips their cotton wiping pad into the tallow. It acts as a mild flux, a heat barrier to prevent burning the cotton, and a lubricant to smooth the pasty solder.
Thermal Expansion: The Hidden Seam Killer
As noted in the architectural guidelines by Revere Copper Products, copper expands and contracts significantly with temperature fluctuations—approximately 1/16th of an inch per 10 linear feet for every 100°F change. If you solder a 30-foot continuous copper gutter and nail it rigidly to the fascia, the thermal expansion will literally tear the solder joints apart or buckle the metal.
The Fix: Soldered seams must be located at expansion joints, or the gutter must be secured using copper cleats that allow the metal to slide underneath them as it expands. Never solder a rigid, continuous run exceeding 35 feet without engineered expansion joints.
Step-by-Step: The Wiped Seam Technique
The wiped seam is the hallmark of a master tinsmith. Here is the exact procedure for a standard 1.5-inch overlapping flat lock seam on a 16 oz copper gutter.
Phase 1: Preparation and Tinning
- Clean the Metal: Use a stainless steel wire brush or Scotch-Brite pad to remove all dirt, oils, and oxidation from the 1.5-inch overlap area. Do not touch the cleaned metal with bare hands.
- Apply Acid Flux: Brush a thin, even coat of Zinc Chloride (Ruby Fluid) over the seam area.
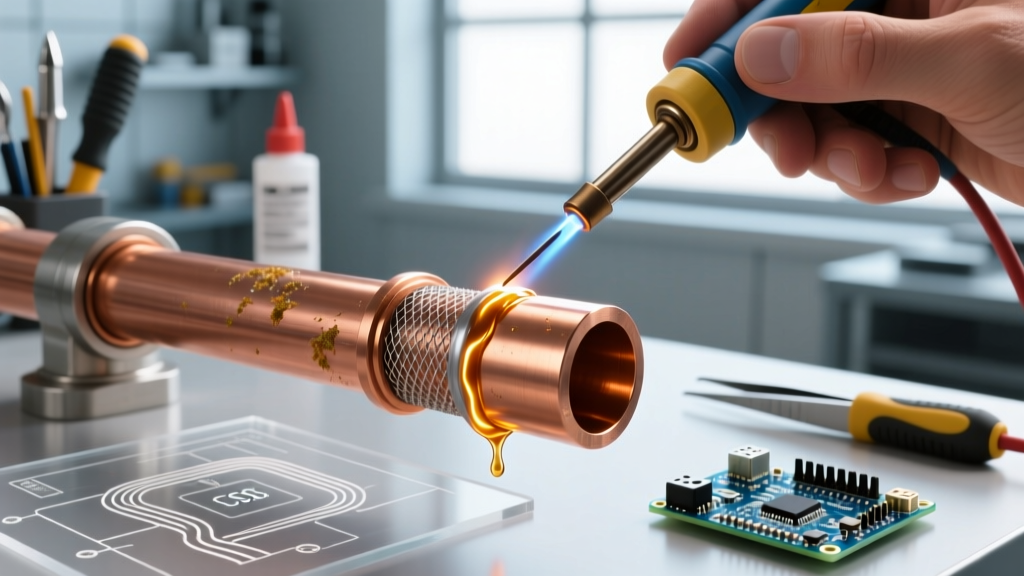
- Tin the Seam: Using a propane torch and a stick of 50/50 solder, melt a thin layer of solder directly onto the copper overlap. This is called "tinning." The solder should frost the copper, not ball up. If it balls up, the metal is dirty or oxidized.
- Tin the Iron: Heat your 500W soldering copper or drop-forged iron. Once hot, wire brush the tip, dip it in flux, and coat it heavily with 50/50 solder.
Phase 2: The Wipe
- Heat the Joint: Apply the tinned soldering copper directly to the tinned seam. Move slowly (about 2 inches per second) to transfer heat into the copper substrate.
- Add Solder: Touch your bar solder to the seam just behind the iron. The heat from the copper metal (not just the iron) should melt the bar solder into the joint.
- The Wiping Motion: As the solder enters its plastic (pasty) range, take your tallow-dipped cotton pad and wipe the solder in a smooth, upward, and outward motion. This forces the solder into the capillary space of the lock seam and leaves a smooth, slightly convex bead on the surface.
- Cooling: Allow the joint to cool naturally. Do not quench it with water, as thermal shock will micro-fracture the 50/50 alloy.
Troubleshooting Edge Cases and Failures
Even experienced roofers encounter edge cases. Here is how to diagnose and fix common gutter soldering failures:
- Solder Balls Up and Refuses to Stick: Cause: Copper oxide or oil contamination. Fix: Stop immediately. Let the metal cool, re-abrade with a wire brush, reapply Ruby Fluid, and re-tin. Never try to force solder over dirty copper.
- Solder Cracks Upon Cooling: Cause: Movement during the solidification phase or thermal shock. Fix: Ensure the gutter section is clamped or weighted down securely before soldering. Keep the workpiece still until the solder loses its metallic shine.
- Burnt Flux (Black Residue): Cause: Iron temperature exceeds 800°F, carbonizing the zinc chloride. Fix: Unplug the electric iron or reduce the torch flame. Clean the iron head on a damp brass wire sponge and re-tin immediately.
- Capillary Failure in Lock Seams: Cause: The seam was bent too tightly, leaving no gap for the solder to wick into. Fix: When forming the lock seam, use a seam setter to leave a microscopic gap (about the thickness of a piece of paper) to allow capillary action to draw the molten solder deep into the fold.
Final Thoughts on Safety and Longevity
Soldering copper gutters involves open flames, 750°F irons, and, if using traditional alloys, lead exposure. Always wear heavy leather roofing gloves, use a respirator when working with lead-based solders and acid fluxes, and keep a fire extinguisher rated for Class A and B fires on the roof deck. When executed with the correct tool pairings and a respect for copper's thermal properties, a soldered copper gutter seam will easily outlast the 50+ year lifespan of the roof itself.